Maytag MFI2266AEB User Instructions - Page 9
To Adjust Set Point Temperatures
 |
View all Maytag MFI2266AEB manuals
Add to My Manuals
Save this manual to your list of manuals |
Page 9 highlights
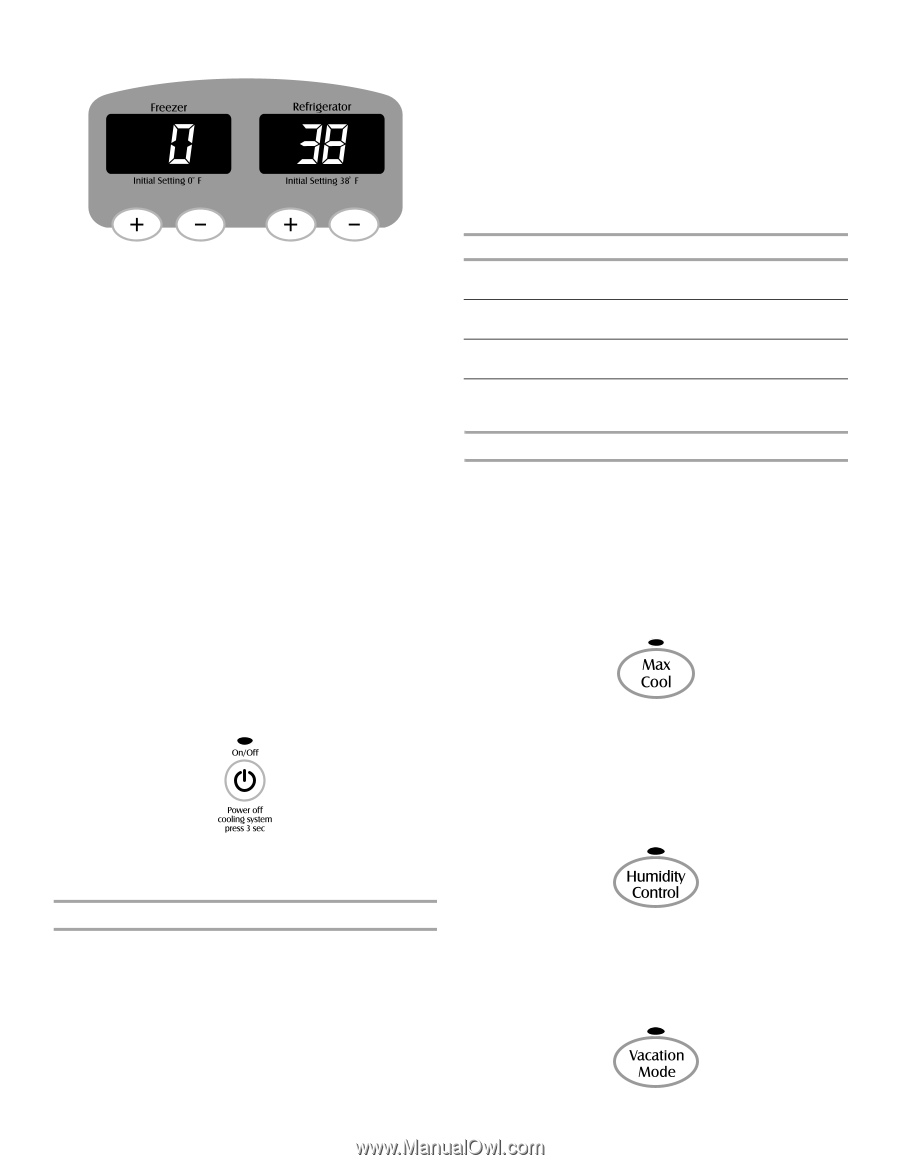
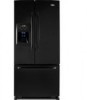
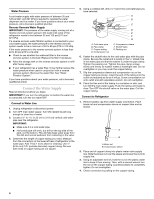
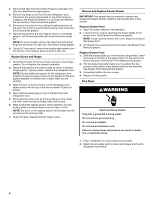
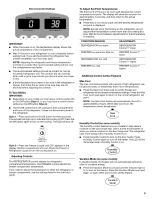
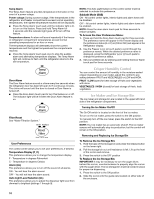
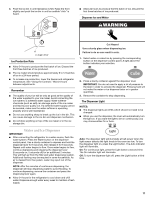
Recommended Settings IMPORTANT: ■ When the power is on, the temperature display shows the actual temperature of the compartment. ■ Wait 24 hours for your refrigerator to cool completely before adding food. If you add food before the refrigerator has cooled completely, your food may spoil. NOTE: Adjusting the refrigerator and freezer temperature controls to a colder than recommended setting will not cool the compartments any faster. ■ The recommended settings should be correct for normal household refrigerator use. The controls are set correctly when milk or juice is as cold as you like and when ice cream is firm. ■ If the temperature is too warm or too cold in the refrigerator or freezer, first check the air vents to be sure they are not blocked before adjusting the controls. To Turn Off/On: IMPORTANT: ■ Depending on your model you may have a control center with an On/Off button (Style 1), or you may have a control center without an On/Off button (Style 2). ■ The On/Off control turns off cooling for both compartments and turns off the dispenser. It does not disconnect power to the refrigerator. Style 1 - Press and hold the On/Off button for three seconds. The red LED will light up to indicate that cooling is Off. Press the On/Off button again to turn on the cooling. The LED will turn off. Style 2 - Press the Freezer (+) pad until OFF appears in the display. Neither compartment will cool. Press the Freezer or Refrigerator (-) pad to turn the cooling back on. Adjusting Controls The REFRIGERATOR control adjusts the refrigerator compartment temperature. The FREEZER control adjusts the freezer compartment temperature. If you need to adjust the temperature in either the refrigerator or freezer compartment, use the settings listed in the chart as a guide. To Adjust Set Point Temperatures: The first touch of the (+) or (-) touch pad displays the current temperature set point. The display will show the set point for approximately 3 seconds, and then return to the actual temperature. ■ Press the (+) or (-) touch pads until the desired temperature set point is displayed. NOTE: Except when first turning on the refrigerator, do not adjust either temperature control more than one setting at a time. Wait 24 hours between adjustments for the temperature to stabilize. CONDITION/REASON: ADJUSTMENT: REFRIGERATOR too warm REFRIGERATOR Control 1° lower FREEZER too warm/too little ice FREEZER Control 1° lower REFRIGERATOR too cold REFRIGERATOR Control 1° higher FREEZER too cold FREEZER Control 1° higher Additional Control Center Features Max Cool The max cool feature assists with periods of high refrigerator use, full grocery loads, or temporarily warm room temperatures. ■ Press the Max Cool touch pad to set the freezer and refrigerator to the lowest temperature settings. Press the Max Cool touch pad again to return to the normal refrigerator set point. NOTE: The Max Cool feature will automatically shut off in approximately 2 hours. When Max Cool is on, the temperature cannot be adjusted. Humidity Control (on some models) The humidity control feature turns on a heater to help reduce moisture on the door hinge seal. Use in humid environments or when you notice moisture on the door hinge seal. The refrigerator uses more energy when Humidity Control is on. ■ Press Humidity Control to turn on the door heater. Press Humidity Control again to turn off the heater. The LED will be illuminated when Humidity Control is on. Vacation Mode (on some models) In Vacation Mode, the freezer will not automatically defrost as often to conserve energy. ■ Press the Vacation Mode touch pad until the indicator light is lit, to turn on the feature. Press the Vacation Mode touch pad again, or open either door, to turn off the feature. 9
-
 1
1 -
2
-
3
-
 4
4 -
 5
5 -
 6
6 -
 7
7 -
 8
8 -
 9
9 -
 10
10 -
 11
11 -
 12
12 -
 13
13 -
 14
14 -
15
-
16
-
17
-
18
-
19
-
20
-
21
-
22
-
23
-
24
-
25
-
26
-
27
-
28
-
29
-
30
-
31
-
32
-
33
-
34
-
35
-
36
 |
 |