NEC P42XC10 42XC10 50XC10 60XC10 user's manual - Page 9
Installation
 |
UPC - 805736019407
View all NEC P42XC10 manuals
Add to My Manuals
Save this manual to your list of manuals |
Page 9 highlights
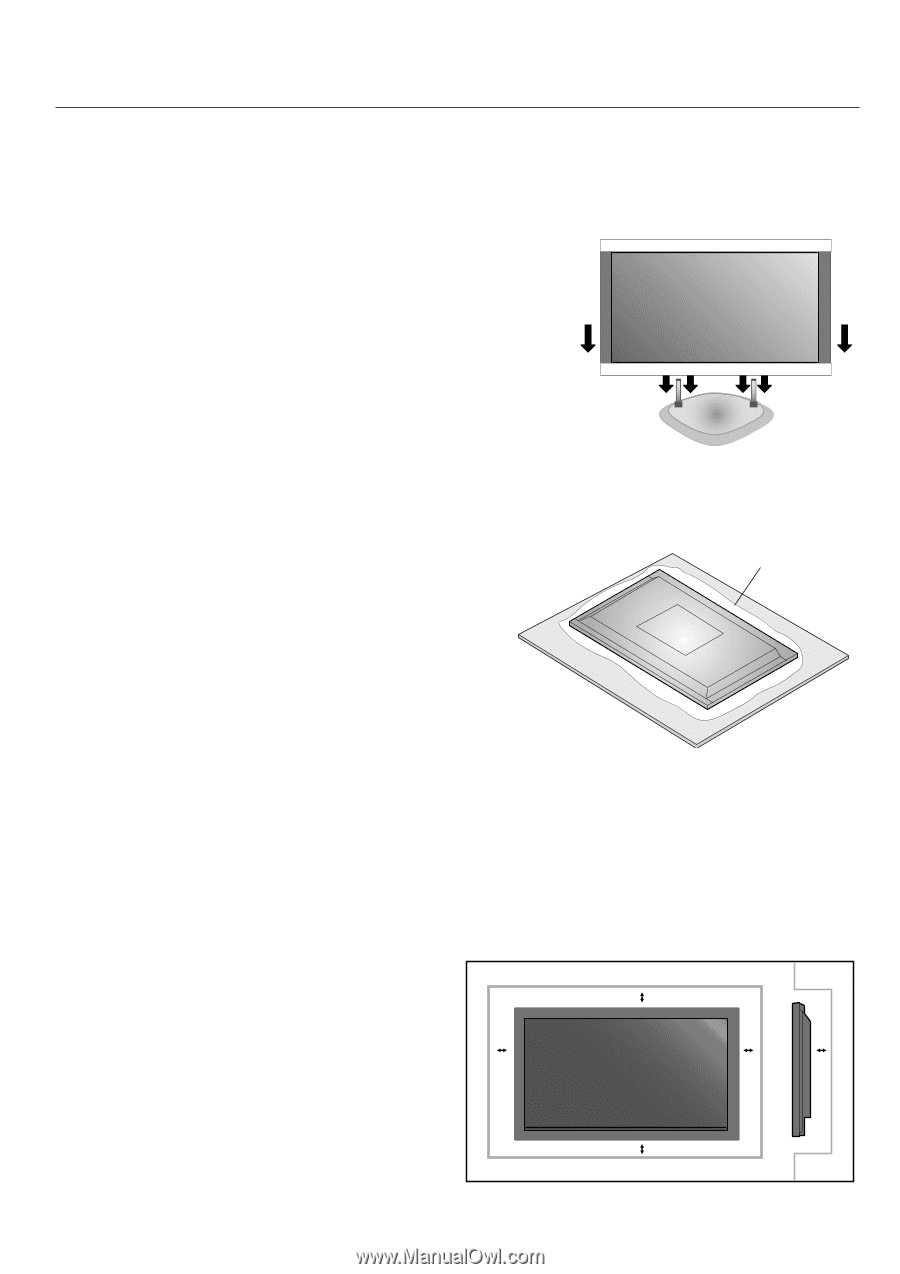
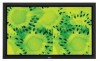
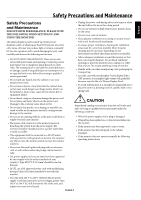
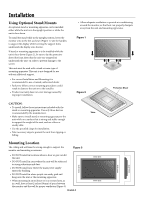
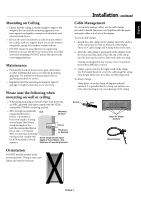
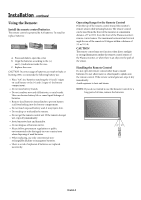
Installation Using Optional Stand/Mounts An optional stand or mounting apparatus can be installed either while the unit is in the upright position or while the unit is face-down. To install the stand while in the upright position, lower the monitor onto to the feet as shown (Figure 1). Use the handles to support the display while lowering the support holes underneath the display onto the feet. If stand or mounting apparatus is to be installed while the unit is face-down (Figure 2), be sure to lay the protective sheet (the foam sheet that the unit was wrapped in) underneath the unit on order to prevent damage to the screen. This unit must be used with a stand or some type of mounting apparatus. This unit is not designed for use without additional support. • For correct Installation and Mounting it is recommended to use a trained, authorized dealer. • Failure to follow correct mounting procedures could result in dame to the unit or to the installer. • Product warranty does not cover damage caused by improper installation. • Allow adequate ventilation or provide air conditioning around the monitor, so that heat can properly dissipate away from the unit and mounting apparatus. Figure 1 Figure 2 Protective Sheet CAUTION: • To install, follow those instructions included with the stand or mounting apparatus. Use only those devices recommended by the manufacturer. • Make sure to install stand or mounting apparatus to the unit while on a surface that is strong and stable enough to support the weight of the unit, such as a floor or sturdy table. • Use the specified clasps for installation. • Take necessary steps to prevent the unit from tipping or falling. Mounting Location The ceiling and wall must be strong enough to support the monitor and mounting accessories. Figure 3 • DO NOT install in locations where a door or gate can hit the unit. • DO NOT install in areas where the unit will be subjected to strong vibrations and dust. • DO NOT install near where the main power supply enters the building. • DO NOT install in where people can easily grab and hang onto the unit or the mounting apparatus. • When mounting in an enclosure or in a recessed area, as in a wall, leave at least 2 inches (50mm) of space between the monitor and the wall for proper ventilation (Figure 3). English-6 Table 50mm (2") 50mm (2") 50mm (2") 50mm (2") 50mm (2")
-
 1
1 -
2
-
3
-
 4
4 -
 5
5 -
 6
6 -
 7
7 -
 8
8 -
 9
9 -
 10
10 -
 11
11 -
 12
12 -
 13
13 -
 14
14 -
15
-
16
-
17
-
18
-
19
-
20
-
21
-
22
-
23
-
24
-
25
-
26
-
27
-
28
-
29
-
30
-
31
-
32
-
33
-
34
-
35
-
36
-
37
-
38
-
39
-
40
-
41
 |
 |