Netgear A8000 Installation Guide - Page 2
Install the Windows, standalone driver
 |
View all Netgear A8000 manuals
Add to My Manuals
Save this manual to your list of manuals |
Page 2 highlights
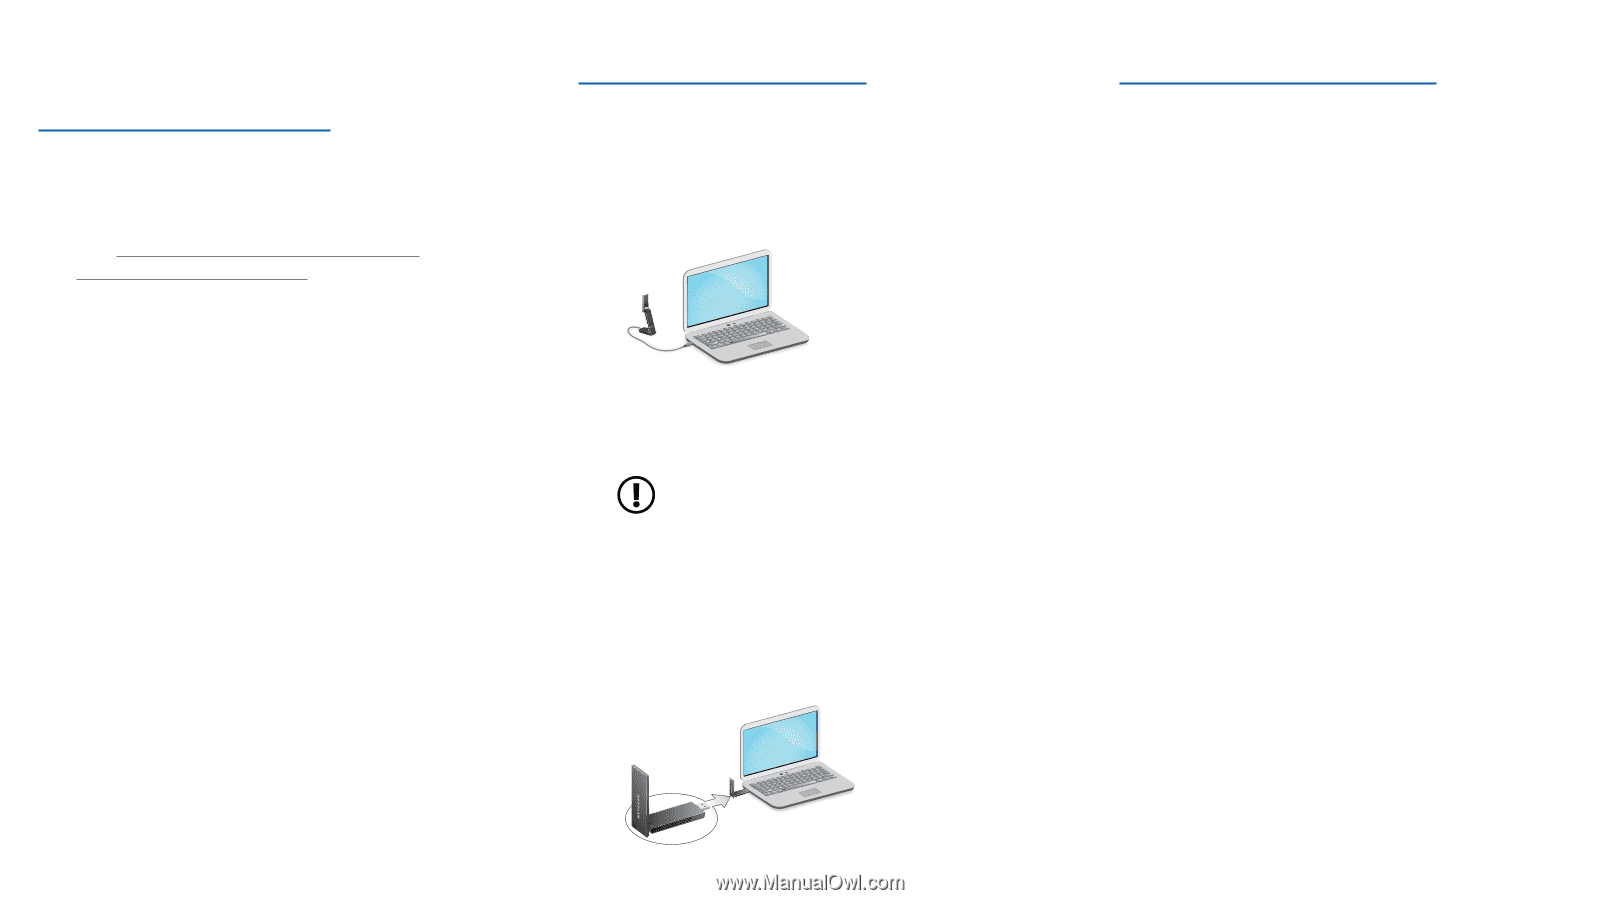
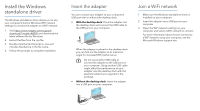
Install the Windows standalone driver The Windows standalone driver allows you to use your computer's built-in Windows WiFi network settings to connect the adapter to a WiFi network. 1. Visit https://www.netgear.com/support/ download/?model=A8000 and download the latest software file for Windows. 2. Extract the files from the .zip file. 3. Double-click the file that ends in .exe and includes Standalone in the file name. 4. Follow the prompts to complete installation. Insert the adapter You can connect your adapter to your computer's USB port with or without the desktop dock: • With the desktop dock: Place the adapter into the desktop dock and connect the USB cable to the USB port on your computer. When the adapter is placed in the desktop dock, you can fold out the adapter to its maximum angle for increased WiFi performance. Do not use another USB cable to connect the adapter to the USB port on your computer. Using another USB cable might affect the performance of your adapter. Use the desktop dock with the attached cable that is supplied in the package. • Without the desktop dock: Insert the adapter into a USB port on your computer. Join a WiFi network 1. Make sure the Windows standalone driver is installed on your computer. 2. Insert the adapter into a USB port on your computer. 3. Open the WiFi network settings on your computer and select a WiFi network to connect. For more information about how to connect to a WiFi network using your computer, see the Microsoft Windows support site.
-
 1
1 -
 2
2
 |
 |