Netgear WN802Tv1 WN802T Installation Guide - Page 1
Netgear WN802Tv1 - Wireless-N Access Point Manual
 |
View all Netgear WN802Tv1 manuals
Add to My Manuals
Save this manual to your list of manuals |
Page 1 highlights
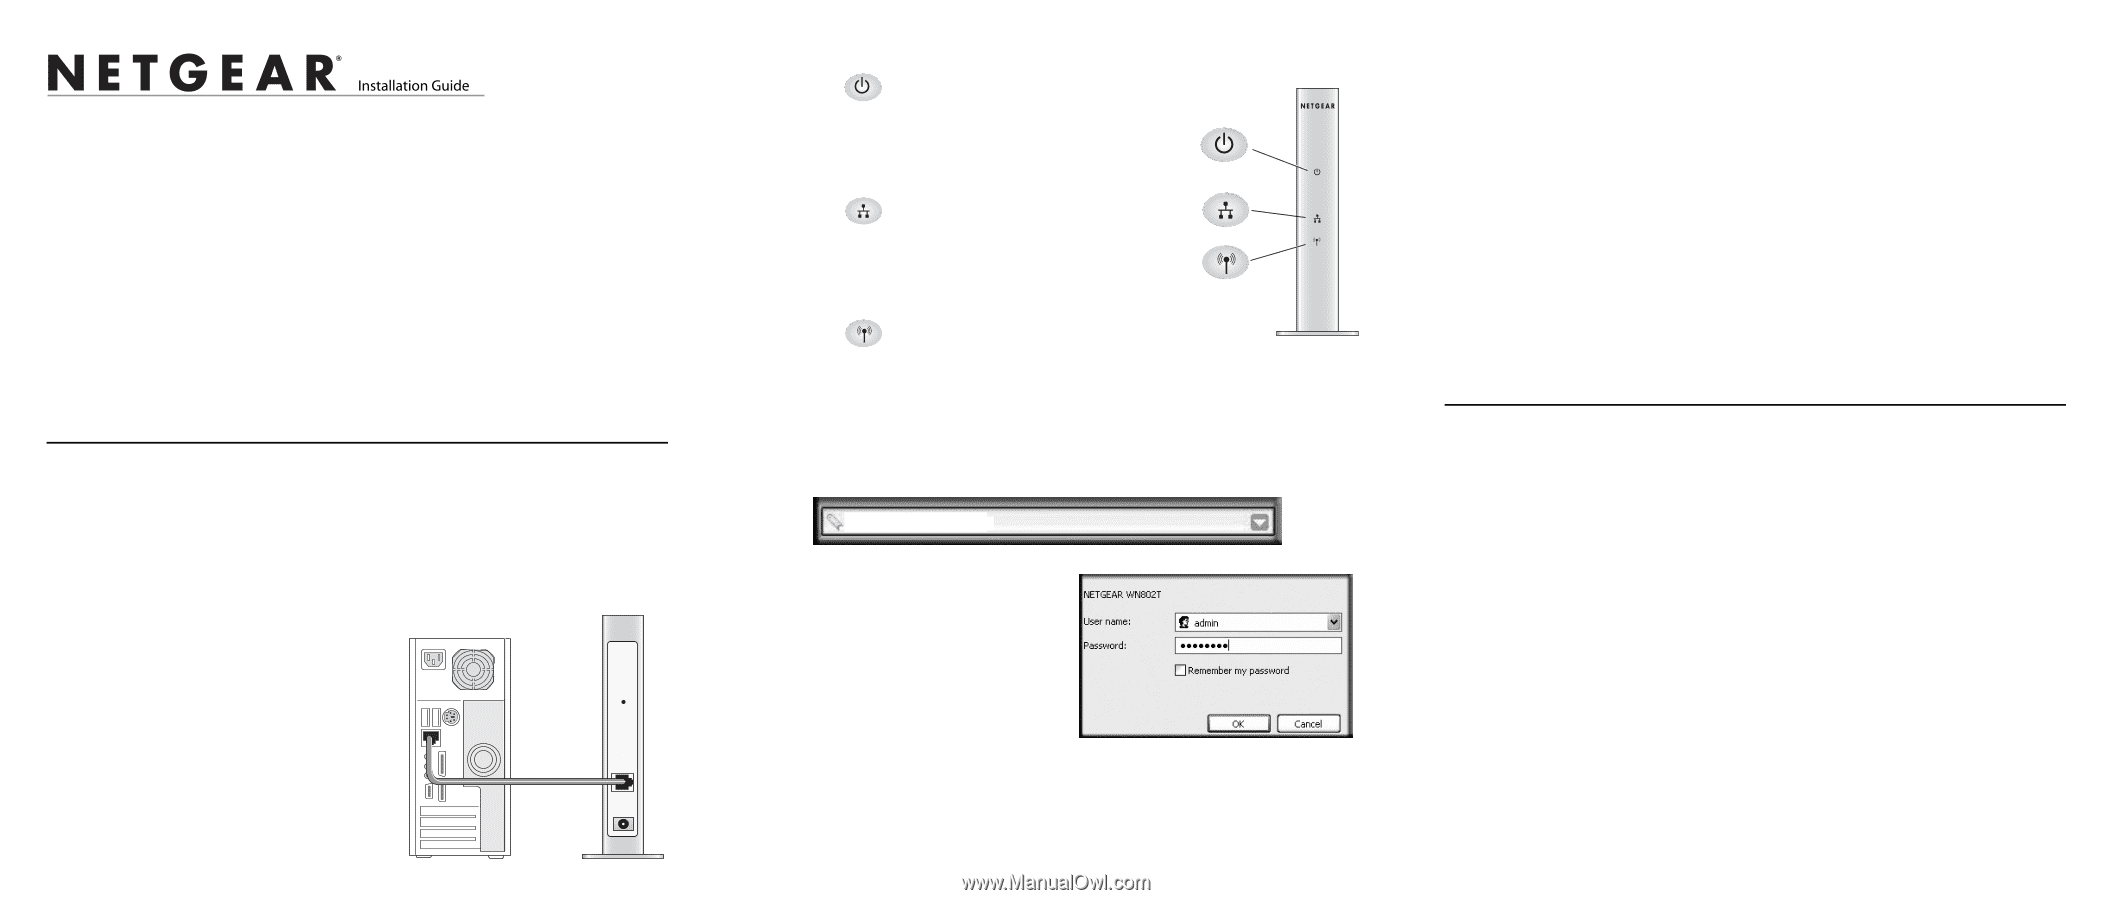
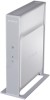
)NSTALLATION'UIDE NETGEAR RangeMax™ NEXT Wireless-N Access Point WN802T Start Here Follow these instructions to set up your wireless-N access point. You can also consult the documentation links on the Resource CD or the NETGEAR knowledge base at http://kbserver.netgear.com. Please consult the Resource CD or the Documentation link on the user interface to access the NETGEAR RangeMax NEXT Wireless-N Access Point WN802T Reference Manual for instructions on advanced configuration options. Estimated Completion Time: 20 minutes. Tip: Before mounting the WN802T Wireless-N Access Point in a high location, first set up and test the WN802T to verify wireless network connectivity. First, Set Up the WN802T 1. CONNECT THE WIRELESS-N ACCESS POINT TO YOUR COMPUTER a. Unpack the box and verify the contents. b. Prepare a computer with Internet access and an Ethernet adapter. If this computer is already part of your network, record its TCP/IP configuration settings. Configure the computer with a static IP address of 192.168.0.210 and 255.255.255.0 as the Subnet Mask. c. Connect an Ethernet cable from the WN802T to the PC. d. Securely insert the other end of the cable into the WN802T Ethernet port. e. Connect the NETGEAR Switching Power Supply from the wireless-N access point to an AC power outlet. Note: Only connect your wireless-N access point using the switching power supply provided with the WN802T. f. Check the lights on the front of the wireless-N access point: • Power: The green power light should be lit. If the power light is not lit, check the connections and check to see if the power outlet is controlled by a wall switch that is turned off. • Ethernet: The Ethernet (LAN) light should be lit (amber for 10/100 Mbps and green for 1000 Mbps) indicating that a connection has been made. If not, make sure the Ethernet cable is securely attached at both ends. • WLAN: The blue wireless light should be lit and blinking indicating that it is sending a signal. 2. CONFIGURE LAN AND WIRELESS ACCESS a. Configure the WN802T Ethernet port for LAN access.Connect to the WN802T by opening your browser and entering http://192.168.0.233 in the address field. http://192.168.0.233 A login window will display. b. When prompted, enter admin for the user name and password for the password, both in lower case letters. The NETGEAR RangeMax™ NEXT Wireless-N Access Point WN802T user interface will display. c. Select Wireless Settings under the Setup menu on the left navigation pane and configure your wireless interface for wireless access. d. Then select WEP/WPA Settings under Security and configure the level of data encryption security for your network. See the online help or the online Reference Manual for full instructions. e. Finally, select Basic Settings under the Setup menu on the left navigation pane and configure the IP Settings for your network. Note: If you change the default subnet of the LAN IP address, you will be disconnected from the WN802T Wireless-N Access Point user interface. To reconnect, reconfigure your computer with a static IP address within the new LAN IP subnet. Tip: Before you deploy your wireless-N access point, reserve an IP address (based on the WN802T's MAC address) on the DHCP server. That way, you can configure the wireless-N access point with a static IP address which you can always use to log in to make future configuration changes. 3. TEST WIRELESS CONNECTIVITY Using a computer with a wireless adapter configured according to the wireless settings you just set in the WN802T, establish a wireless connection to the WN802T. Deploy the WN802T Now that you have finished the setup steps, you are ready to deploy the WN802T in your network. If needed, you can now reconfigure the PC you used in step 1 back to its original TCP/IP settings. Warning: To allow for proper ventilation, always install the unit vertically using the included stand. Do not lay the unit flat. 1. Disconnect the WN802T from the computer and place it where you will deploy it. The best location is elevated, such as wall mounted or on the top of a cubicle, at the center of your wireless coverage area, and within line of sight of all the mobile devices. The WN802T should be positioned vertically. 2. Connect an Ethernet cable from your WN802T wireless-N access point to a LAN port on your router, switch, or hub. 3. Connect the power adapter to the wireless-N access point and plug the power adapter in to a power outlet. The Power, WLAN and Ethernet lights should light up. Note: A wall mount kit is included with theWN802T. Instructions for installing the brackets and mounting the WN802Tare in the online NETGEAR RangeMax NEXT Wireless-N Access Point WN802T Reference Manual.
-
 1
1 -
 2
2
 |
 |