Netgear XE104 XE104 Installation Guide - Page 2
Install the XE104 Wall-Plugged Ethernet Switch, Troubleshooting Tips, Technical Support - bridge
 |
UPC - 606449041217
View all Netgear XE104 manuals
Add to My Manuals
Save this manual to your list of manuals |
Page 2 highlights
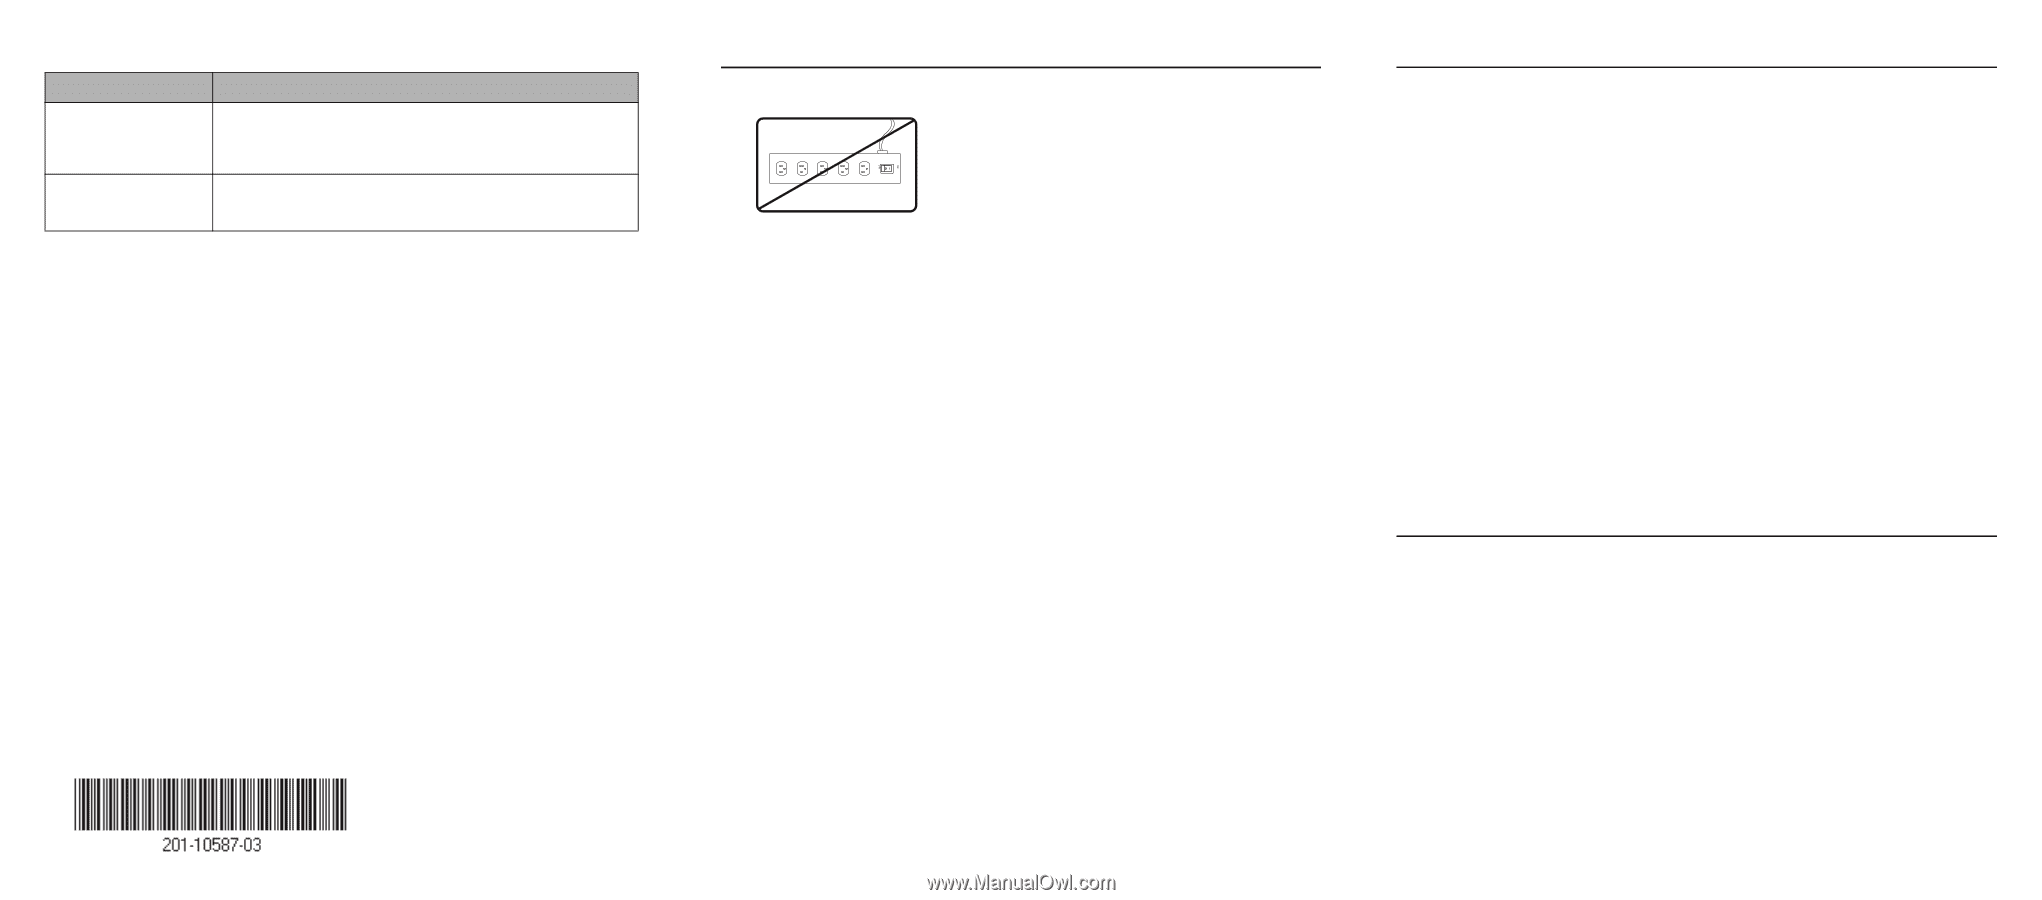
XE104 Default Settings FEATURE SETTING XE104 Device Password PowerLine Password The password for each device is printed on a label attached to the back of the device. The password for the individual devices is required if you want to set the PowerLine password for all PowerLine devices in one operation. HomePlug a You can change this password to prevent unauthorized access to your PowerLine network.b a. This is the same default as the NETGEAR XE102 and WGX102 PowerLine products. b. You get the full bandwidth of the XE104 when you use it with other highbandwidth PowerLine devices like the XE104. Giving the XE104 units their own password will put them on their own logical network, even though they share the same power wires as other PowerLine devices. Refer to the user guide on your CD for more information on configuring the PowerLine password. Use the following procedure to set up your XE104 Wall-Plugged Ethernet Switches. /. /&& Install the XE104 Wall-Plugged Ethernet Switch 1. Connect an XE104 to your network. Do not connect the XE104 to a power strip, extension cord, or surge protector as this may prevent them from working properly or degrade the network performance. a. Plug the blue Ethernet cable that came in the XE104 box into a LAN port on your router or switch in your network. b. Plug the XE104 into an electrical outlet. Take care that the electrical outlet is not controlled by a wall switch so as to avoid someone unknowingly turning off the power to the outlet. Check that the XE104 power light turns on. c. Plug the other end of blue Ethernet cable that came in the box into the XE104. 2. Plug the other XE104 units into power outlets and connect them to computers. Plug the XE104 units into electrical outlets near the computers that you want to connect, connect Ethernet cables between the XE104 units and your computers, turn on your computers, and wait one minute. All three LEDs on the XE104 light up. Refer to the table on the preceding page for a detailed explanation of the LED behavior. This completes the PowerLine installation. You may connect additional XE104 bridges to your network. Once you have an operational PowerLine network, you can change the PowerLine network password using the encryption utility on the CD. Refer to the XE104 User Guide for details. Troubleshooting Tips Here are some tips for correcting simple problems that could prevent you from connecting to the Internet or connecting to the XE104. • Check the green power light on the XE104. If the Power light is off, make sure power is supplied to the electrical outlet, and the PowerLine device is not plugged into an extension cord, power strip, or surge protector. • Check the blue HomePlug (PowerLine network status) light on the XE104. If this light is off, the devices cannot find each other. Make sure the XE104 and other PowerLine devices are plugged into outlets with power and that they use a common PowerLine network password. If the problem occurred after you changed the password using the encryption utility on the CD, change the password back to its default setting. If this fixes the problem, refer to the XE104 User Guide for instructions on setting the network password. • Check the green data traffic light on the XE104. If this light is not blinking there is no data traffic. Make sure your router and modem are switched on and that the blue Ethernet cable that came in the box is connected between an XE104 port and a router LAN port. Make sure that the computer connected directly to the router can access the Internet. For more help with troubleshooting, see the Reference Manual on the Resource CD. Technical Support Thank you for selecting NETGEAR products. After completing installation, register your product at http://www.NETGEAR.com/register. Registration is required before you can use our telephone support service. Go to http://kbserver.netgear.com/products/XE104.asp for product updates and Web support. October 2005 ©2005 by NETGEAR, Inc. All rights reserved. NETGEAR is a registered trademark of NETGEAR, Inc. in the United States and/or other countries. Other brand and product names are trademarks or registered trademarks of their respective holders. Information is subject to change without notice.
-
 1
1 -
 2
2
 |
 |