NordicTrack C 950 Pro Treadmill English Manual - Page 30
How To Adjust The Cushioning System
 |
View all NordicTrack C 950 Pro Treadmill manuals
Add to My Manuals
Save this manual to your list of manuals |
Page 30 highlights
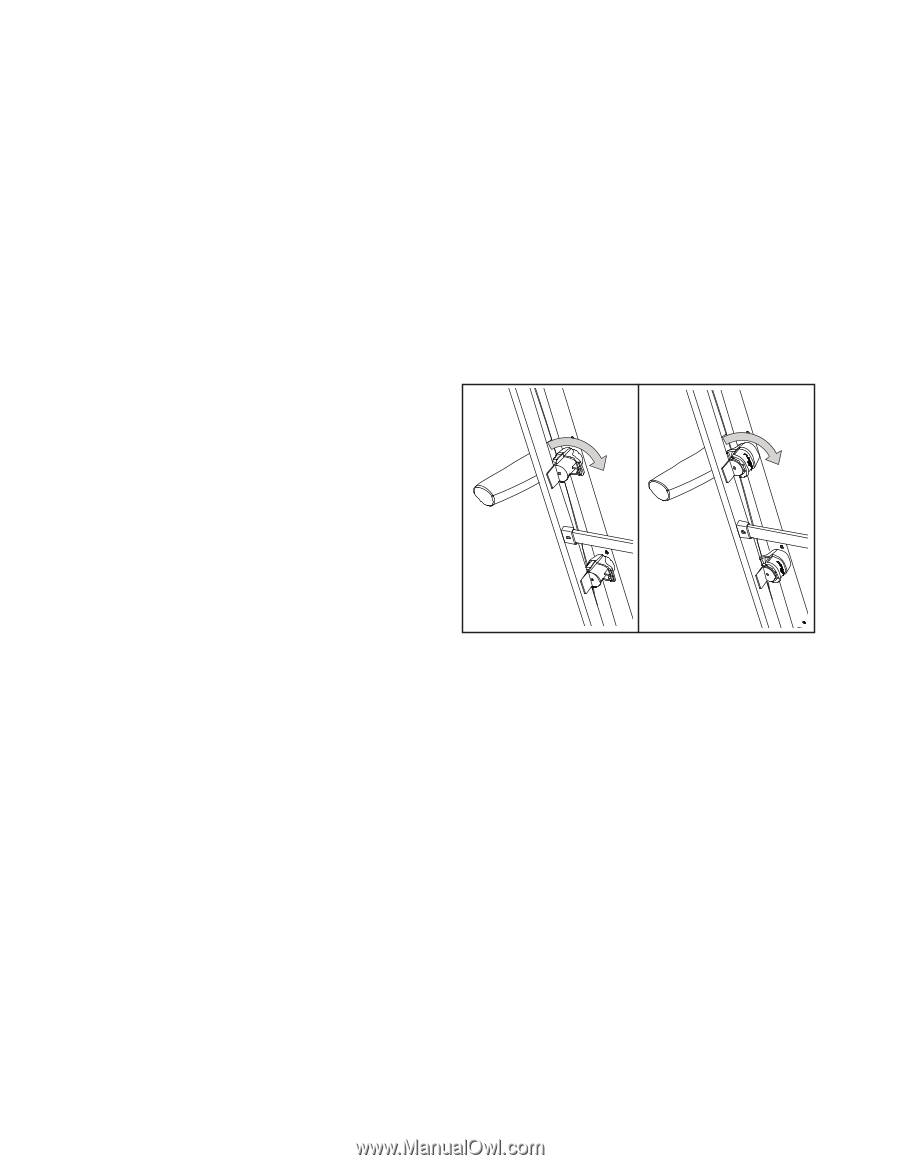
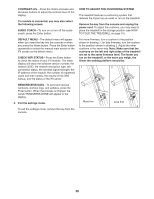
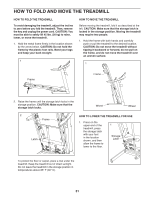
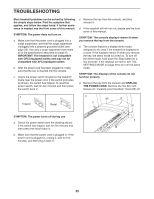
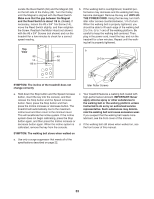
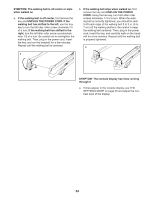
CONTRAST LVL—-Press the Incline increase and decrease buttons to adjust the contrast level of the display. If a module is connected, you may also select the following screen: AUDIO COACH—-To turn on or turn off the audio coach, press the Enter button. HOW TO ADJUST THE CUSHIONING SYSTEM The treadmill features a cushioning system that reduces the impact as you walk or run on the treadmill. Remove the key from the console and unplug the power cord. To adjust the cushions, you may need to place the treadmill in the storage position (see HOW TO FOLD THE TREADMILL on page 31). DEFAULT MENU—-The default menu will appear when you insert the key into the console or when you press the Home button. Press the Enter button repeatedly to select the manual main screen or the iFit screen as the default menu. CHECK WIFI STATUS—-Press the Enter button to check the status of your iFit module. The lower display will show the software version number, the network SSID, the network encryption type, the connection status, the wireless signal strength, the IP address of the module, the number of registered users and their names, the results of the DNS lookup, and the status of the iFit server. For more rmness, turn a cushion to the position shown in drawing 1; for less rmness, turn the cushion to the position shown in drawing 2. Adjust the other cushions in the same way. Note: Make sure that the cushions on the left and right sides of the treadmill are set to the same firmness level. The faster you run on the treadmill, or the more you weigh, the firmer the walking platform should be. 1 2 SEND/RECEIVE DATA—-To send and receive workouts, workout logs, and updates, press the Enter button. When the process is nished, the words TRANSFERS DONE will appear in the display. 3. Exit the settings mode. More firm Less firm To exit the settings mode, remove the key from the console. 30
-
 1
1 -
2
-
3
-
4
-
5
-
6
-
7
-
8
-
9
-
10
-
11
-
12
-
13
-
14
-
15
-
16
-
17
-
18
-
19
-
20
-
21
-
22
-
23
-
24
-
 25
25 -
 26
26 -
 27
27 -
 28
28 -
 29
29 -
 30
30 -
 31
31 -
 32
32 -
 33
33 -
 34
34 -
 35
35 -
36
-
37
-
38
-
39
-
40
-
41
-
42
-
43
-
44
 |
 |