Olympus 141897 DS-40 Instructions (English) - Page 18
Changing the Time/Date
 |
UPC - 050332400290
View all Olympus 141897 manuals
Add to My Manuals
Save this manual to your list of manuals |
Page 18 highlights
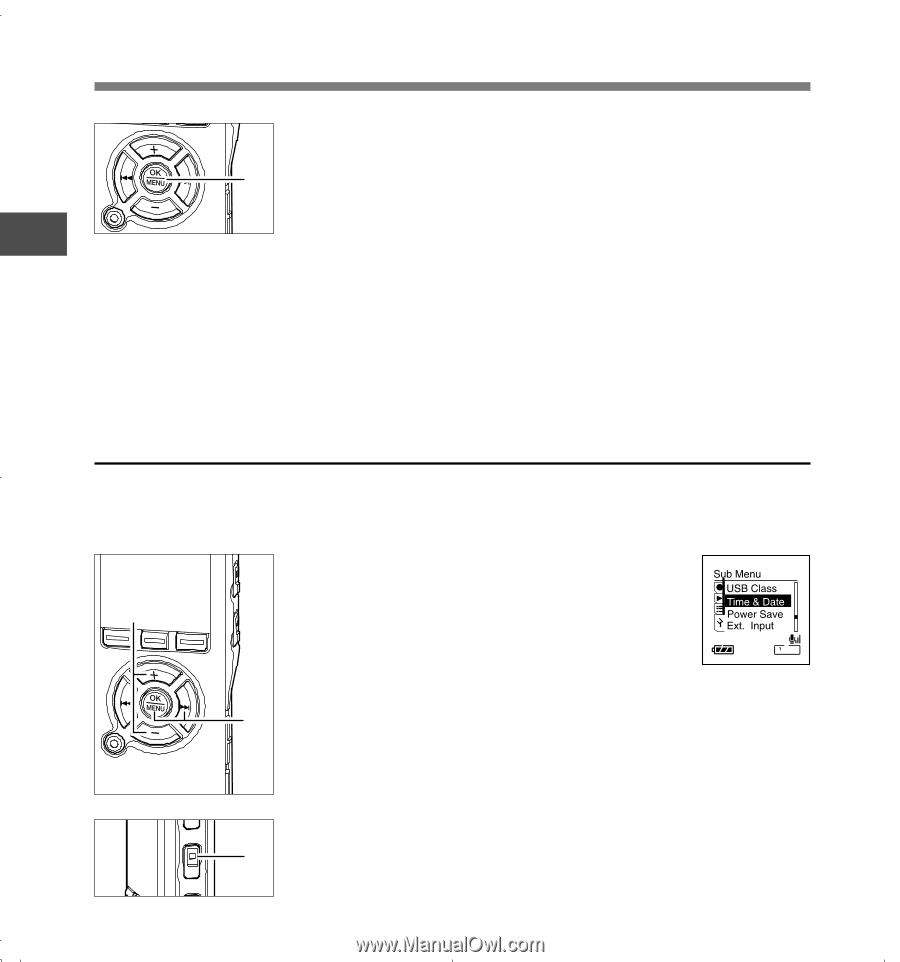
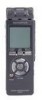
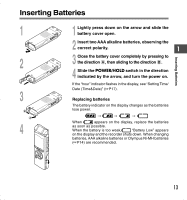
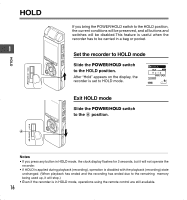
Setting Time/Date (Time&Date) 3 Press the OK button to complete the setup screen. The clock will start from the set date and time. Press the OK 3 button according to the time signal. ... 1 Notes • If you press the OK button during the setup operation, the recorder will save the items that were set to that point. • After setup, a message will sound saying that If the guidance is not required, select "Off", and the screen goes into "Voice Guide" setup (☞P57). If you don't want the guidance feature, select "Off". Setting Time/Date Changing the Time/Date Press the STOP button while the recorder has stopped recording to check "Time & Date" and "Remain". If the "Time & Date" is not correct, set it using the procedure below. 1 1 Press the + or - button in the menu screen, and select the "Time&Date". See P60, 62 regarding the menu. 2 Press the OK or 9 button. The Time/Date screen appears. The hour indicator flashes, indicating the start of the 2 Time/Date setup process.The following steps are the same as Step 1 through Step 3 of "Setting Time/Date (Time&Date)" . (☞P17) 3 3 Press the STOP button to close the menu. 18
-
 1
1 -
2
-
3
-
4
-
5
-
6
-
7
-
8
-
9
-
10
-
11
-
12
-
 13
13 -
 14
14 -
 15
15 -
 16
16 -
 17
17 -
 18
18 -
 19
19 -
 20
20 -
 21
21 -
 22
22 -
 23
23 -
24
-
25
-
26
-
27
-
28
-
29
-
30
-
31
-
32
-
33
-
34
-
35
-
36
-
37
-
38
-
39
-
40
-
41
-
42
-
43
-
44
-
45
-
46
-
47
-
48
-
49
-
50
-
51
-
52
-
53
-
54
-
55
-
56
-
57
-
58
-
59
-
60
-
61
-
62
-
63
-
64
-
65
-
66
-
67
-
68
-
69
-
70
-
71
-
72
-
73
-
74
-
75
-
76
-
77
-
78
-
79
-
80
-
81
-
82
-
83
-
84
-
85
-
86
-
87
 |
 |