Optoma H184X S343 User Manual - Page 51
Display image settings menu
 |
View all Optoma H184X manuals
Add to My Manuals
Save this manual to your list of manuals |
Page 51 highlights
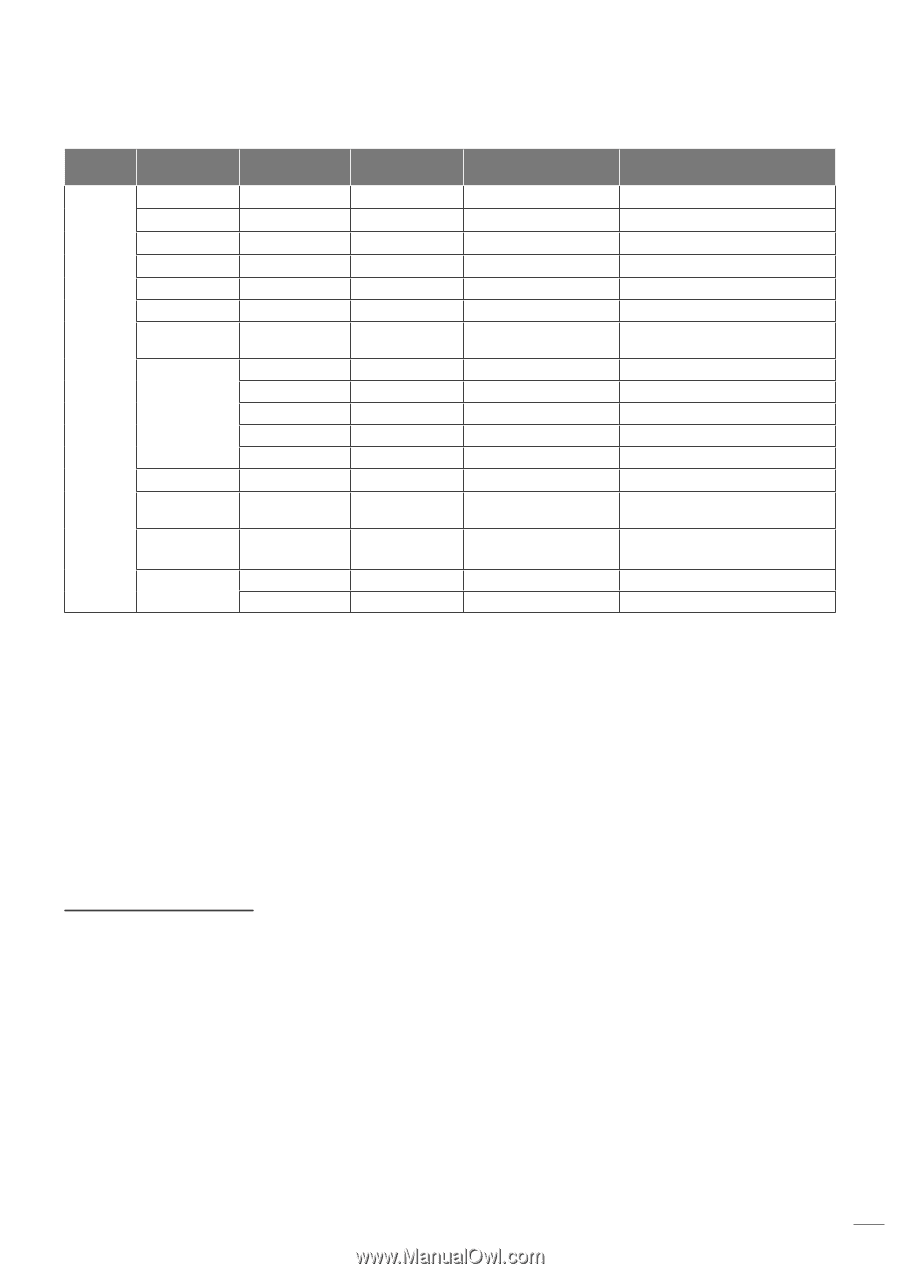
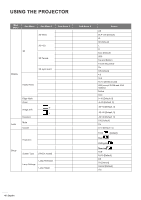
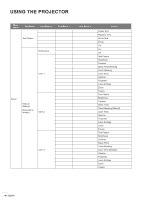
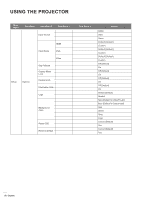
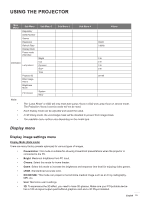
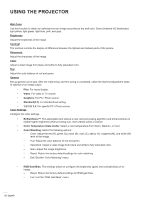
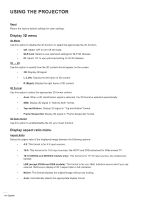
USING THE PROJECTOR Main Menu Sub Menu Regulatory Serial Number Source Resolution Refresh Rate Display Mode Power mode (Standby) Information Lamp Hours Projector ID Filter Usage Hours Brightness Mode FW Version Sub Menu 2 Bright Eco Dynamic Eco+ Total System MCU Sub Menu 3 Sub Menu 4 Values 00x00 0.00Hz 0 hr 0 hr 0 hr 0 hr 00~99 Note: ‡‡ The "Lamp Reset" in OSD will only reset both Lamp Hours in OSD and Lamp Hours in service mode. The Projection Hours in service mode will not be reset. Each display mode can be adjusted and saved the value. In 3D timing mode, the zoom/edge mask will be disabled to prevent from image break. The available menu options vary depending on the model type. Display menu Display image settings menu Display Mode (Data mode) There are many factory presets optimized for various types of images. ‡‡ Presentation: This mode is suitable for showing PowerPoint presentations when the projector is connected to the PC. ‡‡ Bright: Maximum brightness from PC input. ‡‡ Cinema: Select this mode for home theater. ‡‡ Game: Select this mode to increase the brightness and response time level for enjoying video games. ‡‡ sRGB: Standardized accurate color. ‡‡ DICOM SIM.: This mode can project a monochrome medical image such as an X ray radiography, MRI, etc. ‡‡ User: Memorize user's settings. ‡‡ 3D: To experience the 3D effect, you need to have 3D glasses. Make sure your PC/portable device has a 120 Hz signal output quad buffered graphics card and a 3D Player installed. English 51
-
 1
1 -
2
-
3
-
4
-
5
-
6
-
7
-
8
-
9
-
10
-
11
-
12
-
13
-
14
-
15
-
16
-
17
-
18
-
19
-
20
-
21
-
22
-
23
-
24
-
25
-
26
-
27
-
28
-
29
-
30
-
31
-
32
-
33
-
34
-
35
-
36
-
37
-
38
-
39
-
40
-
41
-
42
-
43
-
44
-
45
-
 46
46 -
 47
47 -
 48
48 -
 49
49 -
 50
50 -
 51
51 -
 52
52 -
 53
53 -
 54
54 -
 55
55 -
 56
56 -
57
-
58
-
59
-
60
-
61
-
62
-
63
-
64
-
65
-
66
-
67
-
68
-
69
-
70
-
71
-
72
-
73
-
74
-
75
-
76
-
77
-
78
-
79
-
80
-
81
-
82
-
83
-
84
-
85
-
86
-
87
-
88
-
89
-
90
-
91
-
92
-
93
-
94
-
95
-
96
-
97
-
98
-
99
 |
 |