Panasonic AG-HMC40PJ Editing AVCHD with Final Cut Pro 7 - Page 4
Copying Avchd Footage To A Hard Drive
 |
View all Panasonic AG-HMC40PJ manuals
Add to My Manuals
Save this manual to your list of manuals |
Page 4 highlights
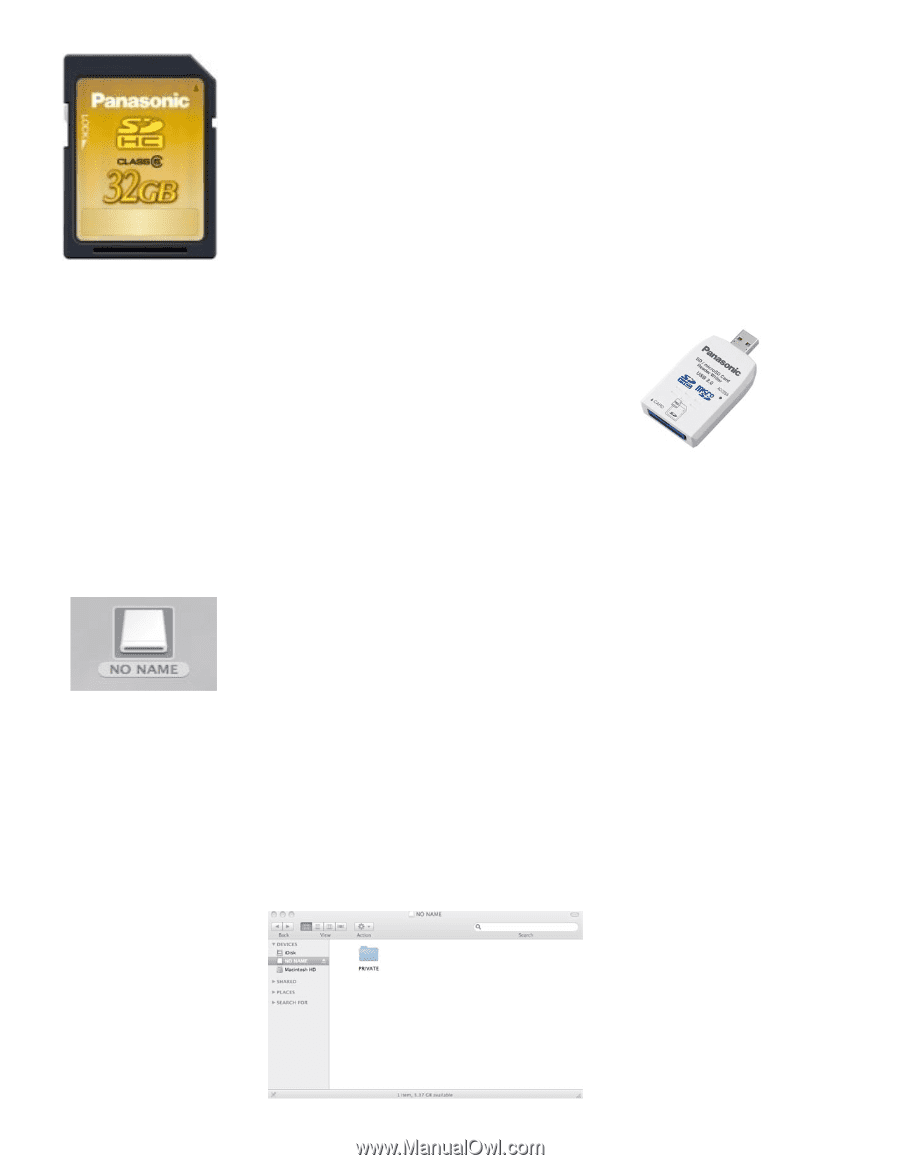
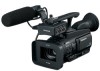
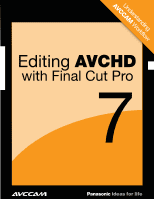
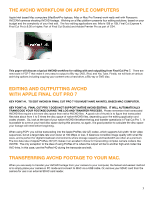
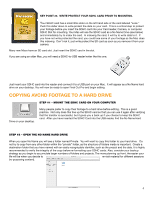
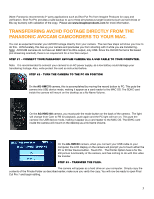
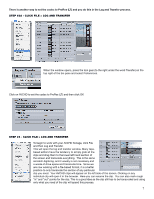
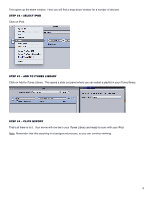
KEY POINT #3. WRITE PROTECT YOUR SDHC CARD PRIOR TO MOUNTING. Your SDHC card has a small little slider on the left hand side of the card labeled "Lock." Push this slider down to write protect the data on your card. This is a critical step to protect your footage before you insert the SDHC card into your Card reader, Camera, or computer SDHC Slot for mounting. Your Mac will see the SDHC card as a No Name Drive (see below) and immediately try to index the card. In indexing the card, it will try to write data to it. If you have not write protected the card, you could lose some of your footage as the Mac does this indexing. Don't risk it, just write protect the SD card as soon as you remove it from your camera. Many new Macs have an SD card slot. Just insert the SDHC card in the slot. If you are using an older Mac, you will need a SDHC-to-USB reader/writer like this one. Just insert your SDHC card into the reader and connect it to a USB port on your Mac. It will appear as a No Name hard drive on your desktop. You will now be ready to open Final Cut Pro and begin editing. Copying AVCHD footage to a hard drive STEP #1 - MOUNT THE SDHC CARD ON YOUR COMPUTER Drive on your desktop. Many people prefer to copy their footage to a hard drive before editing. This is a good practice. Not only does this free up the SDHC card so that you can use it again after verifying that the transfer is successful, but it gives you a back up if you choose to keep the SDHC card. After you have inserted the SDHC Card into the USB reader, find the No Name Hard STEP #2 - OPEN THE NO NAME HARD DRIVE When you open No Name you will see a folder named Private. You will want to copy this folder to your hard drive. Do not try to copy from any other folder within the "private" folder, as the structure of folders inside is important. Create a destination folder that you have named with an easily recognizable identifier, such as the project and the date. It is highly recommended to verify the integrity of the copy before re-formatting your SDHC cards. Also, consider your backup strategy as you begin to accumulate larger numbers of folders and projects. The more planning up front, the easier your life will be when you decide to re-visit material for different sessions (re-purposing content). 4
-
 1
1 -
 2
2 -
 3
3 -
 4
4 -
 5
5 -
 6
6 -
 7
7 -
 8
8 -
 9
9 -
 10
10 -
11
-
12
-
13
-
14
 |
 |