Panasonic EYFLA1A EYFLA1A User Guide - Page 10
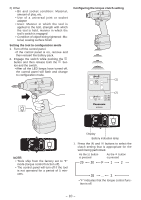
Setting the tool to configuration mode, Configuring the torque clutch setting
 |
View all Panasonic EYFLA1A manuals
Add to My Manuals
Save this manual to your list of manuals |
Page 10 highlights
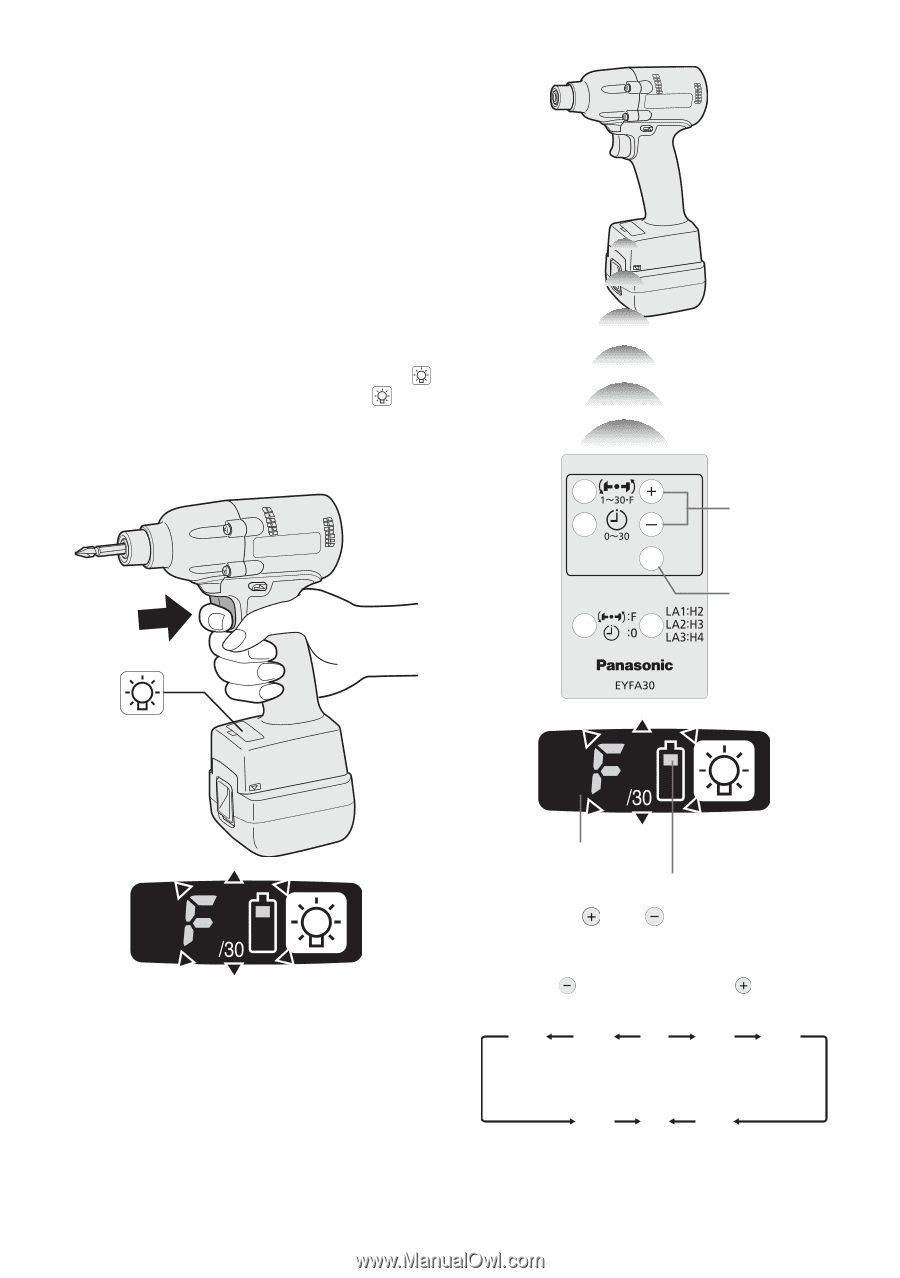
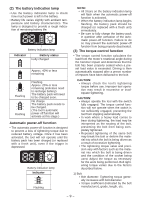
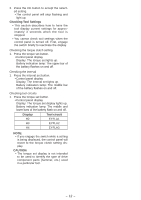
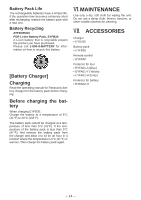
2) Other • Bit and socket condition: Material, amount of play, etc. • Use of a universal joint or socket adapter • User: Manner in which the tool is applied to the bolt, strength with which the tool is held, manner in which the tool's switch is engaged • Condition of object being tightened: Material, seating surface finish Setting the tool to configuration mode 1. Turn off the control panel. • If the control panel is on, remove and then reinsert the battery pack. 2. Engage the switch while pushing the button and then release both the button and the switch. • After all the LED lamps have turned off, the control panel will flash and change to configuration mode. Configuring the torque clutch setting (1) (2) NOTE: • Tools ship from the factory set to "F" mode (torque control function off). • The control panel will turn off if the tool is not operated for a period of 5 minutes. Display Battery indication lamp 1. Press the and buttons to select the clutch setting that is appropriate for the work being performed. As the button is pressed As the button is pressed 29 30 F 1 2 28 ... 3 • "F" indicates that the torque control function is off. - 10 -
-
 1
1 -
2
-
3
-
4
-
 5
5 -
 6
6 -
 7
7 -
 8
8 -
 9
9 -
 10
10 -
 11
11 -
 12
12 -
 13
13 -
 14
14 -
 15
15 -
16
-
17
-
18
-
19
-
20
-
21
-
22
-
23
-
24
-
25
-
26
-
27
-
28
-
29
-
30
-
31
-
32
-
33
-
34
-
35
-
36
-
37
-
38
-
39
-
40
-
41
-
42
-
43
-
44
-
45
-
46
-
47
-
48
 |
 |