Pentax MV MV Manual - Page 16
Exposure/Camera
 |
View all Pentax MV manuals
Add to My Manuals
Save this manual to your list of manuals |
Page 16 highlights
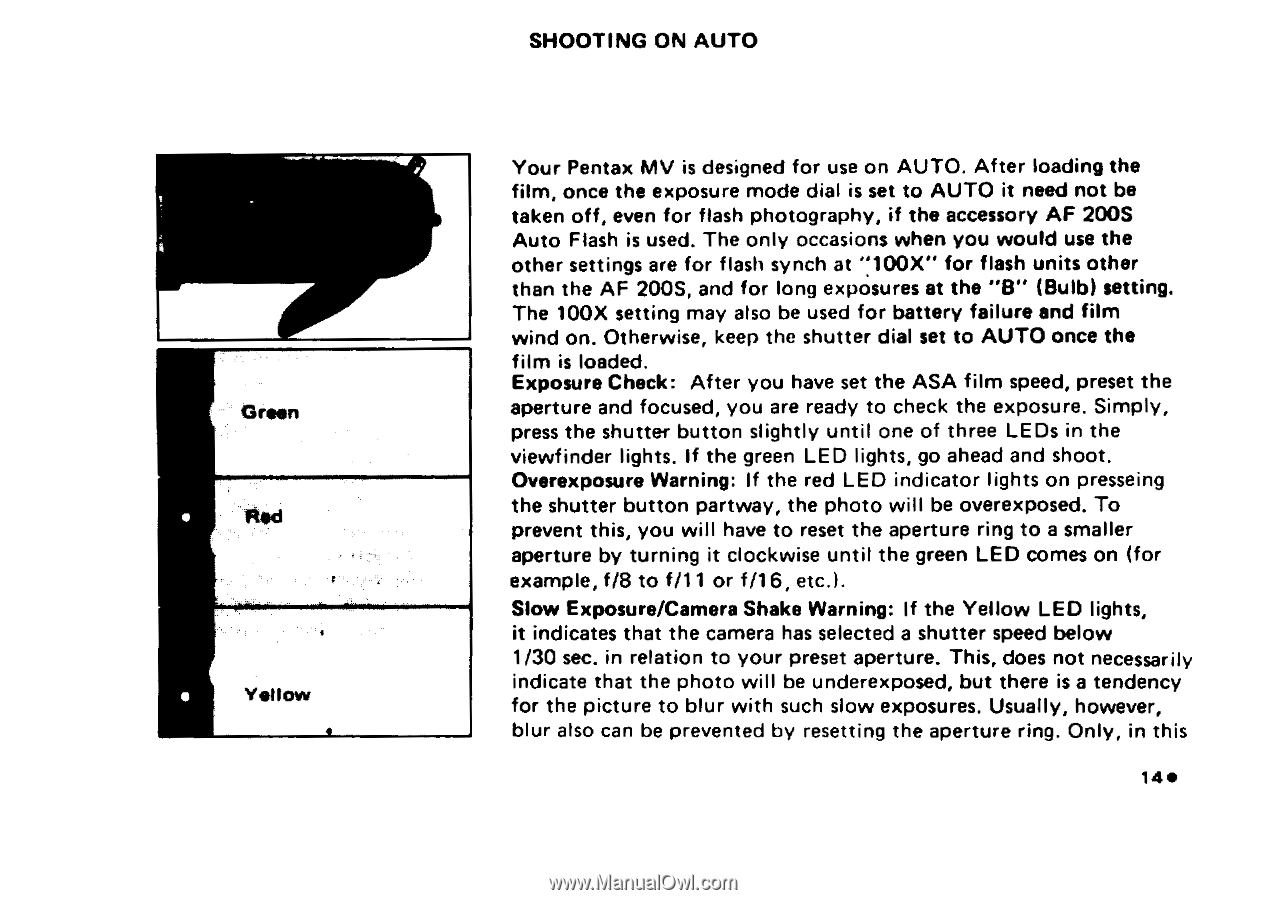
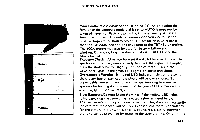
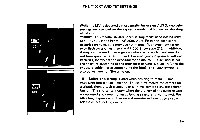
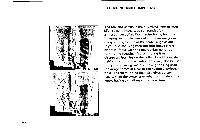
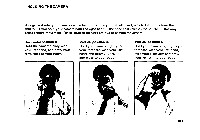
Or••n Fled Yellow SHOOTING ON AUTO Your Pentax MV is designed for use on AUTO. After loading the film, once the exposure mode dial is set to AUTO it need not be taken off, even for flash photography, if the accessory AF 200S Auto Flash is used. The only occasions when you would use the other settings are for flash synch at "100X" for flash units other than the AF 200S, and for long exposures at the "B" (Bulb) setting. The 100X setting may also be used for battery failure and film wind on. Otherwise, keep the shutter dial set to AUTO once the film is loaded. Exposure Check: After you have set the ASA film speed, preset the aperture and focused, you are ready to check the exposure. Simply, press the shutter button slightly until one of three LEDs in the viewfinder lights. If the green LED lights, go ahead and shoot. Overexposure Warning: If the red LED indicator lights on presseing the shutter button partway, the photo will be overexposed. To prevent this, you will have to reset the aperture ring to a smaller aperture by turning it clockwise until the green LED comes on (for example, f/8 to f/11 or f/16, etc.). Slow Exposure/Camera Shake Warning: If the Yellow LED lights, it indicates that the camera has selected a shutter speed below 1/30 sec. in relation to your preset aperture. This, does not necessarily indicate that the photo will be underexposed, but there is a tendency for the picture to blur with such slow exposures. Usually, however, blur also can be prevented by resetting the aperture ring. Only, in this 14•
-
 1
1 -
2
-
3
-
4
-
5
-
6
-
7
-
8
-
9
-
10
-
 11
11 -
 12
12 -
 13
13 -
 14
14 -
 15
15 -
 16
16 -
 17
17 -
 18
18 -
 19
19 -
 20
20 -
 21
21 -
22
-
23
-
24
-
25
-
26
-
27
-
28
-
29
-
30
-
31
-
32
-
33
-
34
-
35
-
36
-
37
-
38
-
39
-
40
 |
 |