Pfaff 1196 Owner's Manual - Page 10
Pfaff 1196 Manual
 |
View all Pfaff 1196 manuals
Add to My Manuals
Save this manual to your list of manuals |
Page 10 highlights
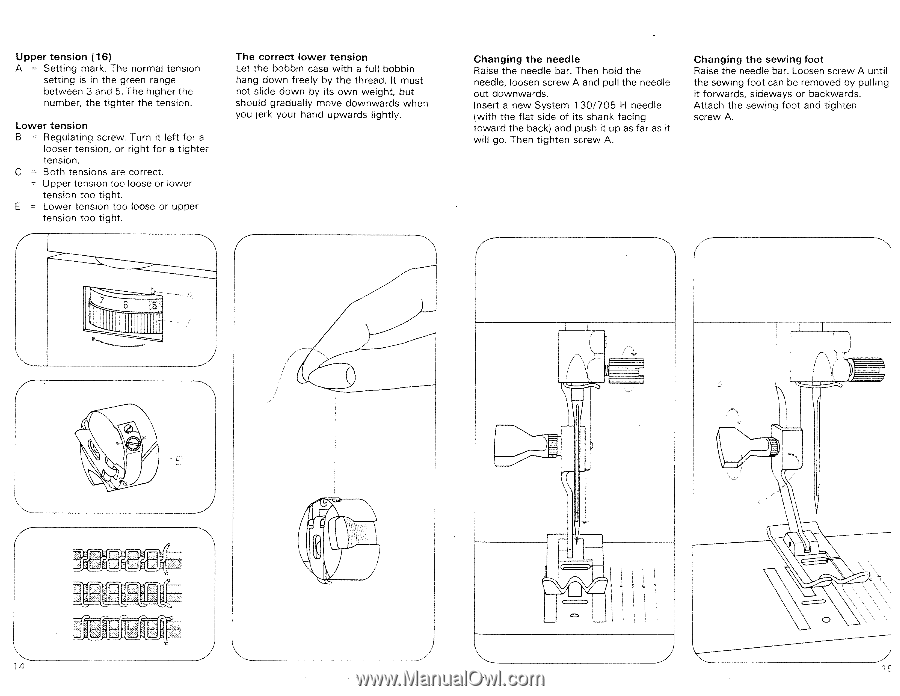
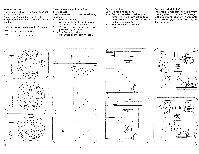
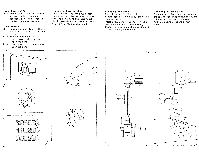
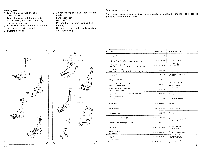
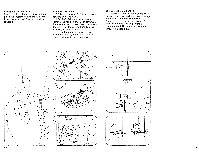
Upper tension (16) A = Setting mark. The normal tension setting is in the green range between 3 and 5. The higher the number, the tighter the tension. Lower tension B = Regulating screw. Turn it left for a looser tension, or right for a tighter tension. C = Both tensions are correct. = Upper tension too loose or lower tension too tight. E = Lower tension too loose or upper tension too tight. The correct lower tension Let the bobbin case with a full bobbin hang down freely by the thread. It must not slide down by its own weight, but should gradually move downwards when you jerk your hand upwards lightly. Changing the needle Raise the needle bar. Then hold the needle, loosen screw A and pull the needle out downwards. Insert a new System 1 30/705 H needle (with the flat side of its shank facing toward the back> and push it up as far as it will go. Then tighten screw A. Changing the sewing foot Raise the needle bar. Loosen screw A until the sewing foot can be removed by pulling it forwards, sideways or backwards. Attach the sewing foot and tighten screw A. -
-
 1
1 -
2
-
3
-
4
-
 5
5 -
 6
6 -
 7
7 -
 8
8 -
 9
9 -
 10
10 -
 11
11 -
 12
12 -
 13
13 -
 14
14 -
 15
15
 |
 |