Pfaff 85 Owner's Manual - Page 31
Monogram, Embroidery, Button, Sewing
 |
View all Pfaff 85 manuals
Add to My Manuals
Save this manual to your list of manuals |
Page 31 highlights
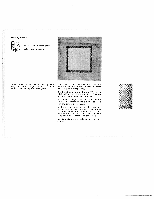
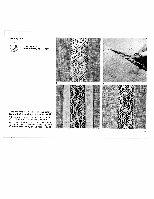
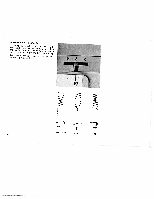
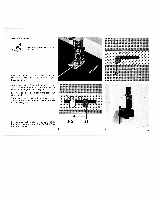
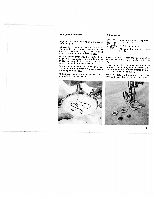
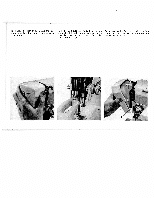
Monogram Embroidery Button Sewing Regulate the stitch width to suit the size of the monogram. Remove the sewing foot, attach the embroi dery and darning plate and lower the presser bar lifter. Trace the monogram on the fabric and place the material in darning hoops. Let the needle stitch into the fabric at the beginning of the design and draw the bobbin thread up through the fabric. Hold both thread ends and start your machine. Slowly move the hoops in writing" direc tion, without turning them, while the machine is running at high speed. To give your monogram dimensional quality, embroider the outlines twice. - 93OOI79 Attach clear-view sewing foot No. 93-1 00 179-00 Right needle position Attach embroidery and darn ing plate. Place the button under the foot and align so that needle will enter the right hole (see ill.). Raise the needle, but retain the foot in its lowered position. Regulate the stitch width until the needle alternately stitches through both holes. Sew on the button. Move the stitch width control toward the right and make two or three tying stitches.
-
 1
1 -
2
-
3
-
4
-
5
-
6
-
7
-
8
-
9
-
10
-
11
-
12
-
13
-
14
-
15
-
16
-
17
-
18
-
19
-
20
-
21
-
22
-
23
-
24
-
25
-
 26
26 -
 27
27 -
 28
28 -
 29
29 -
 30
30 -
 31
31 -
 32
32 -
 33
33 -
 34
34 -
 35
35 -
 36
36 -
37
-
38
-
39
-
40
 |
 |
