Pfaff hobbylock 776 Owner's Manual - Page 9
respective - needles
 |
View all Pfaff hobbylock 776 manuals
Add to My Manuals
Save this manual to your list of manuals |
Page 9 highlights
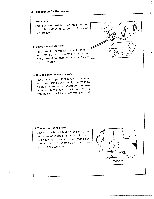
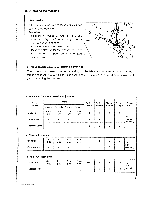
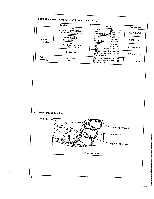
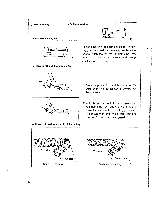
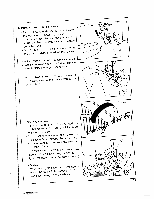
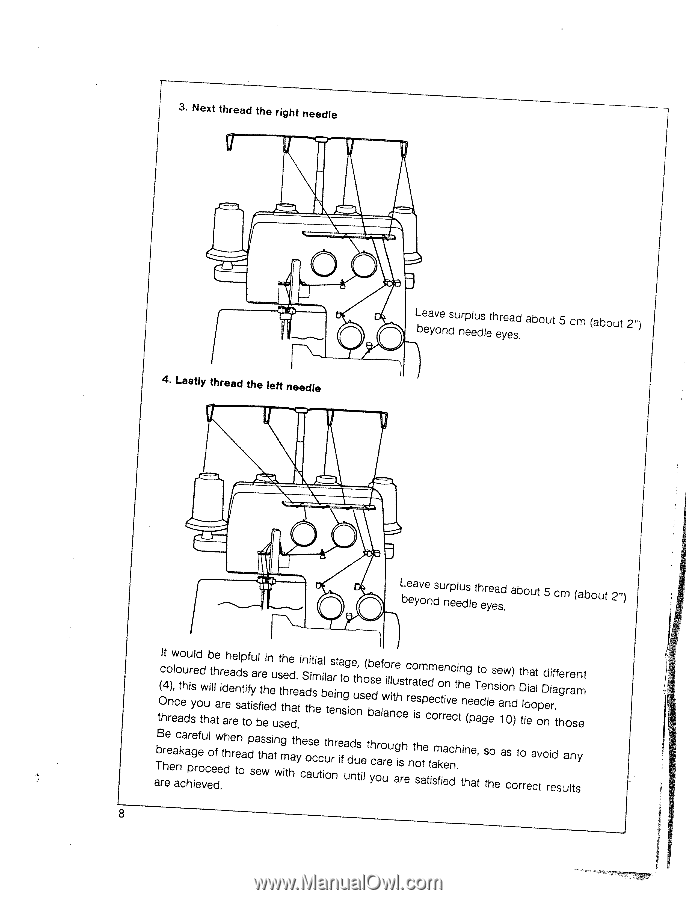
3. Next thread the right needle 4. Lastly thread the left needle surplus thread needle eyes. about 5 cm (about 2') surplus thread beyond needle eyes. about 5 cm (about 2') tO(chI4torn)w,elcoateohuduirssyledodtwhuibaltlhetariradeehreaeendsltpatsiotffiuyaslbfrtieeheineduuststthehehdedrae..taiSndtiihtsmieaiblltaeesrintnatsgogioetu,nhso(ebbsdaeeflwaoilinrlteuhcsectrreoaissmtpecedmocertoirnnvecectithnneg(epeTatdoeglneesseia1won0n)d) that different Dial Diagram looper. tie on those aTbBrrheeeeaanckcaharpegirefeouvcleoedfwe.tdhhertenoadpsaetswhsaitnwgmithatyhceoasucectiutohrnreifuadndutsiel tyhcoaroureugaisrhentoshatetitsamfkieaendch. itnhea,t so as to avoid any the correct results 8
-
 1
1 -
2
-
3
-
 4
4 -
 5
5 -
 6
6 -
 7
7 -
 8
8 -
 9
9 -
 10
10 -
 11
11 -
 12
12 -
 13
13 -
 14
14 -
15
-
16
-
17
-
18
-
19
-
20
-
21
-
22
 |
 |
3.
Next
thread
the
right
needle
surplus
thread
about
5
cm
(about
2’)
needle
eyes.
surplus
thread
about
5
cm
(about
2’)
beyond
needle
eyes.
It
would
be
helpful
in
the
initial
stage,
(before
commencing
to
sew)
that
different
coloured
threads
are
used.
Similar
to
those
illustrated
on
the
Tension
Dial
Diagram
(4),
this
will
identify
the
threads
being
used
with
respective
needle
and
looper.
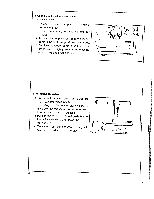
Once
you
are
satisfied
that
the
tension
balance
is
correct
(page
1
0)
tie
on
those
threads
that
are
to
be used.
Be
careful
when
passing
these
threads
through
the
machine,
so
as
to
avoid
any
breakage
of
thread
that
may
occur
if
due
care
is
not
taken.
Then
proceed
to
sew
with
caution
until
you
are
satisfied
that
the
correct
results
are
achieved.
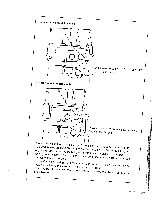
4.
Lastly
thread
the
left
needle
8