Philips DC910 Quick start guide - Page 2
Setting the clock - manual
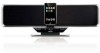 |
UPC - 609585153790
View all Philips DC910 manuals
Add to My Manuals
Save this manual to your list of manuals |
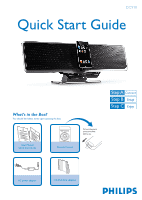
Page 2 highlights
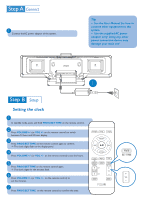
1 Connect the AC power adaptor of the system. POWERFUL BASS Tip - See the User Manual for how to connect other equipment to this system. - Use the supplied AC power adaptor only! Using any other power connection device may damage your main set! POWERFUL BASS 1 Setting the clock 1 In standby mode, press and hold PROG/SET TIME on the remote control. 2 Press VOLUME +/- (or VOL +/- on the remote control) to switch between 12 hour and 24 hour display. 3 Press PROG/SET TIME on the remote control again to confirm. ➜ The clock digits flash on the display panel. 4 Press VOLUME +/- (or VOL +/- on the remote control) to set the hours. 5 Press PROG/SET TIME on the remote control again. ➜ The clock digits for the minutes flash. 6 Press VOLUME +/- (or VOL +/- on the remote control) to set the minutes. 7 Press PROG/SET TIME on the remote control to confirm the time.
-
 1
1 -
 2
2 -
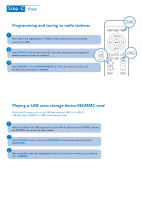 3
3 -
 4
4
 |
 |
