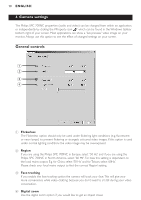
Philips SPC700NC User manual (English) - Page 9
Connecting the camera to your PC
 |
View all Philips SPC700NC manuals
Add to My Manuals
Save this manual to your list of manuals |
Page 9 highlights
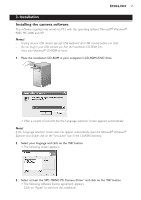
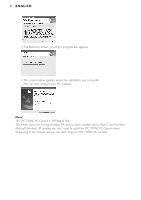
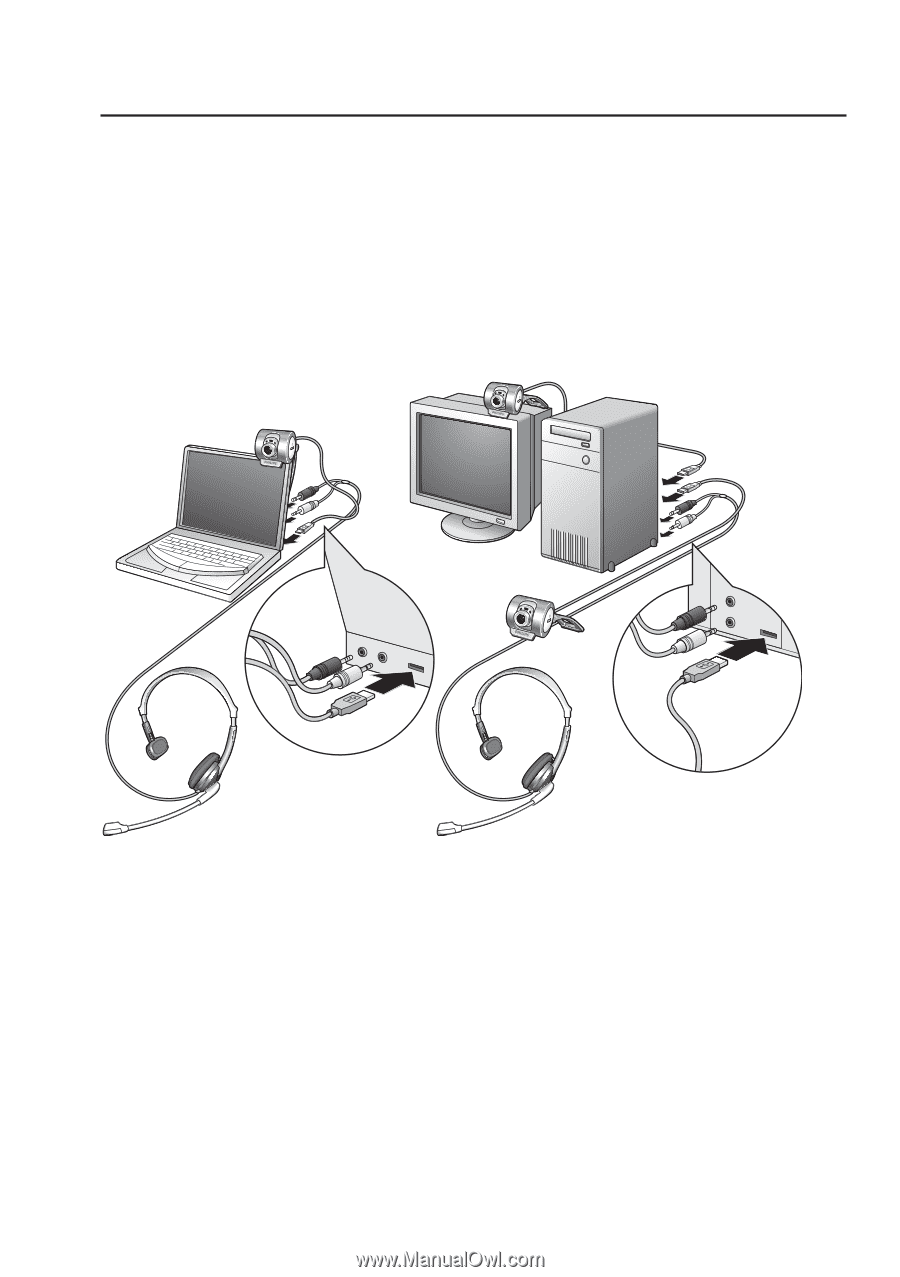
ENGLISH 9 Connecting the camera to your PC 1 Be sure to run the installation CD first, before connecting the camera to the PC. 2 Turn on the PC. 3 Connect the USB plug of the USB cable to a USB port of the PC. > The camera will now derive its power from the PC. 4 Use the clamp and the two rubber rims to attach the camera to your PC monitor or laptop screen or fold out the clamp and place the camera on your desk. 5 Connect the headset audio cable to the sound card of your PC. • Connect the black headphone plug (n) to the Audio out socket of the sound card. • Connect the white microphone plug (!) to the Audio in socket of the sound card. AUDIO OUT AUDIO IN AUDIO OUT AUDIO IN
-
 1
1 -
2
-
3
-
 4
4 -
 5
5 -
 6
6 -
 7
7 -
 8
8 -
 9
9 -
 10
10 -
 11
11 -
 12
12 -
 13
13 -
 14
14 -
15
-
16
-
17
-
18
-
19
-
20
-
21
-
22
 |
 |
Connecting the camera to your PC
1
Be sure to run the installation CD
first, before
connecting the camera to the PC.
2
Turn on the PC.
3
Connect the USB plug of the USB cable to a USB port of the PC.
>
The camera will now derive its power from the PC.
4
Use the clamp and the two rubber rims to attach the camera to your PC monitor or laptop
screen or fold out the clamp and place the camera on your desk.
5
Connect the headset audio cable to the sound card of your PC.
• Connect the black headphone plug
(
n
)
to the Audio out socket of the sound card.
• Connect the white microphone plug (!) to the Audio in socket of the sound card.
AUDIO OUT
AUDIO IN
AUDIO OUT
AUDIO IN
ENGLISH
9