Poulan 1950 User Manual - Page 14
Inspect Muffler And Spark - spark plug
 |
View all Poulan 1950 manuals
Add to My Manuals
Save this manual to your list of manuals |
Page 14 highlights
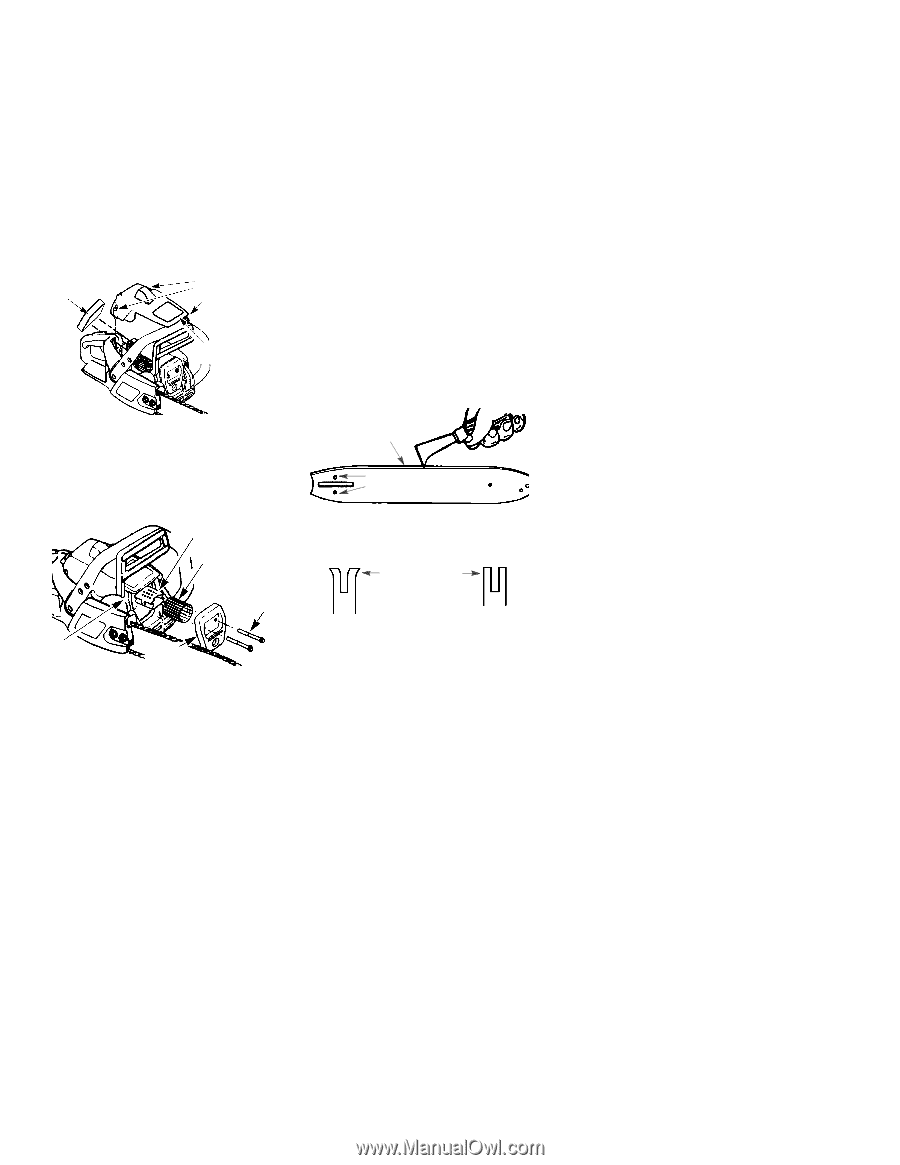
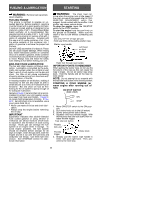
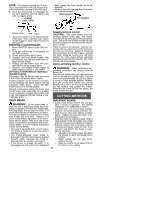
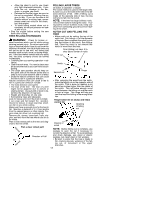
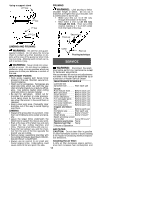
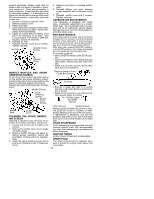
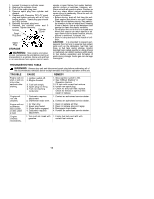
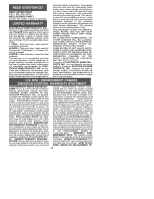
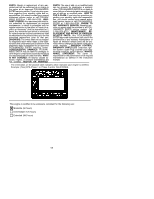
harmful emissions. Always clean after 15 tanks of fuel or 5 hours of operation, which- ever comes first. Clean more frequently in dusty conditions. A used aire filter can never be completely cleaned. It is advisable to re- place your air filter with a new one after every 50 hours of operation, or annually, whichever comes first. 1. Loosen 3 screws on cylinder cover. 2. Remove cylinder cover. 3. Remove air filter. 4. Clean the air filter using hot soapy water. Rinse with clean cool water. Air dry com- pletely before reinstalling. 5. Lightly oil air filter before installing to im- prove the efficiency of air filter. Use 2--cycle engine oil or motor oil (SAE 30). Squeeze excess oil from filter. 6. Reinstall air filter. 7. Reinstall cylinder cover and 3 screws. TIghten securely. Air Filter Cylinder Cover Screws Cylinder Cover 5. Replace any broken or cracked muffler parts. 6. Reinstall diffuser and spark arresting screen assembly with round holes facing up. 7. Reinstall muffler cover and 2 screws. Tighten securely. CARBURETOR ADJUSTMENTS Your carburetor is equipped with limiter caps. Carburetor adjustment is a complicated task. We recommend that you take your unit to an authorized service dealer. Damage will occur if you turn the needles beyond the limiter stops. BAR MAINTENANCE If your saw cuts to one side, has to be forced through the cut, or been run with an improper amount of bar lubrication it may be necessary to service your bar. A worn bar will damage your chain and make cutting difficult. After each use, ensure ON/STOP switch is in the STOP position, then clean all sawdust from the guide bar and sprocket hole. To maintain guide bar: S Move ON/STOP switch to the STOP posi- tion. S Loosen and remove chain brake nuts and chain brake. Remove bar and chain from saw. S Clean the oil holes and bar groove after each 5 hours of operation. INSPECT MUFFLER AND SPARK ARRESTING SCREEN As the unit is used, carbon deposits build up on the muffler and spark arresting screen, and must be removed to avoid creating a fire hazard or affecting engine performance. Replace the spark arresting screen if breaks occur. Muffler Diffuser Spark Arresting Screen Muffler Cover Screws Remove Sawdust From Guide Bar Groove Oil Holes S Burring of guide bar rails is a normal process of rail wear. Remove these burrs with a flat file. S When rail top is uneven, use a flat file to restore square edges and sides. File Rail Edges and Sides Square Muffler Body Muffler Cover CLEANING THE SPARK ARRESTING SCREEN Cleaning is required every 25 hours of operation or annually, whichever comes first. 1. Loosen and remove the 2 muffler cover screws. 2. Remove the muffler cover (cover snaps off muffler body). 3. Remove muffler diffuser and spark ar- resting screen assembly. Notice the orientation of these parts for reassembling. 4. Clean the spark arresting screen with a wire brush. Replace screen if breaks are found. Worn Groove Correct Groove Replace guide bar when the groove is worn, the guide bar is bent or cracked, or when excess heating or burring of the rails occurs. If replacement is necessary, use only the guide bar specified for your saw in the repair parts list or on the decal located on the chain saw. CHAIN SHARPENING Chain sharpening is a complicated task that requires special tools. We recommended you refer chain sharpening to a professional chain sharpener. IGNITION TIMING Ignition timing is fixed and nonadjustable. SPARK PLUG The spark plug should be replaced each year to ensure the engine starts easier and runs better. 14
-
 1
1 -
2
-
3
-
4
-
5
-
6
-
7
-
8
-
 9
9 -
 10
10 -
 11
11 -
 12
12 -
 13
13 -
 14
14 -
 15
15 -
 16
16 -
 17
17
 |
 |