Pyle PT649D PT649D Manual 1 - Page 3
Operating Procedures - manual
 |
View all Pyle PT649D manuals
Add to My Manuals
Save this manual to your list of manuals |
Page 3 highlights
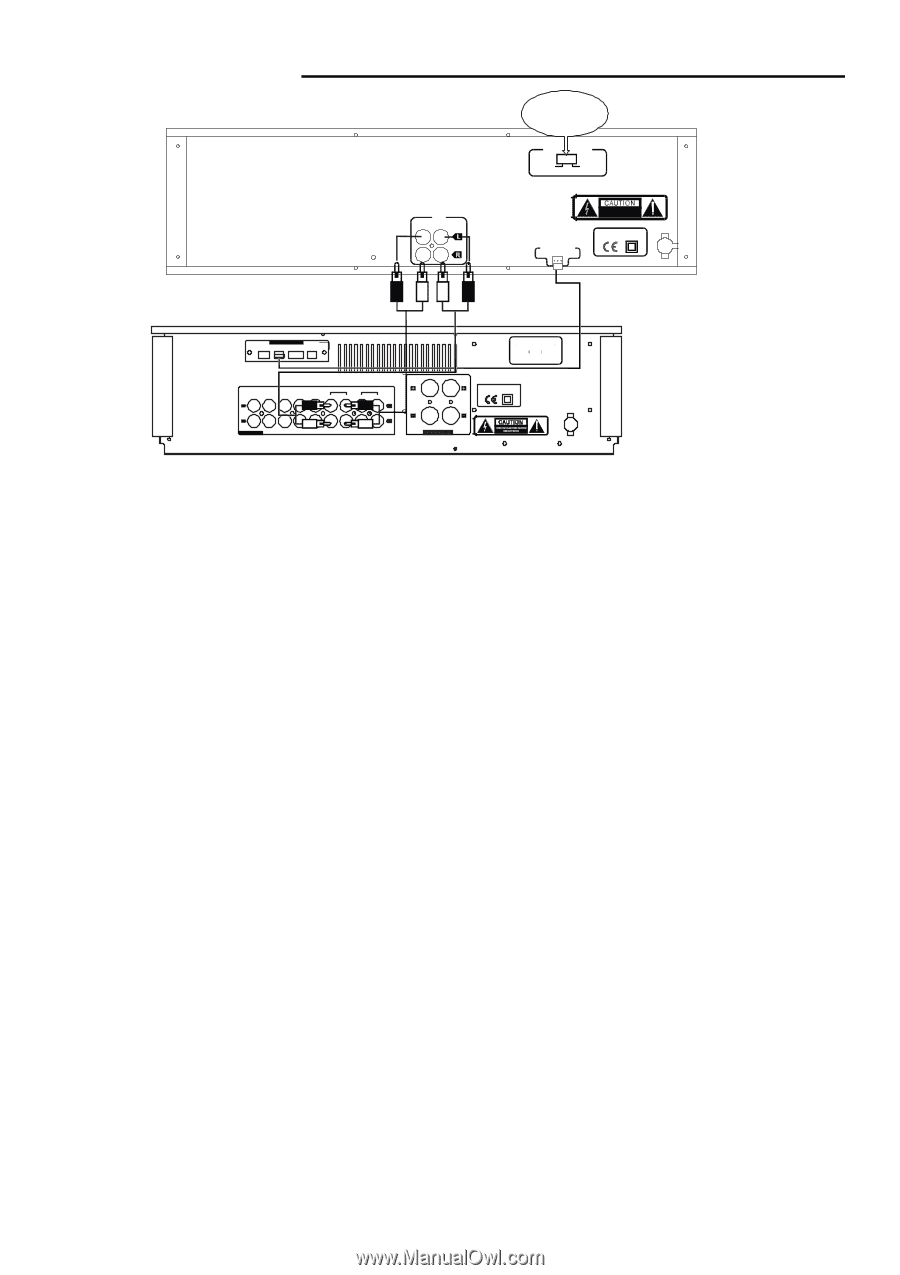
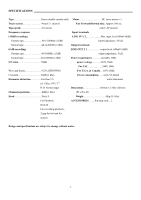
OPERATING PROCEDURES DC LIN E (IN)REC PLAY(O UT) VOLTAGE SELECTOR Use this switch to select the proper Voltage for your region VOLTAGE SELECTOR 110~120V 60Hz 220~230V 50Hz REMOTE SY STEM TO AMP RISK OF ELECTRIC SHOCK DO NOT OPEN CASSETTE DECK INTEGRATED CIRCUIT PA R EM O T E S YS TE M EQ TA PE T UNER CD T UNER CD L AV 1 AV 2 A UX TA PE P L AY REC EQ P L AY REC R AU DIO R IG HT L L EFT VOLTAGE S EL ECT OR 110~ 120V 220~ 230V 60H z 50H z INTEG RATED CIRCUIT AC 220V - 230V ~50Hz _ _ Playback a recorded tape ( DECK A or DECK B) 1. Switch on the power of the unit. 2. Press the STOP/EJECT button and insert a recorded cassette. For Cr02/metal tape, further press the Cr02/metal switch and the light at the indicator will be lit up. 3. Press the PLAY button. 4. Adjust the AMPLIFIER VOLUME and GRAPHIC EQUALIZER controls for your desired sound level and taste. 5. Press the STOP/EJECT button to stop playback at any time. Fast forward and rewind (DECK A or DECK B) For fast winding or rewinding the tape, press the FFWD or REW button. Press the STOP/EJECT button when the desired location has been reached. When the end of the tape has been reached, the FFWD or REW button will be released automatically. Pause (DECK A or DECK B) Press the PAUSE button to momentarily stop tape travel during playback or recording. Re-press the button for pause release and playback or recording to re-start. Full automatic stop (DECK A or DECK B) Press the STOP/EJECT button to stop playback or recording at any time. When the end of the tape has been reached, any of the PLAY, REC, REW or FFWD buttons, if pressed, will be automatically released and the head block completely separates from the tape and capstan. This protects tape and prevents pinch roller wearing out. RECORDING (DECK B) When recording, use the DECK B. Manually level control recording (for external source) This unit has record level volume to adjust the record level. Usually, the volume has a center click. When it reached the center click position, the tapes can be recorded normally. If the sound source signal is too strong, a red spot will be appeared in the record level indicator. You can adjust the record level volume to the left position and vice versa. In normal state, the sound source level is between the red and green spots ( that's 0dB). 1. Press the TOP/EJECT BUTTON and insert a cassette. 2. When Cr02 tape is used for recording, press the REC Cr02 switch. 3. Press the record button. The level meter at the peak level indicator will shift and the REC light will be lit up indicating that recording is underway. 4. Press the STOP/EJECT button to stop recording at any time. Pause Press this button to momentarily stop tape travel during recording. Re-press this button for pause release and recording restart. Dubbing operation (DECK A→ DECK B) This unit enables you to dub a recorded tape to another tape by using the built-in double deck mechanisms. It is performed only one way from DECK A to DECK B. Preparation 1. Insert a cassette for playback in DECK A. 2. Select tape DIRECTION button (FFWD or REW ) for the desired location of the tape to the beginning. 3. Insert a cassette into DECK B. 4. Select the dubbing speed by the dubbing High speed switch. 5. There are two dubbing speeds: high speed and normal speed. 6. For high speed dubbing, press the High speed switch. The light at the indicator will be lit up and high speed dubbing is then activated. 7. Normal speed dubbing requires no pressing of the High Speed Switch. No light will be shown at the indicator at all. 8. Press the PAUSE button of DECK A. 9. Then press the PLAY button of DECK A. 10. Press the RECORD button of DECK B. 11. Press the PAUSE again of DECK A to release the pause mode. The unit will start the synchronized dubbing operation. 12. To stop dubbing operation, press the STOP/EJECT button of DECK B. Note: Do not change dubbing speed during dubbing operation. - 2 -
-
 1
1 -
 2
2 -
 3
3 -
 4
4
 |
 |