RCA RCR860 Owner/User Manual: RCR860 - Page 6
Using the Remote to Control Your - codes manual
 |
UPC - 079000334712
View all RCA RCR860 manuals
Add to My Manuals
Save this manual to your list of manuals |
Page 6 highlights
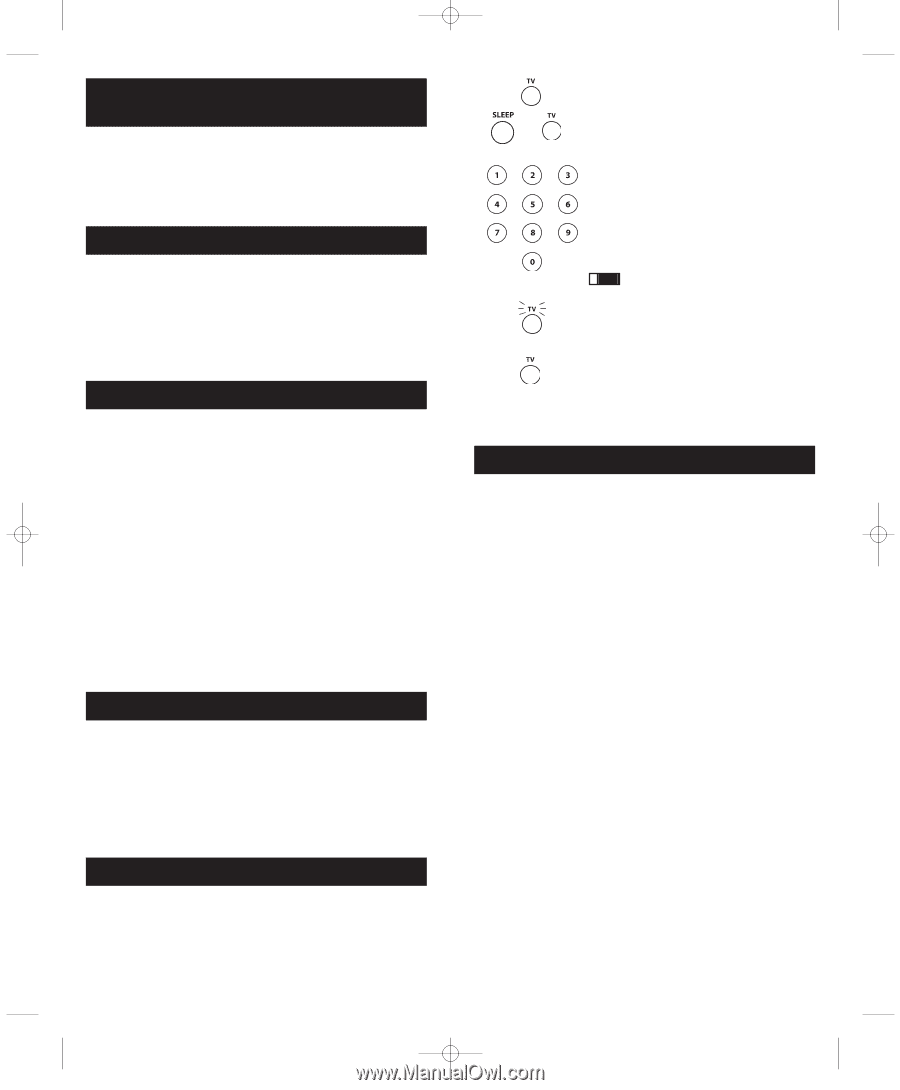
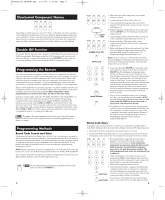
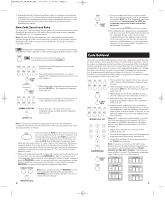
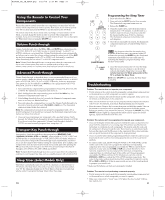
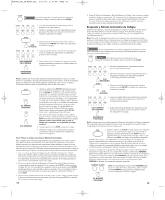
RCR860_NA_IB_REVA.qxp 3/13/06 3:29 PM Page 10 Using the Remote to Control Your Components Because this remote controls more than one component, you must first "tell" the remote which component you wish to operate. That means, if you wish to operate your TV, you must first press the TV key to put the remote in the TV Mode. The remote stays in the chosen mode until you change it. If your remote is in TV Mode, you must change the mode in order to operate other components. For example, if you are in VCR Mode, and you wish to turn off your TV, you must press the TV key first before pressing the ON·OFF key. Volume Punch-through Volume Punch-through allows the VOL+, VOL- and MUTE keys, when pressed in VCR, DVD, DVR, SAT and CABLE modes, to "punch through" to either TV or AUDIO, whichever was accessed last. Volume Punch-through occurs automatically and allows you to control the volume without exiting the current mode. (If the AUX key has been programmed with a TV or AUDIO code, that must be considered when determining the last active TV or AUDIO component used.) Note: Volume Punch-through does not occur in cases where the component code has its own volume/mute data, such as a satellite receiver with its own volume/mute control, or if volume/mute data has been learned for this device. Advanced Punch-through Volume Punch-through, as described above, occurs automatically. However, if you want to specify whether the Volume Punch-through is directed to the TV or AUDIO while in VCR, DVR, DVD, CD, SAT or HDTV STB modes, follow the steps below. This option can also be enabled for an AUX key, if it is programmed with a VCR, DVR, DVD, CD, SAT or HDTV STB. 1. Press and hold any component key programmed for VCR, DVR, DVD, CD, SAT or HDTV. The illuminated component name turns on. 2. While holding down the component key, press and hold the VOL+ key. The illuminated component name turns off. 3. After holding down both keys for 3 seconds, the illuminated component name turns on and stays on. Release both keys. 4. Press and release the component key you want the Volume Punch-through to be directed to from the selected mode (TV, AUDIO or AUX key). The illuminated component name flashes, then turns off. Note: The component key pressed in step 4 must be programmed with a TV or AUDIO component. If an invalid key is pressed, the illuminated component name flashes four times, then turns off. 5. Once you have programmed any component with a specified Volume Punchthrough, the Volume Punch-through for all other components defaults to AUDIO. If you do not want other components' Volume Punch-through to default to AUDIO, you must manually program them, using steps 1-4. Transport Key Punch-through Transport Key Punch-through allows the transport keys (REVERSE, PLAY, FORWARD, RECORD, STOP and PAUSE), when pressed in TV, SAT, CABLE and AUDIO modes, to "punch through" to VCR, DVR or DVD/CD mode, whichever was accessed last. Transport Key Punch-through occurs automatically and allows you to use the transport keys without exiting the current mode. (For example, if the transport keys were last used in DVD mode and accessed again after pressing the TV key, they will punch through to the DVD. The default Transport Key Punchthrough is set to DVD for TV, SAT, CABLE and AUDIO. Note: Transport Key Punch-through does not occur in cases where the component code has its own transport key data, such as a satellite receiver with a built-in DVR. Sleep Timer (Select Models Only) This feature automatically turns off your TV at a duration you choose from 1 to 99 minutes. The Sleep Timer only works if you have found a code that controls your TV. The timing mechanism for the Sleep Timer is built into your universal remote control. To program the Sleep Timer, follow these steps. 10 (NAME LIGHTS UP) Programming the Sleep Timer 1. Press and release the TV key. 2. Press and hold the SLEEP key for three seconds. The illuminated component name turns on. 3. Release the SLEEP key. 4. Using the number keys, enter the desired time in minutes (from 1-99 minutes). To set the timer to a number under 10 minutes, first press 0 and then the desired number (e.g., 05 for five minutes). The illuminated component name blinks with each keypress. 5. Once the second number is entered, the illuminated component name turns off and the Sleep Timer is now set. (NAME BLINKS) ! TIP Any keypress other than the number keys is ignored. If the sleep time is not entered within 15 minutes after pressing the SLEEP key, the illuminated component name blinks four times and turns off, indicating the attempt to program the Sleep Timer has been unsuccessful. (LIGHT OFF) 6. Leave the remote aimed at the TV. Once the Sleep Timer is set, you can continue to use the remote without affecting the Sleep Timer. However, the remote must be in TV Mode and pointed at the TV to activate the Sleep Timer. Note: If the ON·OFF key is pressed, the Sleep Timer is canceled. Troubleshooting Problem: The remote does not operate your component. • Put the remote in the correct mode by pressing the corresponding component key so the remote knows which component you want to operate. • Remove any obstacles between the remote and the component. Make sure to aim the remote at the IR sensor on the component. • Make sure the batteries are fresh and are properly installed. Replace the batteries with two new AA batteries, if necessary. Reprogramming may be required. • Reset the remote. Remove the batteries, then press and hold the number 1 key on the remote for several seconds to reset the microprocessor inside the remote. Release the number 1 key, reinstall the batteries, and press the ON·OFF key. If the ON·OFF indicator lights up, reprogram the remote and try again. If it doesn't light up, replace the batteries with new ones. Problem: The remote can't be programmed to operate your component. • If you are testing the remote after you have entered the code, you may be too far away from the component or at a wrong angle. This remote uses IR (infrared) technology to communicate with components. The remote sends the code, and the component's IR sensor reads the code. There must be an unobstructed path between the remote and the IR sensor on the component. Move closer and make sure you point the remote at the component to be programmed. • If you've used the Direct Entry programming method to enter the codes for your brand and the unit is still not functioning properly, try one of the Code Search methods. • To control combo units, like TV/VCRs, TV/DVDs or TV/VCR/DVDs, use the combo codes in the Code List to program the individual corresponding component keys. Once programmed successfully, the TV key controls the TV functions on your unit, and the DVD or VCR key controls the DVD or VCR functions, respectively. You must program the individual corresponding component keys to control each part of the combo unit. Once programmed successfully, the TV key controls the TV functions on your unit, and the VCR·AUX or DVD key controls the VCR or DVD functions, respectively. The codes in the combo section should be tried first, using Direct Code Entry on the TV and DVD or VCR keys. If this is unsuccessful, use one of the Search methods to program your combo unit. • Make sure the batteries are fresh and are properly installed. Problem: The remote is not performing commands properly. • Put the remote in the correct mode by pressing the corresponding component key so the remote knows which component you want to operate. • Make sure component is "ready" (e.g., DVD player has disc loaded; VCR has tape loaded, etc.) 11
-
 1
1 -
 2
2 -
 3
3 -
 4
4 -
 5
5 -
 6
6 -
 7
7 -
 8
8 -
 9
9 -
 10
10 -
 11
11 -
 12
12
 |
 |