Ricoh Aficio MP 7502 Manuals - Page 30
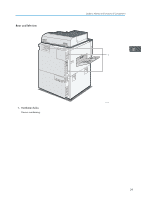
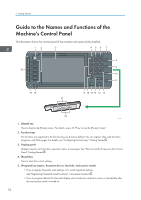
Front and right view, See p.32 Guide to the Names and Functions of the Machine's Control Panel.
 |
View all Ricoh Aficio MP 7502 manuals
Add to My Manuals
Save this manual to your list of manuals |
Page 30 highlights
2. Getting Started 5. Control panel See p.32 "Guide to the Names and Functions of the Machine's Control Panel". 6. Front cover Open to access the inside of the machine. 7. Paper trays (trays 1-3) Load paper here. Tray 1 is a tandem tray where paper on the left side automatically moves to the right when paper there has run out. Front and right view 1 2 3 4 CJS103 1. Ventilation holes Prevent overheating. 2. Paper guides When loading paper in the bypass tray, align the paper guides flush against the paper. 3. Bypass tray Use to copy or print on OHP transparencies and label paper (adhesive labels). 4. Extender Pull this extender out when loading A4 , 81/2×11 or larger size paper in the bypass tray. 28
5.
Control panel
See p.32 "Guide to the Names and Functions of the Machine's Control Panel".
6.
Front cover
Open to access the inside of the machine.
7.
Paper trays (trays 1–3)
Load paper here.
Tray 1 is a tandem tray where paper on the left side automatically moves to the right when paper there has
run out.
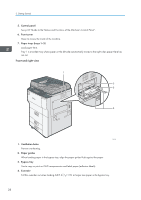
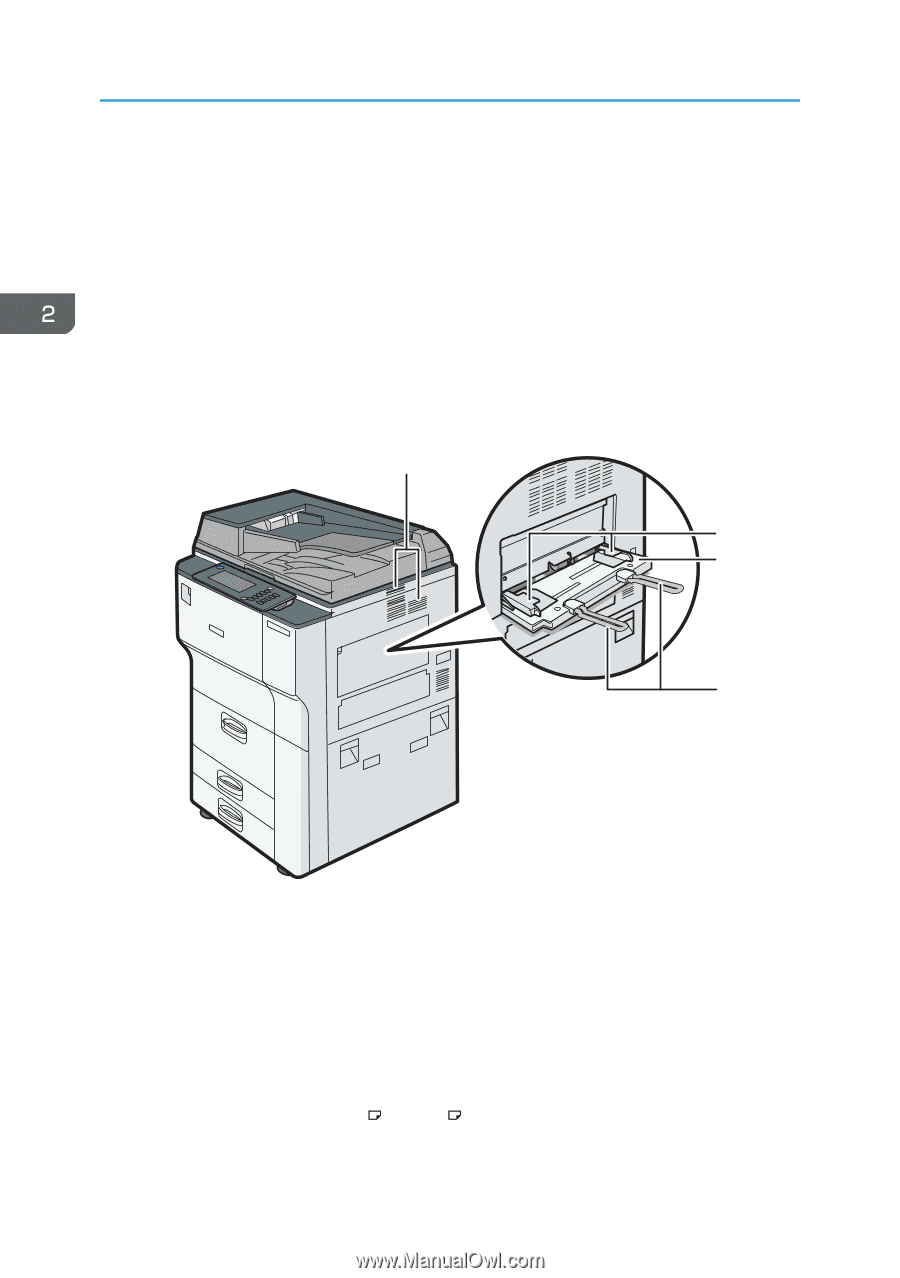
Front and right view
CJS103
1
2
3
4
1.
Ventilation holes
Prevent overheating.
2.
Paper guides
When loading paper in the bypass tray, align the paper guides flush against the paper.
3.
Bypass tray
Use to copy or print on OHP transparencies and label paper (adhesive labels).
4. Extender
Pull this extender out when loading A4
, 8
1
/
2
×11
or larger size paper in the bypass tray.
2. Getting Started
28


