Ricoh P C200W Quick Guide - Page 1
Ricoh P C200W Manual
 |
View all Ricoh P C200W manuals
Add to My Manuals
Save this manual to your list of manuals |
Page 1 highlights
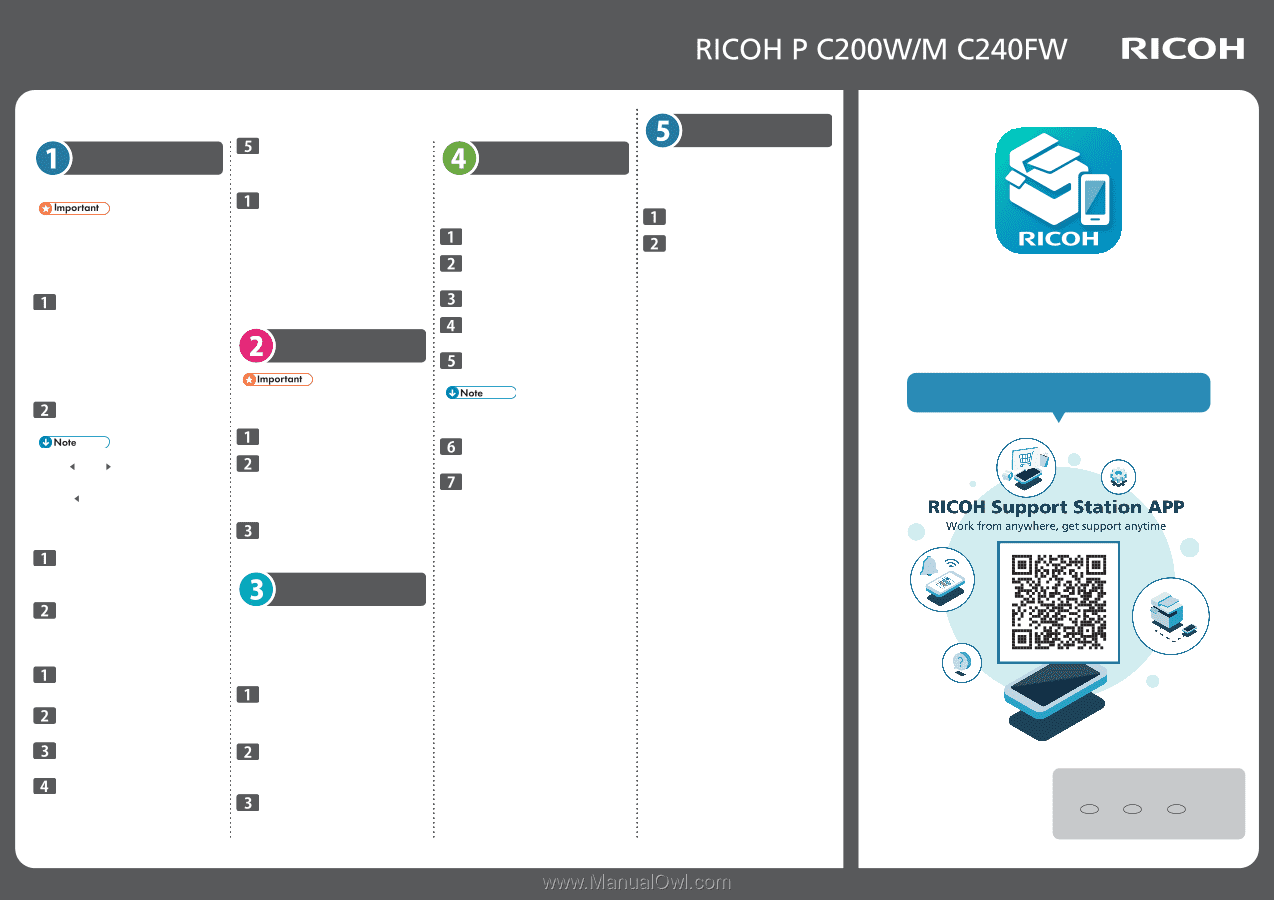
Quick Guide Read this manual carefully before you use this machine and keep it handy for future reference. For safe and correct use, be sure to read the "Safety Information" before using the machine. Connecting This Machine Y Connecting to a Wi‑Fi network Before you begin, make sure that: • [Active Adapter] is set to [Auto]. From the control panel, select [Settings] > [Network/Ports] > [Net‑ work Overview] > [Active Adapter]. • The Ethernet cable is not connected to the printer. P C200W: From the control panel, select [Settings] > [Network/Ports] > [Wireless] > [Setup On Printer Panel]. M C240FW: From the home screen, touch [Settings] > [Network/Ports] > [Wireless] > [Setup On Printer Panel] > [Choose Network]. Select a Wi‑Fi network, and then type the network password. How to enter characters • Use [ ] and [ ] to select alphanumeric and symbols. • Press [OK] to move and enter the next character. • Press [ ] to return to the previous character and correct it. • Press [x] to delete all characters. Enter the 8-digit WPS PIN number and save the changes. Y Connecting via USB or wired LAN When connecting via USB, connect a USB cable to the USB port on this machine. When connecting via wired LAN, connect an Ethernet cable to the Ethernet port on this machine. This machine uses DHCP by default so the IP address is set automatically. You can view the IP address on the home screen of the control panel. Installing the Printer Driver • When setting up this machine in a teleworking envi‑ ronment, disconnect the PC's VPN and then ensure the printer and PC are on the same network. Turn on the PC. Insert the included CD-ROM in the PC to be used. When using a PC without a CD-ROM drive, download the files required for setup from the Ricoh website (https://www.ricoh.com/support/). Follow the instructions in the setup wizard to install the printer driver. Sending to a Shared Folder (M C240FW only) Creating a shared folder on the PC in advance and setting the destination enables scanned images to be directly saved to the shared folder. Create a shared folder on the PC. Enter this machine's IP address in a web browser to open Embedded Web Server. Click [Shortcuts] > [Add Shortcut]. Change [Shortcut Type] to [Network Folder]. Set the shared path and authentication method. • If the shared path is not specified with the IP ad‑ dress of the PC where the shared folder has been created, scanning may not be successful. Perform settings for such as the scanned image if required and then click [Save]. Set the document to be scanned in this machine, select the registered scan destination from the shortcut menu on the control panel, then scan the document. From the control panel, select [Settings] > [Network/Ports] > [Wireless] > [Wi-Fi Protected Setup] > [Start Push Button Method]. Press the WPS button on the router within 2 minutes. From the control panel, select [Settings] > [Network/Ports] > [Wireless] > [Wi-Fi Protected Setup] > [Start PIN Method]. Make a note of the 8-digit WPS PIN number that displays. Using WSD Scan (M C240FW only) RICOH P C200SFL supports WSD scan. When the driver installation is complete, scanning can be performed from the PC using the following procedure. The example given here assumes Windows 10 is being used. Select the Windows [Start] icon > [Windows Accessories] > [Windows Fax and Scan]. [Windows Fax and Scan] starts. Open a web browser and enter the IP address of the router in the address bar. Access WPS settings on the router. Click [New Scan]. When the [Select Device] screen displays, select this machine and then click [OK]. Refer to the router's manual for details. Change the scan settings if required and then click [Scan]. The scanner begins to scan the document. Viewing the Manual The manual can be viewed from either the included CD-ROM or the Ricoh website. Y When viewing from the CD-ROM Insert the CD-ROM in the PC. Open the PDF file located in the following path on the CD-ROM. :\Pubs\P_C200W\English\ user.pdf :\Pubs\M_C240FW\English\ user.pdf Y When viewing from the web Access the website from the following URL, search using the name of the product you are using, then download the manual. https://www.ricoh.com/support/ Free to download, RICOH Support Station App allows you to perform initial setup, check the manual and manage the printer's status from your smart device. Scan the QR code to find out more. © 2022 Ricoh Co., Ltd. EN GB EN US EN AU M995-7019
-
 1
1
 |
 |