Samsung 2333HD Quick Guide (ENGLISH) - Page 4
Setup, tomized Key - monitor
 |
UPC - 729507806389
View all Samsung 2333HD manuals
Add to My Manuals
Save this manual to your list of manuals |
Page 4 highlights
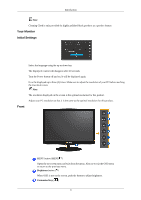
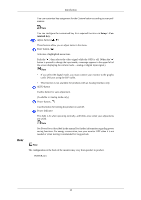
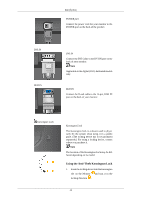
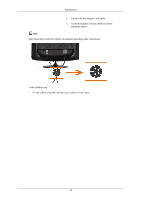
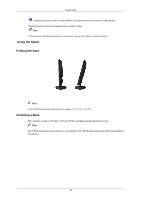
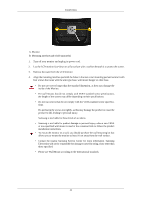
Introduction You can customize key assignment for the Custom button according to your preferences. Rear Note You can configure the customized key for a required function via Setup > Customized Key. Adjust buttons [ ] These buttons allow you to adjust items in the menu. Enter button [ ] Activates a highlighted menu item. Push the ' ', then selects the video signal while the OSD is off. (When the ' ' button is pressed to change the input mode, a message appears in the upper left of the screen displaying the current mode -- analog or digital input signal.) Note • If you select the digital mode, you must connect your monitor to the graphic card's DVI port using the DVI cable. • This function is not available for products with an Analog interface only. AUTO button Usethis button for auto adjustment. (Available in Analog mode only) Power button [ ] Use this button for turning the product on and off. Power Indicator This light is lit when operating normally, and blinks once when your adjustments are saved. Note See PowerSaver described in the manual for further information regarding power saving functions. For energy conservation, turn your monitor OFF when it is not needed or when leaving it unattended for long periods. Note The configuration at the back of the monitor may vary from product to product. POWER port 10
-
 1
1 -
 2
2 -
 3
3 -
 4
4 -
 5
5 -
 6
6 -
 7
7 -
 8
8 -
 9
9 -
 10
10 -
11
-
12
-
13
-
14
-
15
-
16
 |
 |