Samsung 710T User Manual (ENGLISH) - Page 11
SyncMaster 710T / 910T / 711T / 912T / 701TOption
 |
View all Samsung 710T manuals
Add to My Manuals
Save this manual to your list of manuals |
Page 11 highlights
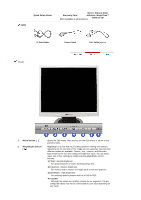
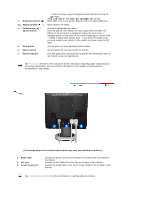
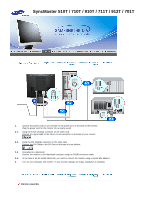
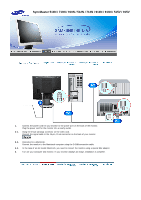
SyncMaster 710T / 910T / 711T / 912T / 701T(Option) (The configuration at the back of the monitor may vary from product to product.) 1. Power port 2. DVI port 3. D-sub 15-pin port 4. Power on/off Switch (option) Connect the power cord for your monitor to the power port on the back of the monitor. Connect the DVI Cable to the DVI Port on the back of your Monitor. Connect the signal cable to the 15-pin, D-sub connector on the back of your monitor. Use this button for turn the monitor on and off. See Connecting Your Monitor for further information regarding cable connections.
-
 1
1 -
2
-
3
-
4
-
5
-
 6
6 -
 7
7 -
 8
8 -
 9
9 -
 10
10 -
 11
11 -
 12
12 -
 13
13 -
 14
14 -
 15
15 -
 16
16 -
17
-
18
-
19
-
20
-
21
-
22
-
23
-
24
-
25
-
26
-
27
-
28
-
29
-
30
-
31
-
32
-
33
-
34
-
35
-
36
-
37
-
38
-
39
-
40
-
41
-
42
-
43
-
44
-
45
-
46
-
47
-
48
-
49
-
50
-
51
-
52
-
53
-
54
-
55
-
56
-
57
-
58
-
59
-
60
-
61
-
62
-
63
-
64
-
65
-
66
-
67
-
68
-
69
-
70
-
71
-
72
-
73
-
74
-
75
-
76
-
77
-
78
-
79
-
80
-
81
-
82
-
83
 |
 |
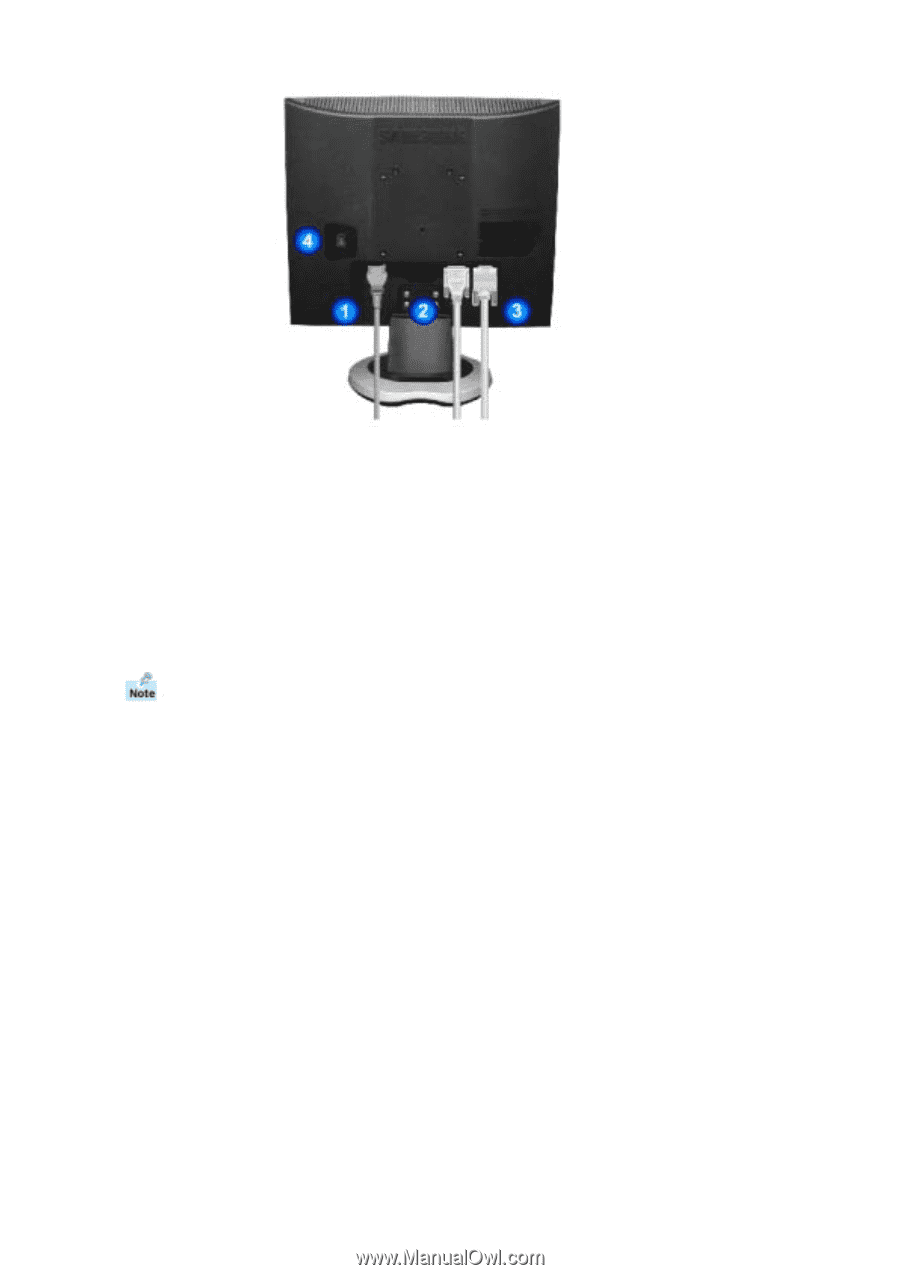
SyncMaster 710T / 910T / 711T / 912T / 701T(Option)
(The configuration at the back of the monitor may vary from product to product.)
1.
Power port
Connect the power cord for your monitor to the power port on the back
of the monitor.
2.
DVI port
Connect the DVI Cable to the DVI Port on the back of your Monitor.
3.
D-sub 15-pin port
Connect the signal cable to the 15-pin, D-sub connector on the back
of your monitor.
4.
Power on/off Switch
(option)
Use this button for turn the monitor on and off.
See
Connecting Your Monitor
for further information regarding cable connections.