Samsung DV484ETHAWR/A1 User Manual Ver.1.0 (English, French, Spanish) - Page 28
Rack Dry
 |
View all Samsung DV484ETHAWR/A1 manuals
Add to My Manuals
Save this manual to your list of manuals |
Page 28 highlights
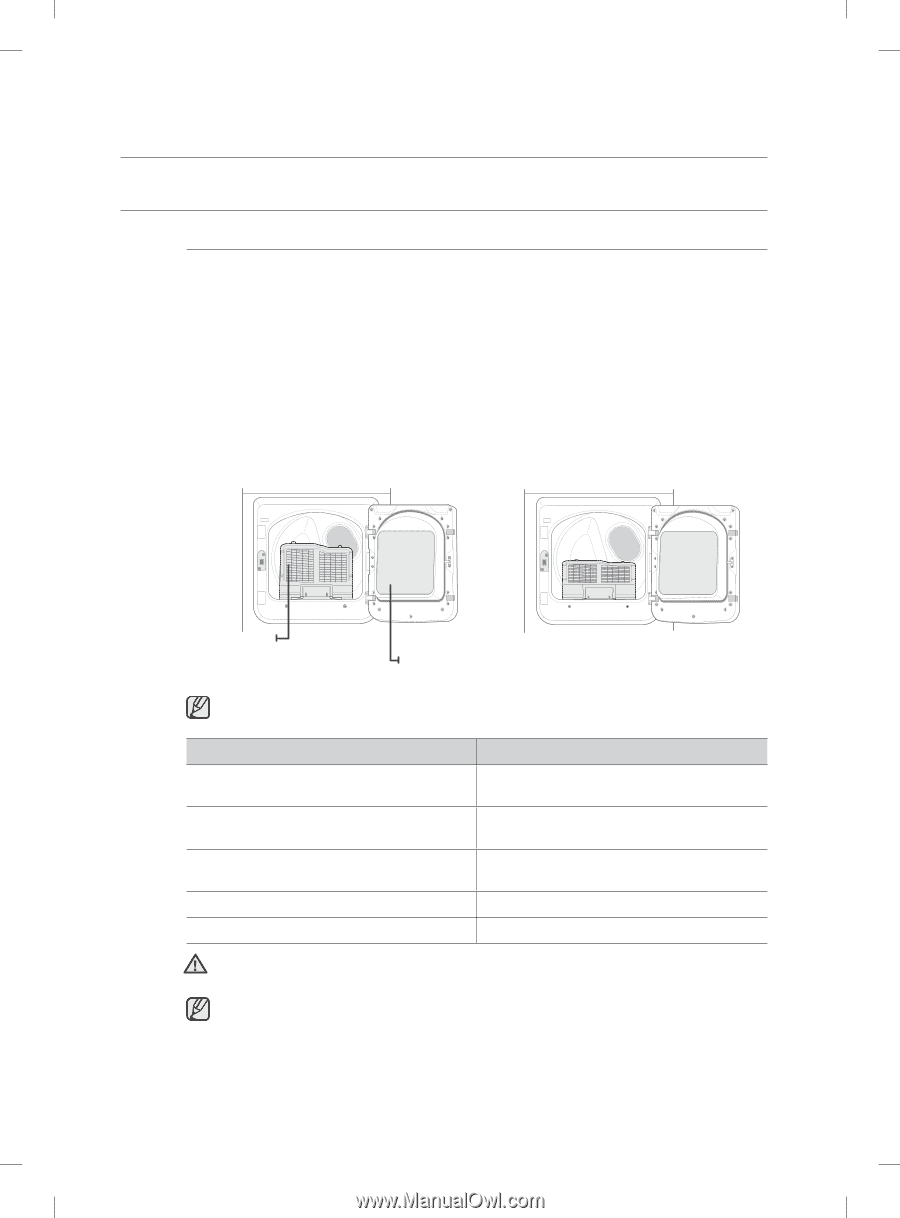
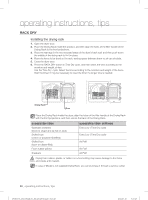
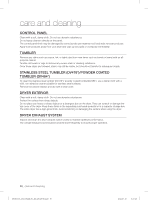
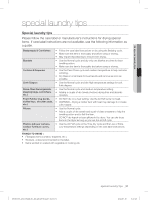
operating instructions, tips RACK DRY Installing the drying rack 1. Open the dryer door. 2. Place the Drying Rack inside the product, and then align the holes of the filter handle of the Drying Rack to the front projections. 3. Place the rear legs in the two recessed areas of the dryer's back wall, and then push down the middle of the drying rack to fix it in place. 4. Place the items to be dried on the rack, leaving space between them so air can circulate. 5. Close the dryer door. 6. Press the RACK DRY button in Time Dry cycle, and then select the time according to the moisture and weight of item. Use the Time Dry cycle. Select the time according to the moisture and weight of the items. Start the Dryer. It may be necessary to reset the timer if a longer time is needed. Drying Rack Door Place the Drying Rack inside the dryer, align the holes of the filter handle of the Drying Rack with the front projections, and then secure the back of the Drying Rack. SUGGESTED ITEMS Washable sweaters (block to shape and lay flat on rack) Stuffed toys (cotton or polyester fiberfilled) Stuffed toys (foam or rubber-filled) Foam rubber pillows Sneakers SUGGESTED TEMP. SETTINGS Extra Low ( Time Dry cycle) Extra Low ( Time Dry cycle) Air Fluff Air Fluff Air Fluff Drying foam rubber, plastic, or rubber on a heat setting may cause damage to the items WARNING and create a fire hazard. In case of Model is not supplied Drying Rack, you can purchase it through a service center. 28_ operating instructions, tips DVDV476_484_03022E-01_EN_20120710.indd Sec6:28 2012-07-10 5:27:25
-
 1
1 -
2
-
3
-
4
-
5
-
6
-
7
-
8
-
9
-
10
-
11
-
12
-
13
-
14
-
15
-
16
-
17
-
18
-
19
-
20
-
21
-
22
-
 23
23 -
 24
24 -
 25
25 -
 26
26 -
 27
27 -
 28
28 -
 29
29 -
 30
30 -
 31
31 -
 32
32 -
 33
33 -
34
-
35
-
36
-
37
-
38
-
39
-
40
-
41
-
42
-
43
-
44
-
45
-
46
-
47
-
48
-
49
-
50
-
51
-
52
-
53
-
54
-
55
-
56
-
57
-
58
-
59
-
60
-
61
-
62
-
63
-
64
-
65
-
66
-
67
-
68
-
69
-
70
-
71
-
72
-
73
-
74
-
75
-
76
-
77
-
78
-
79
-
80
-
81
-
82
-
83
-
84
-
85
-
86
-
87
-
88
-
89
-
90
-
91
-
92
-
93
-
94
-
95
-
96
-
97
-
98
-
99
-
100
-
101
-
102
-
103
-
104
-
105
-
106
-
107
-
108
-
109
-
110
-
111
-
112
-
113
-
114
-
115
-
116
-
117
-
118
-
119
-
120
-
121
-
122
-
123
-
124
-
125
-
126
-
127
-
128
-
129
-
130
-
131
-
132
 |
 |