Samsung SCL860 User Manual (user Manual) (ver.1.0) (English) - Page 30
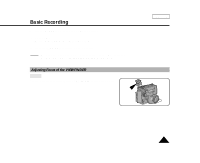
Adjusting the LCD
 |
View all Samsung SCL860 manuals
Add to My Manuals
Save this manual to your list of manuals |
Page 30 highlights
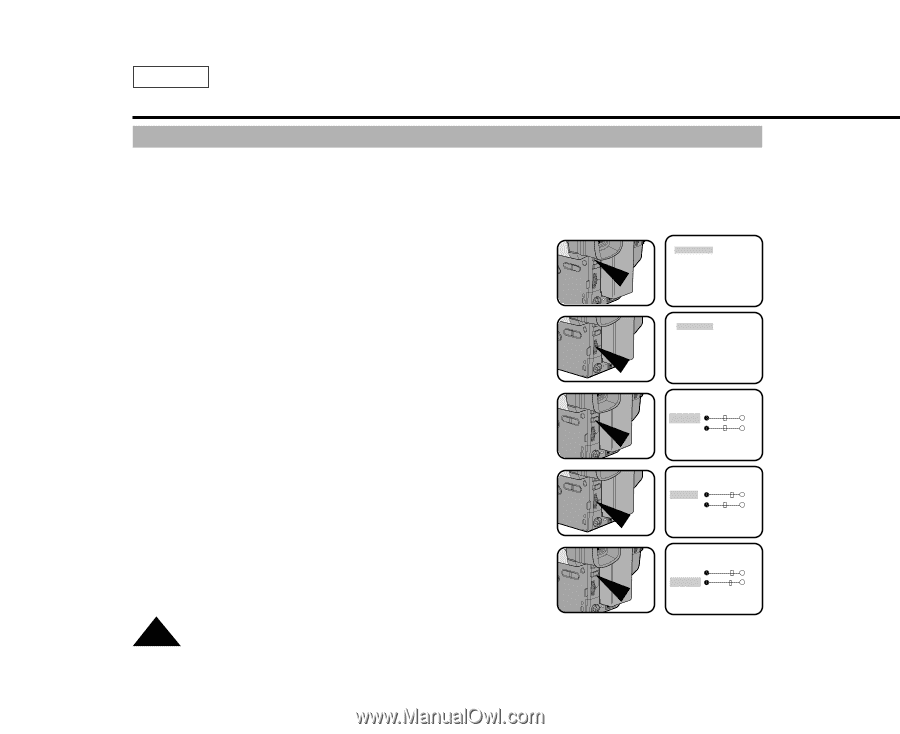
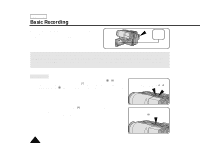
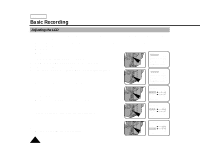
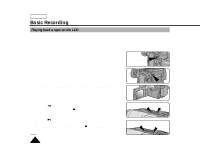
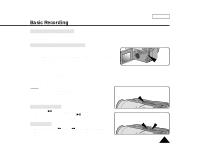
ENGLISH Basic Recording Adjusting the LCD 1 Your camcorder is equipped with a 2.5 inch color Liquid Crystal Display (LCD) screen, which allows you to view recording or playback directly. 1 Depending on the conditions in which you are using the camcorder (indoors or outdoors for example), you can adjust: s Brightness s Color MENU 1. Make sure that the battery pack is in place. 2. Set the power switch to CAMERA mode. (see page 22) 3. Open the LCD monitor, then the LCD will turn on. LCD ADJUST DIS OFF D.ZOOM OFF PIP OFF DISPLAY ON WHITE BAL AUTO WL REMOCON ON NEXT: MENU 4. Press the MENU ON/OFF button, the MENU list will be displayed. 5. Turn the UP/DOWN dial to LCD ADJUST. MENU LCD ADJUST DIS OFF D.ZOOM OFF PIP OFF DISPLAY ON WHITE BAL AUTO WL REMOCON ON NEXT: MENU 6. Press ENTER. s The LCD ADJUST MENU will be displayed. LCD ADJUST [17] BRIGHT COLOR [17] EXIT: MENU 7. Turn the UP/DOWN dial to adjust the LCD brightness. LCD ADJUST [20] BRIGHT COLOR [17] EXIT: MENU 8. Press ENTER. s The cursor will move to the next item. LCD ADJUST [20] BRIGHT COLOR [19] EXIT: MENU 30
-
 1
1 -
2
-
3
-
4
-
5
-
6
-
7
-
8
-
9
-
10
-
11
-
12
-
13
-
14
-
15
-
16
-
17
-
18
-
19
-
20
-
21
-
22
-
23
-
24
-
 25
25 -
 26
26 -
 27
27 -
 28
28 -
 29
29 -
 30
30 -
 31
31 -
 32
32 -
 33
33 -
 34
34 -
 35
35 -
36
-
37
-
38
-
39
-
40
-
41
-
42
-
43
-
44
-
45
-
46
-
47
-
48
-
49
-
50
-
51
-
52
-
53
-
54
-
55
-
56
-
57
-
58
-
59
-
60
-
61
-
62
-
63
-
64
-
65
-
66
-
67
-
68
-
69
-
70
-
71
-
72
-
73
-
74
-
75
-
76
 |
 |