Sharp CD-ES66 CD-ES66 CD-ES600 Operation Manual - Page 26
Recording on a cassette tape continued
 |
View all Sharp CD-ES66 manuals
Add to My Manuals
Save this manual to your list of manuals |
Page 26 highlights
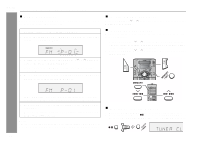
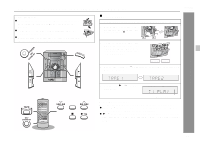
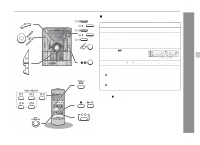
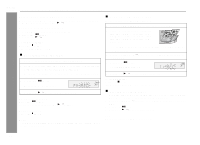
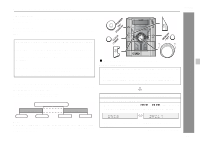
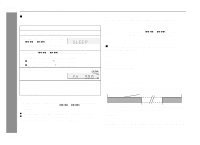
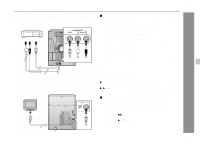
CD-ES600 CD-ES66 Recording on a cassette tape (continued) Tape Recording Recording from several CDs continuously: 1 Perform steps 1 - 5 in "Recording from a CD (CDs)" on page 25. 2 Within 5 seconds, press the / . To perform programmed recording: 1 Program discs and tracks. (See page 20.) 2 Press the button. 3 Press the / . To stop recording: Press the button. The CD and tape will stop. ! Recording from the radio 1 Tune in to the desired station. (See page 21.) 2 Load a cassette into the TAPE 2 cassette compartment with the side to be recorded on facing you. Wind past the leader of the tape, on which recording cannot be performed. 3 Press the button. Recording will be paused. 4 Press the / button to start recording. To interrupt recording: Press the button. To resume recording, press the / button. To stop recording: Press the button. Note: If you hear a whistling noise while recording an AM station, move the AM loop antenna. ! Dubbing from tape to tape You can record from TAPE 1 to TAPE 2. 1 Press the ON/STAND-BY button to turn the power on. 2 Load a prerecorded cassette into the TAPE 1 cassette compartment. Insert a blank tape into the TAPE 2 cassette compartment. It is recommended that the recording tape is the same length as the master tape. 3 Press the TAPE (1 2) button until "TAPE 1" appears on the display. 4 Press the button. Recording will be paused. 5 Press the / button to start dubbing. To stop dubbing: Press the button. TAPE 1 and TAPE 2 will simultaneously stop. ! Erasing recorded tapes 1 Load the tape to be erased into the TAPE 2 cassette compartment with the side to be erased facing toward you. 2 Press the TAPE (1 2) button until "TAPE 2" appears on the display. 3 Press the button. 4 Press the / button to start erasing. Note: Make sure that the TAPE 1 is not in use. 26
-
 1
1 -
2
-
3
-
4
-
5
-
6
-
7
-
8
-
9
-
10
-
11
-
12
-
13
-
14
-
15
-
16
-
17
-
18
-
19
-
20
-
 21
21 -
 22
22 -
 23
23 -
 24
24 -
 25
25 -
 26
26 -
 27
27 -
 28
28 -
 29
29 -
 30
30 -
 31
31 -
32
-
33
-
34
-
35
-
36
 |
 |
