Sharp GX33 User Guide - Page 57
Adjusting the Brightness of the Picture, According to Lighting Conditions, Viewing the Taken Pictures
 |
View all Sharp GX33 manuals
Add to My Manuals
Save this manual to your list of manuals |
Page 57 highlights
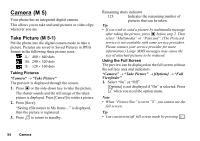
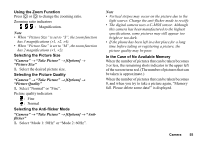
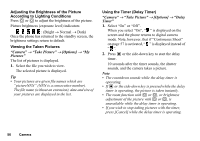
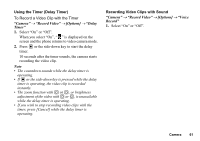
Adjusting the Brightness of the Picture According to Lighting Conditions Press a or b to adjust the brightness of the picture. Picture brightness (exposure level) indicators : (Bright → Normal → Dark) Once the phone has returned to the standby screen, the brightness settings return to default. Viewing the Taken Pictures "Camera" → "Take Picture" → [Options] → "My Pictures" The list of pictures is displayed. 1. Select the file you wish to view. The selected picture is displayed. Tip • Your pictures are given file names which are "pictureNNN" (NNN is a consecutive number). The file name (without an extension), date and size of your pictures are displayed in the list. Using the Timer (Delay Timer) "Camera" → "Take Picture" → [Options] → "Delay Timer" 1. Select "On" or "Off". When you select "On", " " is displayed on the screen and the phone returns to digital camera mode. Note, however, that if "Continuous Shoot" on page 57 is activated, " " is displayed instead of " ". 2. Press e or the side-down key to start the delay timer. 10 seconds after the timer sounds, the shutter sounds, and the camera takes a picture. Note • The countdown sounds while the delay timer is operating. • If e or the side-down key is pressed while the delay timer is operating, the picture is taken instantly. • The zoom function with c or d, or brightness adjustment of the picture with a or b, is unavailable while the delay timer is operating. • If you wish to stop taking pictures with the timer, press [Cancel] while the delay timer is operating. 56 Camera
-
 1
1 -
2
-
3
-
4
-
5
-
6
-
7
-
8
-
9
-
10
-
11
-
12
-
13
-
14
-
15
-
16
-
17
-
18
-
19
-
20
-
21
-
22
-
23
-
24
-
25
-
26
-
27
-
28
-
29
-
30
-
31
-
32
-
33
-
34
-
35
-
36
-
37
-
38
-
39
-
40
-
41
-
42
-
43
-
44
-
45
-
46
-
47
-
48
-
49
-
50
-
51
-
 52
52 -
 53
53 -
 54
54 -
 55
55 -
 56
56 -
 57
57 -
 58
58 -
 59
59 -
 60
60 -
 61
61 -
 62
62 -
63
-
64
-
65
-
66
-
67
-
68
-
69
-
70
-
71
-
72
-
73
-
74
-
75
-
76
-
77
-
78
-
79
-
80
-
81
-
82
-
83
-
84
-
85
-
86
-
87
-
88
-
89
-
90
-
91
-
92
-
93
-
94
-
95
-
96
-
97
-
98
-
99
-
100
-
101
-
102
-
103
-
104
-
105
-
106
-
107
-
108
-
109
-
110
-
111
-
112
-
113
-
114
-
115
-
116
-
117
-
118
-
119
-
120
-
121
-
122
-
123
-
124
-
125
-
126
-
127
-
128
-
129
-
130
-
131
-
132
-
133
-
134
 |
 |
