Sharp LC-C4254U Operation Manual - Page 51
ENTER, Mode 1, Manual - aquos lc
 |
UPC - 074000371064
View all Sharp LC-C4254U manuals
Add to My Manuals
Save this manual to your list of manuals |
Page 51 highlights
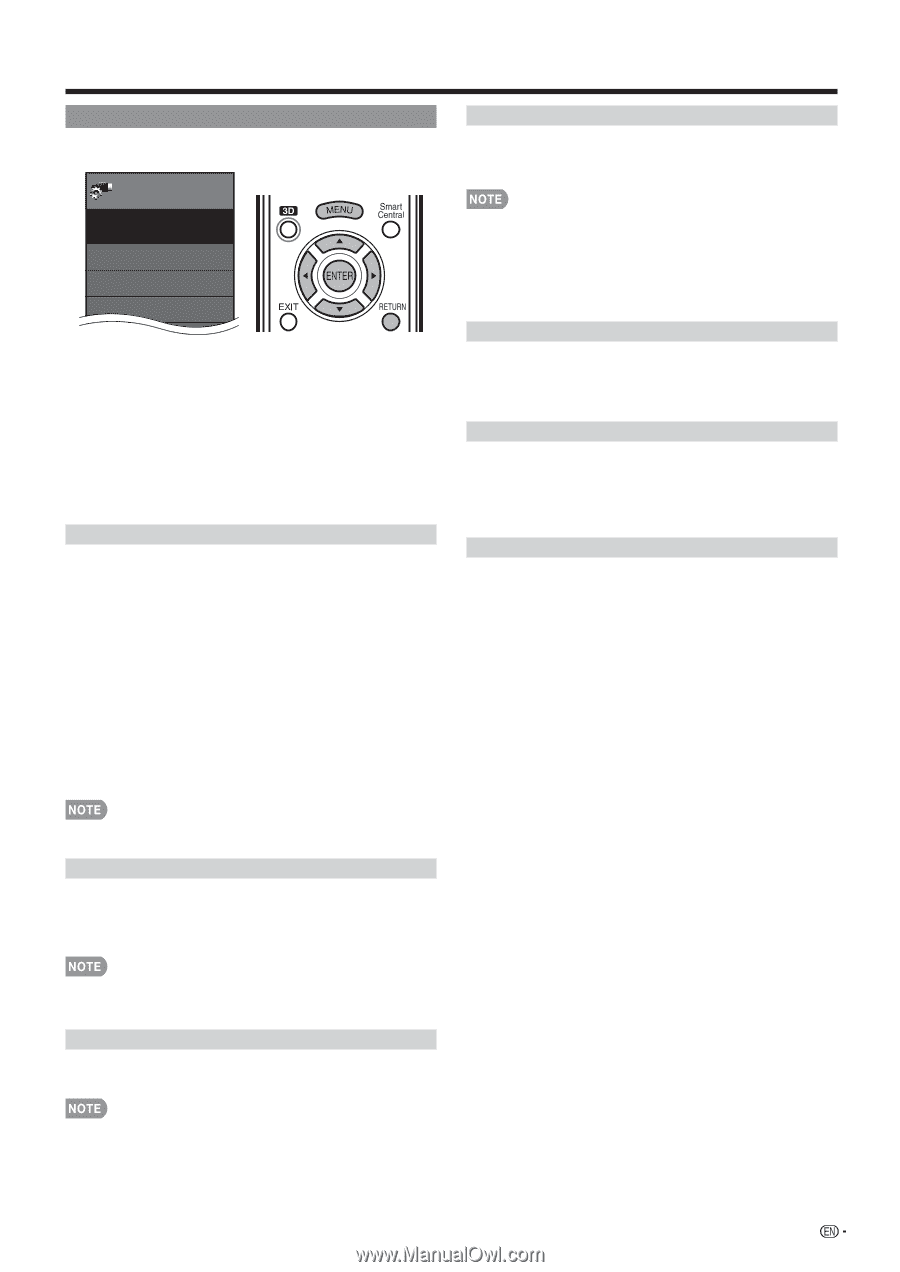
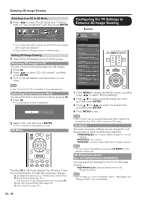
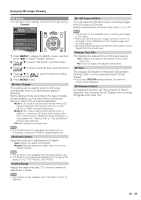
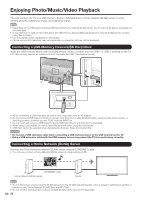
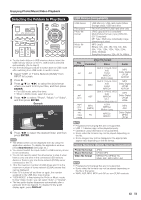
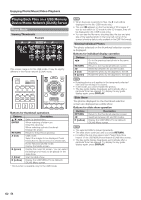
Enjoying 3D Image Viewing 3D Setup You can make various settings to enhance 3D image viewing. Example System Options System Options Menu View Option 3D Setup AQUOS LINK Setup Terminal Setting 1 Press MENU to display the MENU screen, and then press c/d to select "System Options". 2 Press a/b to select "3D Setup", and then press ENTER. 3 Press a/b to select a specific item, and then press ENTER. 4 Press a/b (or c/d) to select the desired setting, and then press ENTER. 5 Press MENU to exit. 3D Auto Change This setting can be used to switch to 3D mode automatically when a 3D identification signal is detected. Set the desired mode according to the type of media you are viewing, such as video from a connected device or video from an internet application. Mode 1: 3D mode is selected automatically when a 3D signal is detected while viewing video from a VOD service or HDMI-connected equipment. Mode 2: 3D mode is selected automatically when, in addition to detecting a 3D signal while viewing video from a VOD service or HDMI-connected equipment, a video pattern with "Side by Side" or "Top and Bottom" format is also detected. Off: Auto change is not performed. 2D➝3D Convert Effect You can adjust the 3D effect when converting images from 2D mode to 3D mode. Select a desired level of convert effect from +1 to +16. • This function is only available when converting 2D images to 3D images. • When you use this function, image conversion on the TV will result in some differences in the original images and how they appear. • 2D images that have been converted to 3D images may be viewed only for personal use. Viewing Time Info This displays the elapsed time of 3D image viewing. Yes: Displays the elapsed viewing time on the screen every hour. No: Does not display the elapsed viewing time. 3D Test This displays 3D images for testing the 3D operation. Clicking "Start" on the screen plays back 3D test images. • If you press RETURN during playback, the previous screen will be displayed. 3D Glasses Control To enable this function, set "TV Location" to "Store". Selecting "Yes" prevents the 3D Glasses from receiving 3D signals from other TVs. • This function does not work when the input source is Composite, Component, RGB or Analog/Digital tuner. 3D Depth Control Select the method for adjusting the 3D depth. Auto: Adjusts the depth automatically. Manual: Manually adjusts the depth using the function "Depth Change". • This function is only available when the input signal is 3D. • This function is not displayed depending on the type of 3D signal. (For LC-70C7450U/LC-60C7450U) Depth Change Adjusts the depth manually. "0" is the level where no adjustment is made. • This function is only available when "3D Depth Control" is "Manual". 49
-
 1
1 -
2
-
3
-
4
-
5
-
6
-
7
-
8
-
9
-
10
-
11
-
12
-
13
-
14
-
15
-
16
-
17
-
18
-
19
-
20
-
21
-
22
-
23
-
24
-
25
-
26
-
27
-
28
-
29
-
30
-
31
-
32
-
33
-
34
-
35
-
36
-
37
-
38
-
39
-
40
-
41
-
42
-
43
-
44
-
45
-
 46
46 -
 47
47 -
 48
48 -
 49
49 -
 50
50 -
 51
51 -
 52
52 -
 53
53 -
 54
54 -
 55
55 -
 56
56 -
57
-
58
-
59
-
60
-
61
-
62
-
63
-
64
-
65
-
66
-
67
-
68
-
69
-
70
-
71
-
72
-
73
-
74
-
75
-
76
-
77
-
78
-
79
-
80
-
81
-
82
-
83
-
84
-
85
-
86
-
87
-
88
-
89
-
90
-
91
-
92
-
93
-
94
-
95
-
96
-
97
-
98
 |
 |