Sharp MX-M700N MX-M550 MX-M620 MX-M700 Operation Manual - Page 63
TROUBLESHOOTING, Problem, Check, Solution or cause
 |
View all Sharp MX-M700N manuals
Add to My Manuals
Save this manual to your list of manuals |
Page 63 highlights
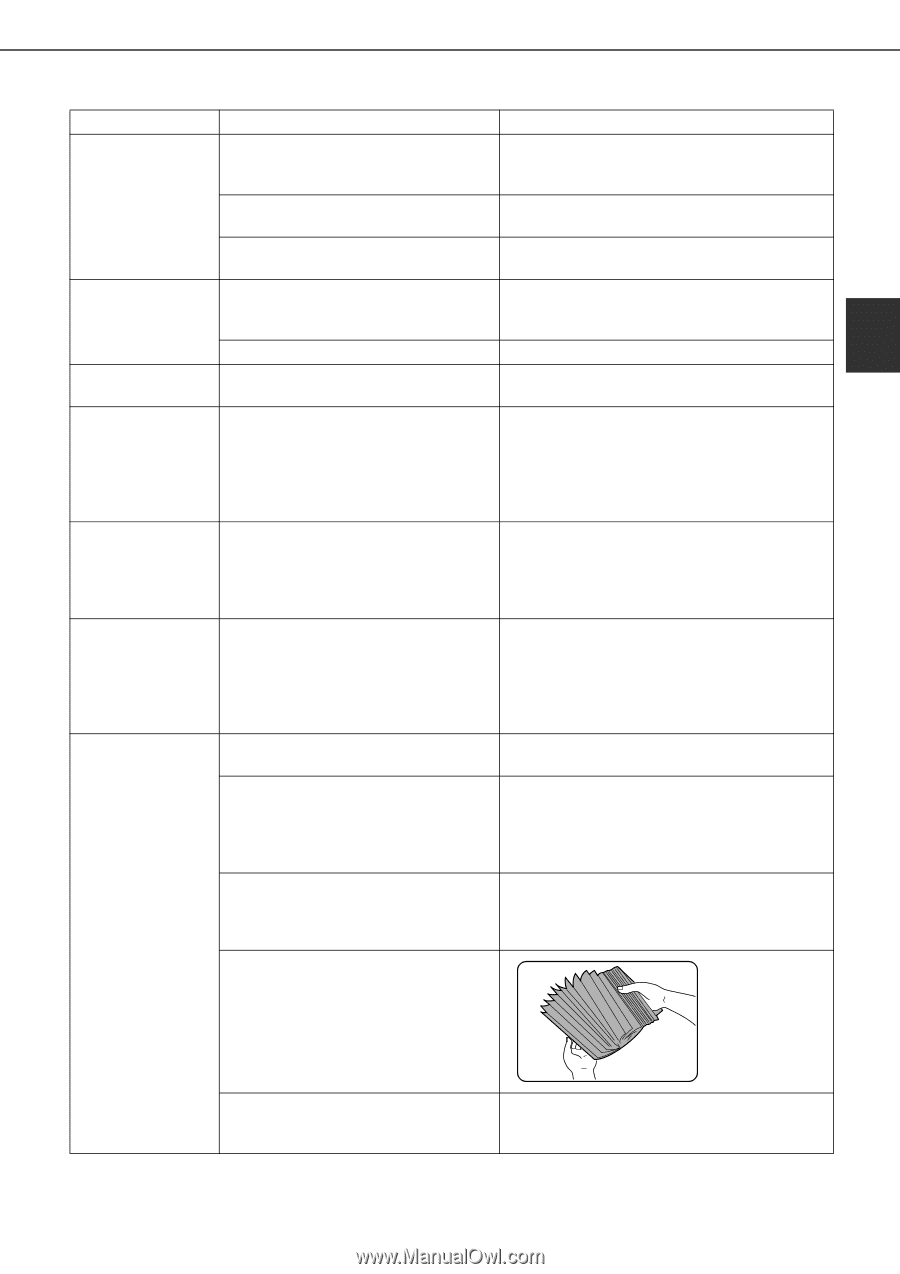
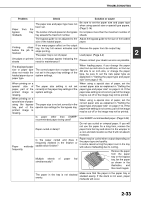
TROUBLESHOOTING Problem Check Solution or cause Paper from the The paper size and paper type have not been set. Be sure to set the paper size and paper type when using special size or special type papers. (Page 2-14) bypass tray The number of sheets placed on the bypass Do not place more than the maximum number of misfeeds. tray exceeds the maximum number. sheets. The bypass guide is not adjusted to the Adjust the bypass guide to the size of the loaded size of the loaded paper. paper. If too many pages collect on the output Printing stops tray, the tray full sensor activates and Remove the paper from the output tray. before the job is stops printing. finished. The paper tray is out of paper. Load paper. (Page 2-2) 2 Smudges on printed sheets Does a message appear indicating the need for maintenance? Please contact your dealer as soon as possible. The displayed paper size or paper type does not match the loaded paper size or paper type. The correct paper size or paper type is not set in the paper tray settings of the system settings. When loading paper, if you change the paper size from an inch size to an AB size, or from an AB size to an inch size, or change the paper type, be sure to set the new paper type as explained in "Setting the paper type and paper size" (see page 2-14). When printing on a special size of paper, part of the printed image is missing. The paper size setting is not set correctly in the paper tray settings of the system settings. When using a special size of paper, set the correct paper size as explained in "Setting the paper type and paper size" on page 2-14. If the paper size setting is not correct, part of the image may be cut off or the image may not be printed. When printing on a special size of paper using the bypass tray, part of the printed image is missing. The paper size is not set correctly in the special size settings for the bypass tray. When using a special size of paper, set the correct paper size as explained in "Setting the paper type and paper size" on page 2-14. If the paper size setting is not correct, part of the image may be cut off or the image may not be printed. Is paper other than SHARPrecommended paper being used? Use SHARP-recommended paper. (Page 2-22) Paper curled or damp? Do not use curled or crimped paper. If you will not use the paper for a long time, remove the paper from the tray and store it in the wrapper in a cool and dark location so that it will not absorb moisture. Paper misfeeds frequently. Is the paper curled and does it frequently misfeed in the finisher or saddle stitch finisher? Multiple sheets of paper fed simultaneously? Paper may be curled when output depending on the paper type and quality. In some cases turning the paper over in the tray will reduce misfeeding due to curling. Remove the paper from the paper tray or the bypass tray, fan the paper as shown in the illustration, and then load it again. The paper in the tray is not stacked evenly. Make sure that the paper in the paper tray is stacked evenly. If the stack is not even, paper misfeeds will occur. 2-33
-
 1
1 -
2
-
3
-
4
-
5
-
6
-
7
-
8
-
9
-
10
-
11
-
12
-
13
-
14
-
15
-
16
-
17
-
18
-
19
-
20
-
21
-
22
-
23
-
24
-
25
-
26
-
27
-
28
-
29
-
30
-
31
-
32
-
33
-
34
-
35
-
36
-
37
-
38
-
39
-
40
-
41
-
42
-
43
-
44
-
45
-
46
-
47
-
48
-
49
-
50
-
51
-
52
-
53
-
54
-
55
-
56
-
57
-
 58
58 -
 59
59 -
 60
60 -
 61
61 -
 62
62 -
 63
63 -
 64
64 -
 65
65 -
 66
66 -
 67
67 -
 68
68 -
69
-
70
-
71
-
72
-
73
-
74
-
75
-
76
-
77
-
78
-
79
-
80
-
81
-
82
-
83
-
84
-
85
-
86
-
87
-
88
-
89
-
90
-
91
-
92
-
93
-
94
-
95
-
96
-
97
-
98
-
99
-
100
-
101
-
102
-
103
-
104
-
105
-
106
-
107
-
108
-
109
-
110
-
111
-
112
-
113
-
114
-
115
-
116
-
117
-
118
-
119
-
120
-
121
-
122
-
123
-
124
-
125
-
126
-
127
-
128
-
129
-
130
-
131
-
132
-
133
-
134
-
135
-
136
-
137
-
138
-
139
-
140
-
141
-
142
-
143
-
144
-
145
-
146
-
147
-
148
-
149
-
150
-
151
-
152
-
153
-
154
-
155
-
156
-
157
-
158
-
159
-
160
-
161
-
162
-
163
-
164
-
165
-
166
-
167
-
168
-
169
-
170
-
171
-
172
-
173
-
174
-
175
-
176
-
177
-
178
-
179
-
180
-
181
-
182
-
183
-
184
-
185
-
186
-
187
-
188
-
189
-
190
-
191
-
192
-
193
-
194
-
195
-
196
-
197
-
198
-
199
-
200
 |
 |