Singer SM024 User Manual
Singer SM024 Manual
 |
View all Singer SM024 manuals
Add to My Manuals
Save this manual to your list of manuals |
Singer SM024 manual content summary:
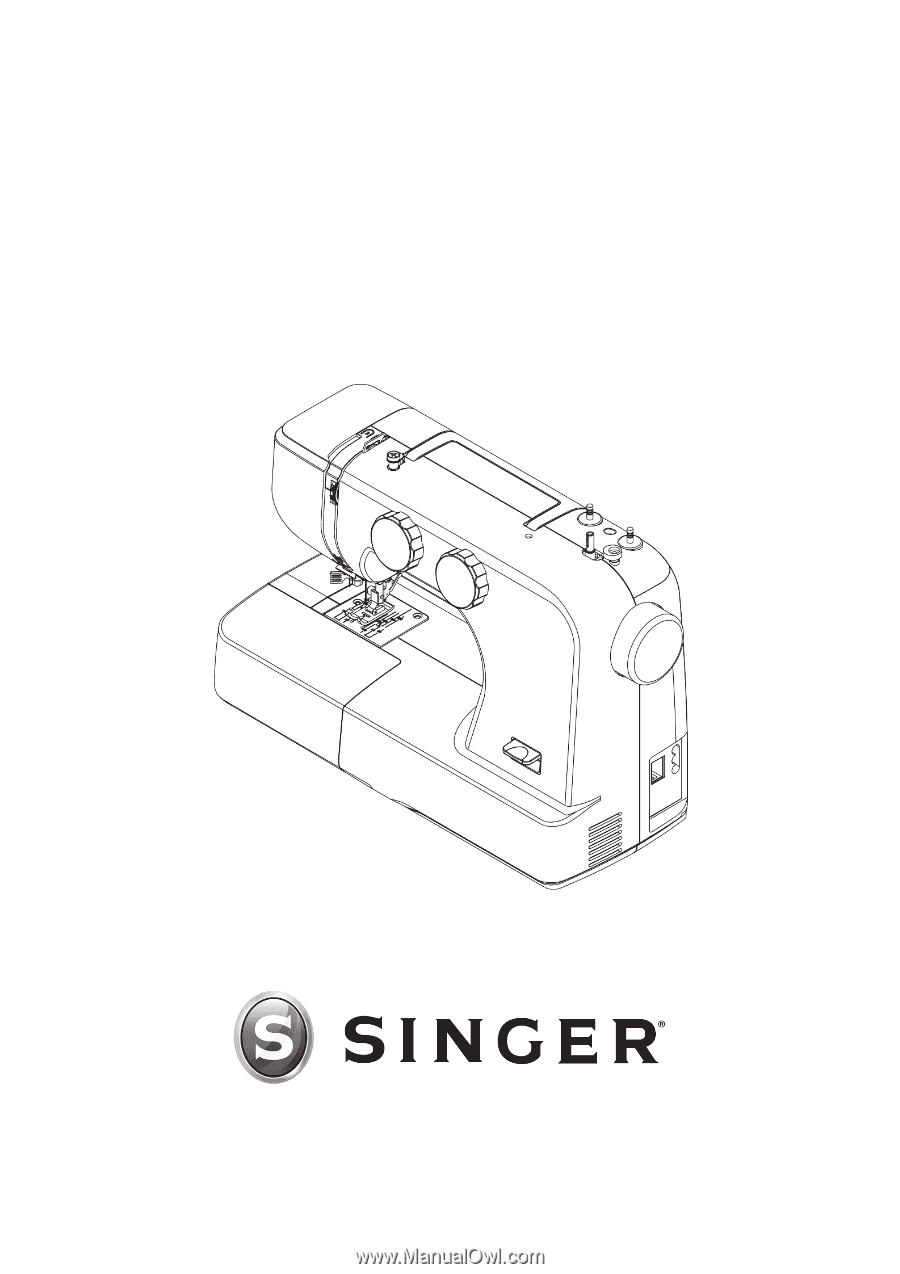
- Singer SM024 | User Manual - Page 1
INSTRUCTION MANUAL SM024 - Singer SM024 | User Manual - Page 2
left unattended when plugged in. Always unplug this sewing machine from the electric outlet immediately after using and before cleaning, removing covers, lubricating or when making any other user servicing adjustments mentioned in the instruction manual. WARNING - TO REDUCE THE RISK OF BURNS, FIRE - Singer SM024 | User Manual - Page 3
NOTES - Singer SM024 | User Manual - Page 4
NOTES - Singer SM024 | User Manual - Page 5
SEWING MACHINE Main parts 2 Accessories 3 Setting up your machine 3 Power line cord, foot control 3 Power/light switch 3 Converting to free-arm sewing 4 Presser foot lifter 4 Reverse sewing lever 4 Lowering the feed teeth 4 Seam guide lines 5 Setting spool pins 5 Winding the bobbin Sewing - Singer SM024 | User Manual - Page 6
KNOWING YOUR SEWING MACHINE Main parts 1. Stitch length dial 2. Pattern selector dial 3. Thread tension control dial 4. Face cover 5. Thread take-up lever 6. Thread guide 7. Bobbin winding tension disk 8. Carry handle 9. Spool pins 10. Small top cover 11. Hand wheel 12. Power cord inlet 13. Power - Singer SM024 | User Manual - Page 7
screwdriver 4. Ripper/Brush 5. Buttonhole foot 6. Hem guide for presser foot 7. Zipper foot 8. Button sewing foot *Your machine uses SINGER® Class 15J transparent bobbins. Use only this style of bobbin in your machine. The foot that comes on your sewing machine is called allpurpose foot and will be - Singer SM024 | User Manual - Page 8
3. Lift it to its highest position to change the presser foot or to insert or remove thick fabrics. Reverse sewing lever As long as you are pressing down this lever while sewing, the machine will feed the fabric backwards. Lowering the feed teeth 1. For lowering the feed teeth, press down lever and - Singer SM024 | User Manual - Page 9
YOUR SEWING MACHINE Seam guide lines The numbers on the needle plate indicate the distance between the center needle position and the various seam guide lines in order to feed thread to the machine. To use, pull up the spool pin. Push down for storage. Winding the bobbin 1. Place a spool of thread on - Singer SM024 | User Manual - Page 10
KNOWING YOUR SEWING MACHINE Removing or replace the bobbin case 1. Refer to page 4 to take off the removable storage compartment. Raise the needle by turning the hand wheel toward you, then open the shuttle cover. 2. Take out bobbin case holding the latch. 3. When installing the bobbin case, the pin - Singer SM024 | User Manual - Page 11
KNOWING YOUR SEWING MACHINE Threading the machine Raise take-up lever to its highest position by on spool pin as shown, with thread coming from the back of the spool. 1. Draw thread into thread guide using both hands. 2. Draw the thread down into the tension area and around the U-turn. 3. Firmly - Singer SM024 | User Manual - Page 12
KNOWING YOUR SEWING MACHINE Using automatic needle threader Raise the needle to its highest position by rotating the hand wheel towards you. 1. Hook thread to thread guide, as illustrated. 2. Pull down the lever while holding the end of thread. 3. Rotate the lever to the rear of the machine until - Singer SM024 | User Manual - Page 13
KNOWING YOUR SEWING MACHINE Drawing up bobbin thread Raise the presser foot and hold the needle threads back and under the presser foot. Balancing top thread tension The top thread and the bobbin thread should interlock in the center of two layers of fabric in straight seams. Set the desired - Singer SM024 | User Manual - Page 14
SEWING MACHINE Needle, thread and fabric chart Your fabric will determine the choice of a needle and thread. The following table is a practical guide to needle and thread selection. Always refer to it before a new sewing project. And be sure to use the same size and type of thread in the bobbin - Singer SM024 | User Manual - Page 15
KNOWING YOUR SEWING MACHINE Pattern selector dial Select the desired pattern at the setting mark by turning the pattern selector dial. Selecting stretch stitch patterns When sewing stretch stitches, set the stitch length dial at "SS". When forward and reverse feeds become unbalanced depending upon - Singer SM024 | User Manual - Page 16
YOUR SEWING MACHINE Useful sewing tips Various ways to achieve better sewing results are described below. Refer to these tips when sewing. 1. Trial sewing Use different stitch width and length for trial sewing. When you have finished, select the best looking stitch length for correct sewing. For - Singer SM024 | User Manual - Page 17
and smooth the thread towards the back. Depress the foot control. Gently guide the fabric along the guide line letting the fabric feed by itself. For securing the ends of seams, press the reverse stitch lever and sew several reverse stitches. Raise the presser foot and remove the fabric, drawing - Singer SM024 | User Manual - Page 18
Zigzag stitch Simple zigzag stitching is widely used for overcasting, sewing on buttons, decorative stitching, etc. Machine Setting The zigzag stitch can also be used on the seam allowance to prevent fabrics from fraying at raw edges. Machine Setting Overedge stitch Overedge stitch will be done most - Singer SM024 | User Manual - Page 19
-hand side of the stitches falls at the edge of the fabric. This stitch can also be used for elastic insertion, decorative stitching, and more. Machine Setting Straight stretch stitch The stitch is sewn with two stitches forward and one stitch backward forming a seam that does not rip easily - Singer SM024 | User Manual - Page 20
two holes closest to you. Then, slide the button so that the needle goes into the two holes toward the rear of the sewing machine, and then sew them in the same way. To secure thread, cut the upper thread with 25cm of excess, wind it around the thread between the button and - Singer SM024 | User Manual - Page 21
the same length as the right side and stop the machine. E. Raise the needle by turning the handwheel and select . Sew 5-6 bartack stitches at the top of the buttonhole. F. Raise the presser foot and draw out the fabric. Cut both top thread and bobbin thread leaving about 10 cm of thread ends. Use - Singer SM024 | User Manual - Page 22
. The zigzag should sew over the gimp. The lines on the buttonhole foot can be used guides when sewing multiple buttonholes. 1. Sew the buttonhole according to page 17. 6. Pull the gimp cord straightly. 7. Cut the gimp cord. Zipper application Machine Setting Attach the zipper foot. When sewing - Singer SM024 | User Manual - Page 23
UTILITY STITCHES Machine Setting Fold up the fabric as illustrated. Lower the presser foot, then loosen the foot holder screw to place the hem guide between the screw pierce the soft fold. While sewing, make sure the soft fold runs along the front wall of the hem guide. Spread the fabric flat with - Singer SM024 | User Manual - Page 24
the folded edge along the slot of foot. The needle should fall off the edge of the fabric on the right, forming a tuck. Stretch stitches Machine Setting When forward and reverse feed becomes unbalanced, depending upon the type of fabric, correct the balance by turning the stitch length dial as - Singer SM024 | User Manual - Page 25
best results. Honeycomb stitch / Smocking Machine Setting Wrong side of fabric With the stitch length "4", sew straight stitching; lines 3/8 apart across the one edge, pull the bobbin threads and distribute the gathers evenly. Secure the thread at the other end. Sew the decorative stitch between - Singer SM024 | User Manual - Page 26
DECORATIVE STITCHING Rampart stitch Use this stitch to join heavy weight interlining. Overlap two raw edges together and use this stitch to join them. Machine Setting 22 - Singer SM024 | User Manual - Page 27
the shuttle cover. 1. Open the hinged latch of the bobbin case and take it out of the machine. 2. Open the shuttle race cover holders. 3. Remove turn the machine rapidly for a minute. 3. When the machine is does working 4-8 hours or there is abnormal noise, apply 2-3 drops of sewing machine oil at - Singer SM024 | User Manual - Page 28
CARE OF YOUR MACHINE Cleaning the feed teeth Remove the needle and the presser foot. Remove the needle plate set screws and remove the needle plate. With a and lint clogging on the feed teeth. Reset the needle plate. CAUTION Be sure to disconnect the power supply before operating the machine. 24 - Singer SM024 | User Manual - Page 29
screw Face cover Oil point Oil point Apply a few drops of fine quality sewing machine oil to the point indicated by the arrows in the figures. For machine in constant use, oil two or three times a year. In case the machine does not work smoothly due to standing idle for some time, apply a few - Singer SM024 | User Manual - Page 30
. 2. Remove the little top cover. Little top cover screw Little top cover Apply a few drops of fine quality sewing machine oil to the point indicated by the arrows in the figures. For machine in constant use, oil two or three times a year. When there is abnormal noise, apply a few drops of - Singer SM024 | User Manual - Page 31
(Refer to page 5.) Thread jamming 1. The presser foot lifter is not lowered down when sewing. 2. Improper top threading. 3. Improper bobbin threading. 1. Rethread the machine and then lower the presser foot lifter before sewing. (Refer to page 4.) 2. Threading the top thread again. (Refer to page - Singer SM024 | User Manual - Page 32
the right to change the machine equipment and the assortment of accessories without prior notice, or make modifications to the performance or design. Such modifications, however, will always be to the benefit of the user and the product. INTELLECTUAL PROPERTY SINGER, and the Cameo "S" Design, are - Singer SM024 | User Manual - Page 33
471078196A • English • ®2017 The Singer Company Limited S.à.r.l or its Affiliates • All rights reserved
-
 1
1 -
 2
2 -
 3
3 -
 4
4 -
 5
5 -
 6
6 -
 7
7 -
8
-
9
-
10
-
11
-
12
-
13
-
14
-
15
-
16
-
17
-
18
-
19
-
20
-
21
-
22
-
23
-
24
-
25
-
26
-
27
-
28
-
29
-
30
-
31
-
32
-
33
 |
 |
INSTRUCTION MANUAL
SM024