Sony CDP-XE370 Operating Instructions - Page 14
Adjusting the Recording, Level Peak Search - player
 |
View all Sony CDP-XE370 manuals
Add to My Manuals
Save this manual to your list of manuals |
Page 14 highlights
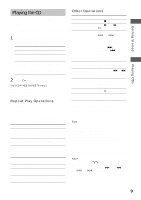
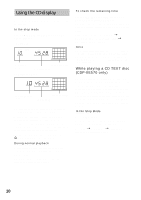
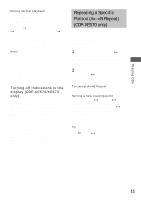
Recording a CD by Specifying Tape Length (Time Edit) (continued) 3 Press TIME EDIT to have the player create the programme. The display shows the tracks to be recorded. "TAPE B" flashes in the display. 4 When you record on both sides of the tape, press TIME EDIT again. The player inserts a pause, then creates the programme for side B. The display shows the programmed tracks. When you record on one side of the tape or on a DAT or MD, skip this step. 5 Start recording on the deck and then press H on the player. When you record on both sides of the tape, the player pauses at the end of the programme for side A. 6 Reverse the tape to side B and press H or X on the player to resume playing the remaining tracks. To cancel Time Edit Press PLAY MODE. When using the remote, press CONTINUE. Tips • You can set the tape length freely using l AMS L. Example: When the tape length of one side is 30 minutes and 15 seconds 1 To set the minutes, turn l AMS L until "30" appears in the display, then pushl AMS L. 2 To set the seconds, turn l AMS L until "15" appears in the display, then pushl AMS L. • To check and change your programme, see page 12. Adjusting the Recording Level (Peak Search) The player locates the highest level among the tracks to be recorded to let you adjust the recording level before you start recording. 1 Before you start playing, press PEAK SEARCH. "PEAK" flashes in the display and the player starts scanning the disc searching for the highest peak level. After scanning all the tracks, the player repeats the portion with the highest peak level. 2 Adjust the recording level on the deck. 3 Press x on the player to stop Peak Search. "PEAK" disappears from the display. Note The portion with the highest level may differ every time you try the adjustment on the same disc. The difference is, however, so slight that you won't find any problem in adjusting the recording level precisely. 14
-
 1
1 -
2
-
3
-
4
-
5
-
6
-
7
-
8
-
 9
9 -
 10
10 -
 11
11 -
 12
12 -
 13
13 -
 14
14 -
 15
15 -
 16
16 -
 17
17 -
 18
18 -
 19
19 -
20
 |
 |
