Sony DAV-DZ120 Operating Instructions - Page 25
Basic Operations, Playing Discs
 |
View all Sony DAV-DZ120 manuals
Add to My Manuals
Save this manual to your list of manuals |
Page 25 highlights
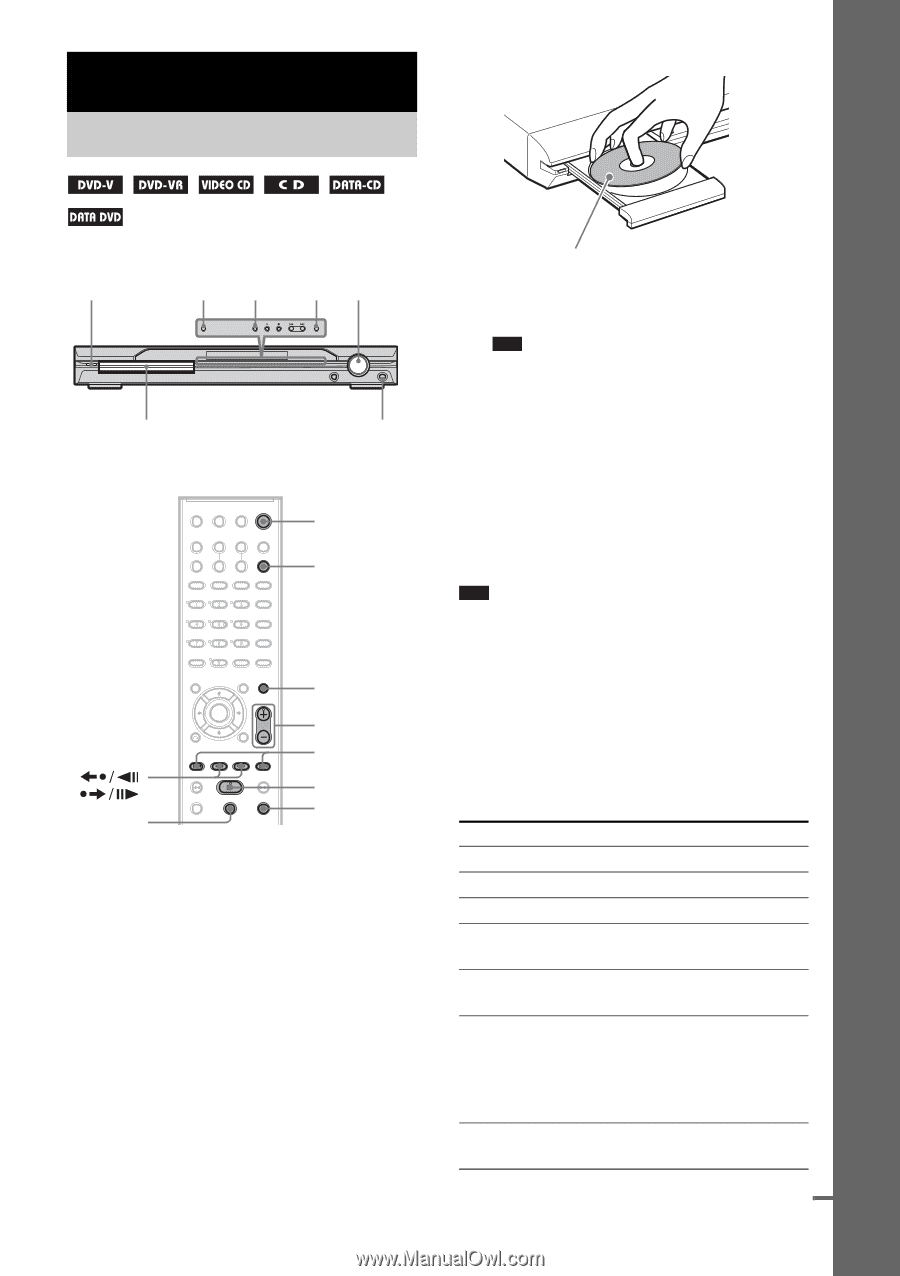
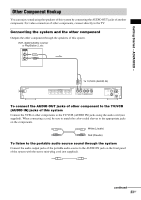
Basic Operations Playing Discs Place one disc on the tray, and then press A. Basic Operations When you play an 8 cm disc, place it on the Adjust the inner circle of the tray. Be careful that the disc "/1 A H FUNCTION volume is not skewed on the inner circle of the tray. Disc tray Connect headphones "/1 FUNCTION MUTING VOLUME +/- ./> / H x X Depending on the DVD VIDEO or VIDEO CD, some operations may be different or restricted. Refer to the operation details supplied with your disc. 1 Turn on your TV. 2 Switch the input selector on the TV to this system. 3 Press "/1. The system turns on. Unless the system is set to "DVD," press FUNCTION to select "DVD." 4 Press A. 5 Load a disc. Note • Do not forcibly press the disc tray closed with your finger, as this may cause malfunction. • Do not place more than one disc on the tray. 6 Press H. The system starts playback (continuous play). Adjust the volume on the system. The volume level appears on the TV screen and in the front panel display. Note • Depending on the system status, the volume level may not appear on the TV screen. To save the power in standby mode Press "/1 while the system turns on. To cancel standby mode, press "/1 once. Additional operations To Stop Pause Resume play after pause Go to the next chapter, track, or scene Go back to the preceding chapter, track, or scene Mute the sound Stop play and remove the disc Press x X X or H > (except for JPEG) . (except for JPEG) MUTING. To cancel muting, press it again or VOLUME + to adjust the sound volume. A continued 25GB
-
 1
1 -
2
-
3
-
4
-
5
-
6
-
7
-
8
-
9
-
10
-
11
-
12
-
13
-
14
-
15
-
16
-
17
-
18
-
19
-
 20
20 -
 21
21 -
 22
22 -
 23
23 -
 24
24 -
 25
25 -
 26
26 -
 27
27 -
 28
28 -
 29
29 -
 30
30 -
31
-
32
-
33
-
34
-
35
-
36
-
37
-
38
-
39
-
40
-
41
-
42
-
43
-
44
-
45
-
46
-
47
-
48
-
49
-
50
-
51
-
52
-
53
-
54
-
55
-
56
-
57
-
58
-
59
-
60
-
61
-
62
-
63
-
64
-
65
-
66
-
67
-
68
-
69
-
70
-
71
-
72
-
73
-
74
-
75
-
76
-
77
-
78
-
79
-
80
-
81
-
82
-
83
-
84
-
85
-
86
-
87
-
88
-
89
-
90
-
91
-
92
-
93
-
94
-
95
-
96
 |
 |