Sony DSC-T99 Instruction Manual - Page 18
Setting the date and time/display color, Superimposing the date on the images - features
 |
UPC - 027242793026
View all Sony DSC-T99 manuals
Add to My Manuals
Save this manual to your list of manuals |
Page 18 highlights
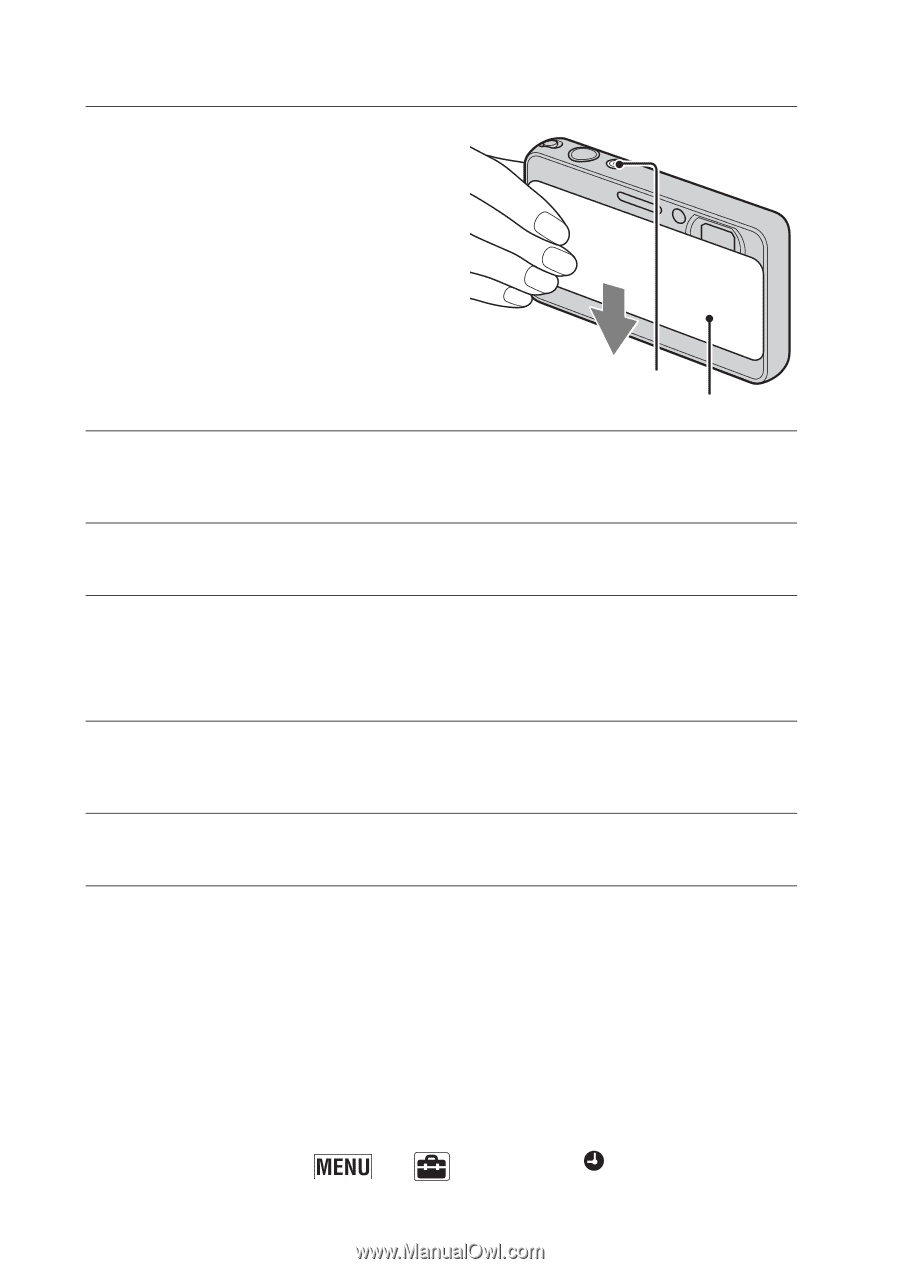
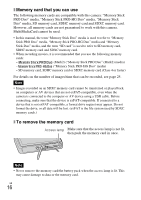
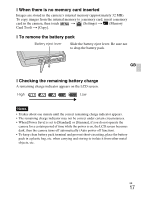
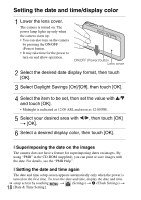
Setting the date and time/display color 1 Lower the lens cover. The camera is turned on. The power lamp lights up only when the camera starts up. • You can also turn on the camera by pressing the ON/OFF (Power) button. • It may take time for the power to turn on and allow operation. ON/OFF (Power) button Lens cover 2 Select the desired date display format, then touch [OK]. 3 Select Daylight Savings [On]/[Off], then touch [OK]. 4 Select the item to be set, then set the value with v/V and touch [OK]. • Midnight is indicated as 12:00 AM, and noon as 12:00 PM. 5 Select your desired area with b/B, then touch [OK] t [OK]. 6 Select a desired display color, then touch [OK]. x Superimposing the date on the images The camera does not have a feature for superimposing dates on images. By using "PMB" in the CD-ROM (supplied), you can print or save images with the date. For details, see the "PMB Help". x Setting the date and time again The date and time setup screen appears automatically only when the power is turned on the first time. To reset the date and time, display the date and time GB setup screen by touching 18 [Date & Time Setting]. t (Settings) t (Clock Settings) t
-
 1
1 -
2
-
3
-
4
-
5
-
6
-
7
-
8
-
9
-
10
-
11
-
12
-
 13
13 -
 14
14 -
 15
15 -
 16
16 -
 17
17 -
 18
18 -
 19
19 -
 20
20 -
 21
21 -
 22
22 -
 23
23 -
24
-
25
-
26
-
27
-
28
-
29
-
30
-
31
-
32
-
33
-
34
-
35
-
36
-
37
-
38
-
39
-
40
-
41
-
42
-
43
-
44
-
45
-
46
-
47
-
48
-
49
-
50
-
51
-
52
-
53
-
54
-
55
-
56
-
57
-
58
-
59
-
60
-
61
-
62
-
63
-
64
 |
 |