Sony RCD-W3 Operating Instructions - Page 6
This Recorder Can Use the, Following Discs - cd player recorder
 |
View all Sony RCD-W3 manuals
Add to My Manuals
Save this manual to your list of manuals |
Page 6 highlights
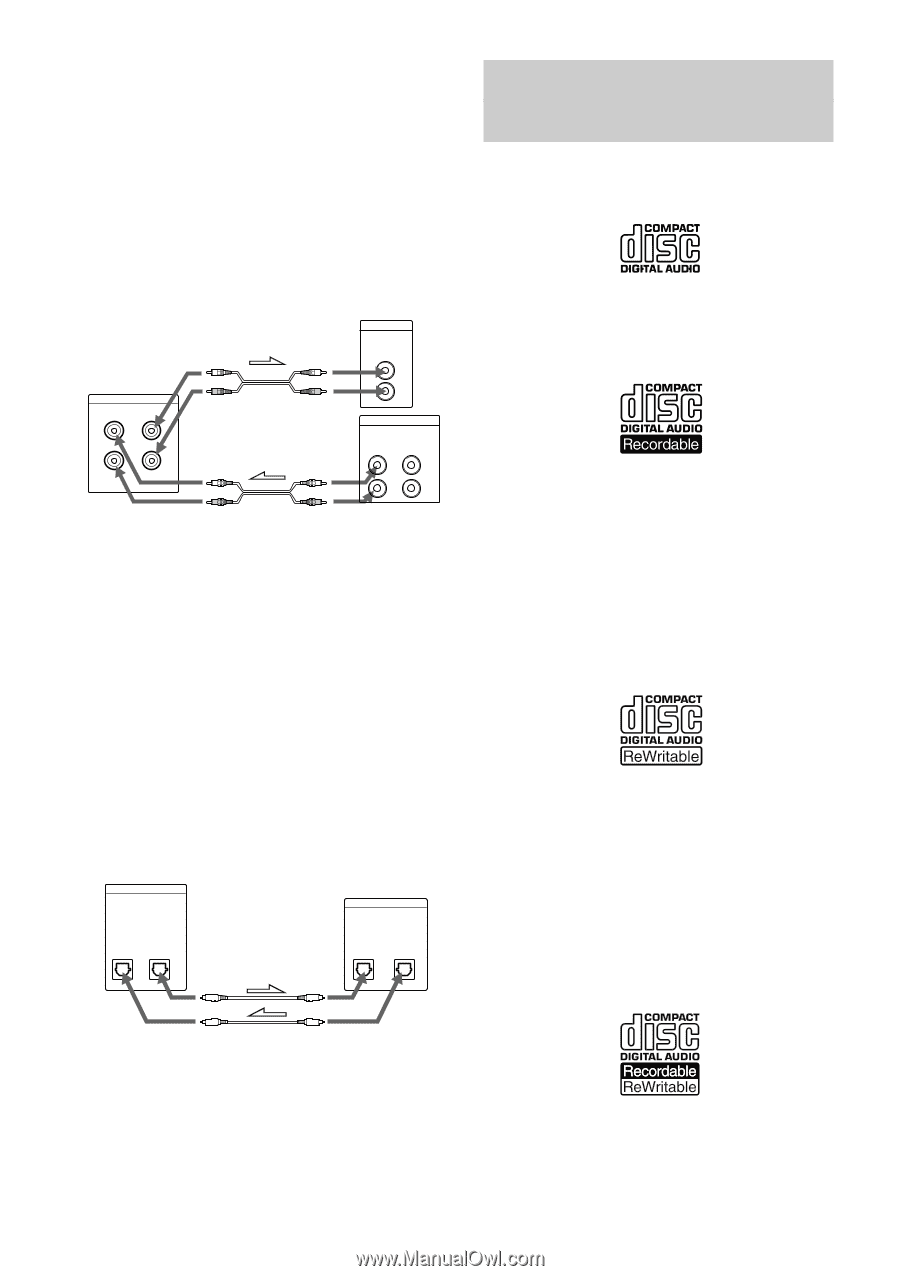
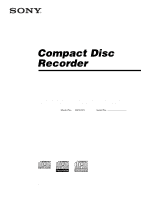
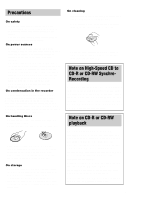
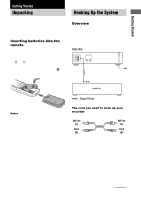
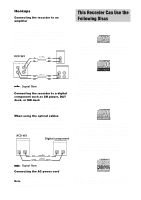
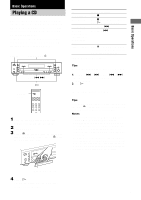
Hookups Connecting the recorder to an amplifier Connect the amplifier to the ANALOG IN/ OUT jacks using the audio connecting cords (supplied), making sure to match the colorcoded cords to the appropriate jacks on the components: red (R) to red and white (L) to white. Be sure to make connections firmly to prevent hum and noise. RCD-W3 ANALOG IN OUT L R CD IN L R TAPE / MD OUT IN L R l: Signal flow Connecting the recorder to a digital component such as CD player, DAT deck, or MD deck Connect the component through the DIGITAL OPTICAL IN/OUT connectors with two optical cables (not supplied). When using the optical cables Take the caps off the connectors and then insert the plugs parallelly until they click into place. Be sure not to bend or tic together the optical cables. RCD-W3 DIGITAL OPTICAL Digital component DIGITAL IN OUT OPTICAL IN OUT This Recorder Can Use the Following Discs This recorder can use three types of discs as follows: Discs with the logo above (Audio CD) can be played by both DECK A (the CD player section) and DECK B (the CD-R or CD-RW recording section) of the recorder. Discs with the logo above (Audio CD-R) are recordable only one time. When you finalize (page 19) the disc, you can play it in either DECK A (the CD player section) or DECK B (the CD-R or CD-RW recording section), and you can play it in any conventional CD player, including home, car, and portable models (A unfinalized disc can be played only in DECK B). When you buy a CD-R disc, please note that you must buy an audio CD-R disc. A CD-R disc designed for computer use will not work in the recorder. Discs with the logo above (Audio CD-RW) are recordable, and also re-writable. When you finalize (page 19) the disc, you can play it in either DECK A (the CD player section) or DECK B (the CD-R or CD-RW recording section), and CD-RW compatible players. They will not play back in most current CD players unless the player is CD-RW compatible (A unfinalized disc can be played only in DECK B). When you buy a CD-RW disc, please note that you must buy an audio CD-RW disc. A CD-RW disc designed for computer use will not work in the recorder. l: Signal flow Connecting the AC power cord Connect the AC power cord to a wall outlet. Note Do not connect the AC power cord to a switched outlet. 6 This logo means that a unit is compatible with Audio CD-R discs and Audio CD-RW discs (both Audio CD-R discs and Audio CD-RW discs can be used).
-
 1
1 -
 2
2 -
 3
3 -
 4
4 -
 5
5 -
 6
6 -
 7
7 -
 8
8 -
 9
9 -
 10
10 -
 11
11 -
 12
12 -
13
-
14
-
15
-
16
-
17
-
18
-
19
-
20
-
21
-
22
-
23
-
24
 |
 |