Sony SLV-D300P Operating Instructions - Page 41
To use the Auto Tape Speed function, Tape Length in VIDEO FUNCTION SETUP menu correctly
 |
UPC - 027242622500
View all Sony SLV-D300P manuals
Add to My Manuals
Save this manual to your list of manuals |
Page 41 highlights
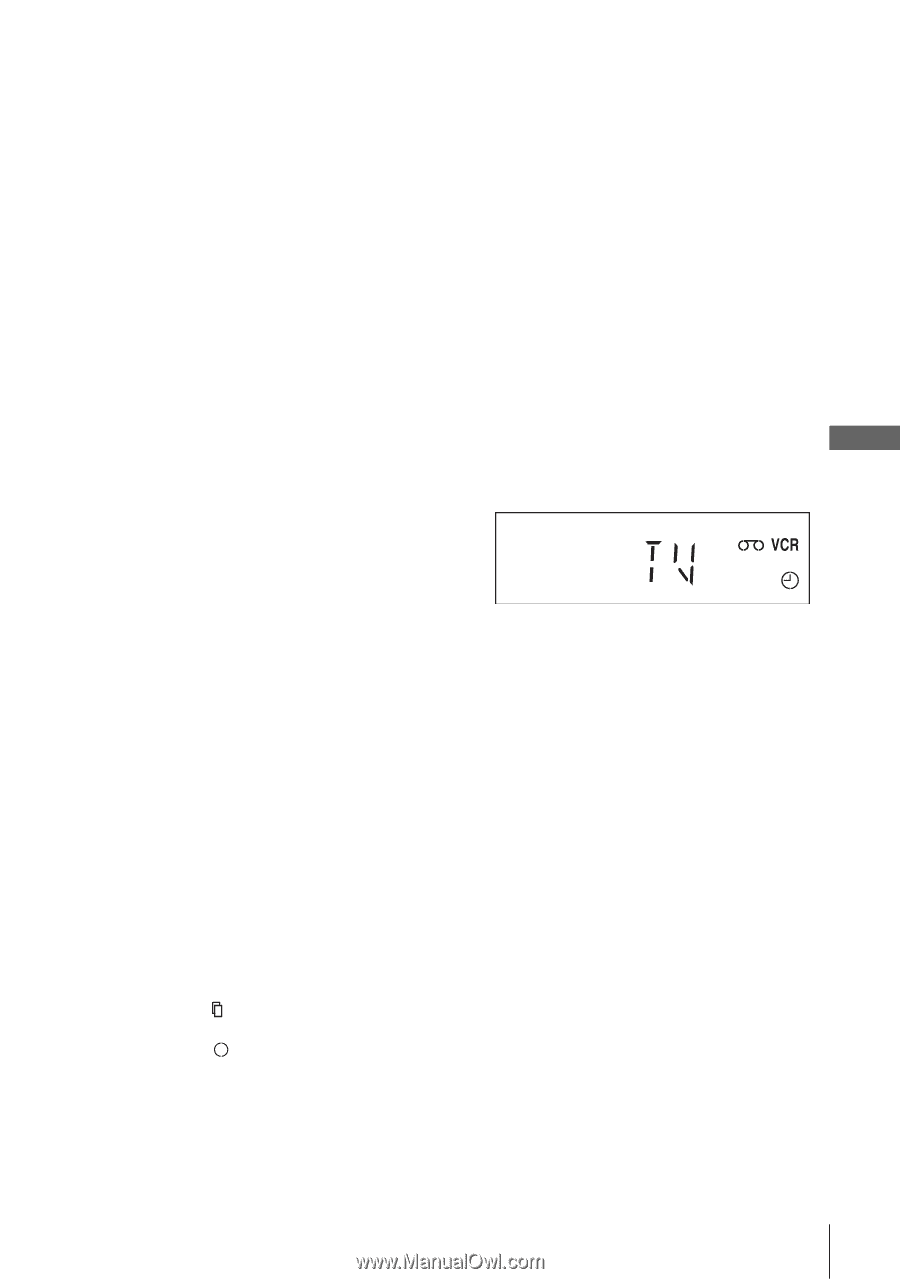
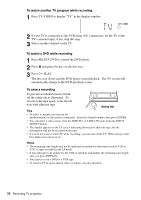
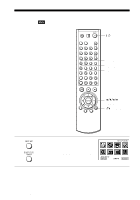
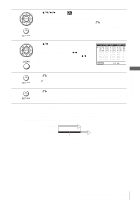
Basic Operations To stop recording To stop the DVD-VCR while recording, press SELECT VIDEO and then press x STOP. Daily/weekly recording In step 4 above, press v to select the recording pattern. Each time you press v, the indication changes as shown below. Press V to change the indication in reverse order. MO~FR t SUN'S t MON'S t ..... t SAT'S t 1 month later t (dates count down) t the current date To use the Auto Tape Speed function When you are recording a program in the AUTO mode and the remaining tape becomes shorter than the recording time, the tape speed is automatically changed to the EP mode. Note that some noise will appear on the picture when the tape speed is changed. If you want to keep the tape speed, select SP. To operate this function, set "Tape Length" in "VIDEO FUNCTION SETUP" menu correctly (page 86). To watch another TV program after setting the timer 1 Press TV/VIDEO to display "TV" in the display window. 2 If your TV is connected to the VCR using A/V connections, set the TV to the TV's antenna input; if not, skip this step. 3 Select another channel on the TV. To watch a DVD after setting the timer 1 Press SELECT DVD to control the DVD player. 2 Press Z and place the disc on the disc tray. 3 Press H PLAY. The disc tray closes and the DVD player starts playback. The TV screen will automatically change to the DVD playback screen. Tips • To set the channel, you can also use V/v. • If the indicator appears, the timer settings overlap. To check, change or cancel the program setting, repeat the steps of "Recording TV programs using the timer" on page 39. • If the indicator appears, this means that the VCR is currently recording this program. • You can also do the following tasks while the VCR is recording: - Reset the counter (page 35). - Display tape information on the TV screen (page 37). Recording TV programs using the timer 41
-
 1
1 -
2
-
3
-
4
-
5
-
6
-
7
-
8
-
9
-
10
-
11
-
12
-
13
-
14
-
15
-
16
-
17
-
18
-
19
-
20
-
21
-
22
-
23
-
24
-
25
-
26
-
27
-
28
-
29
-
30
-
31
-
32
-
33
-
34
-
35
-
 36
36 -
 37
37 -
 38
38 -
 39
39 -
 40
40 -
 41
41 -
 42
42 -
 43
43 -
 44
44 -
 45
45 -
 46
46 -
47
-
48
-
49
-
50
-
51
-
52
-
53
-
54
-
55
-
56
-
57
-
58
-
59
-
60
-
61
-
62
-
63
-
64
-
65
-
66
-
67
-
68
-
69
-
70
-
71
-
72
-
73
-
74
-
75
-
76
-
77
-
78
-
79
-
80
-
81
-
82
-
83
-
84
-
85
-
86
-
87
-
88
-
89
-
90
-
91
-
92
-
93
-
94
-
95
-
96
-
97
-
98
-
99
-
100
-
101
-
102
-
103
-
104
-
105
-
106
-
107
-
108
 |
 |