Sony TRV730 Operating Instructions - Page 21
After recording, Using the zoom feature, Recording a picture
 |
UPC - 027242587588
View all Sony TRV730 manuals
Add to My Manuals
Save this manual to your list of manuals |
Page 21 highlights
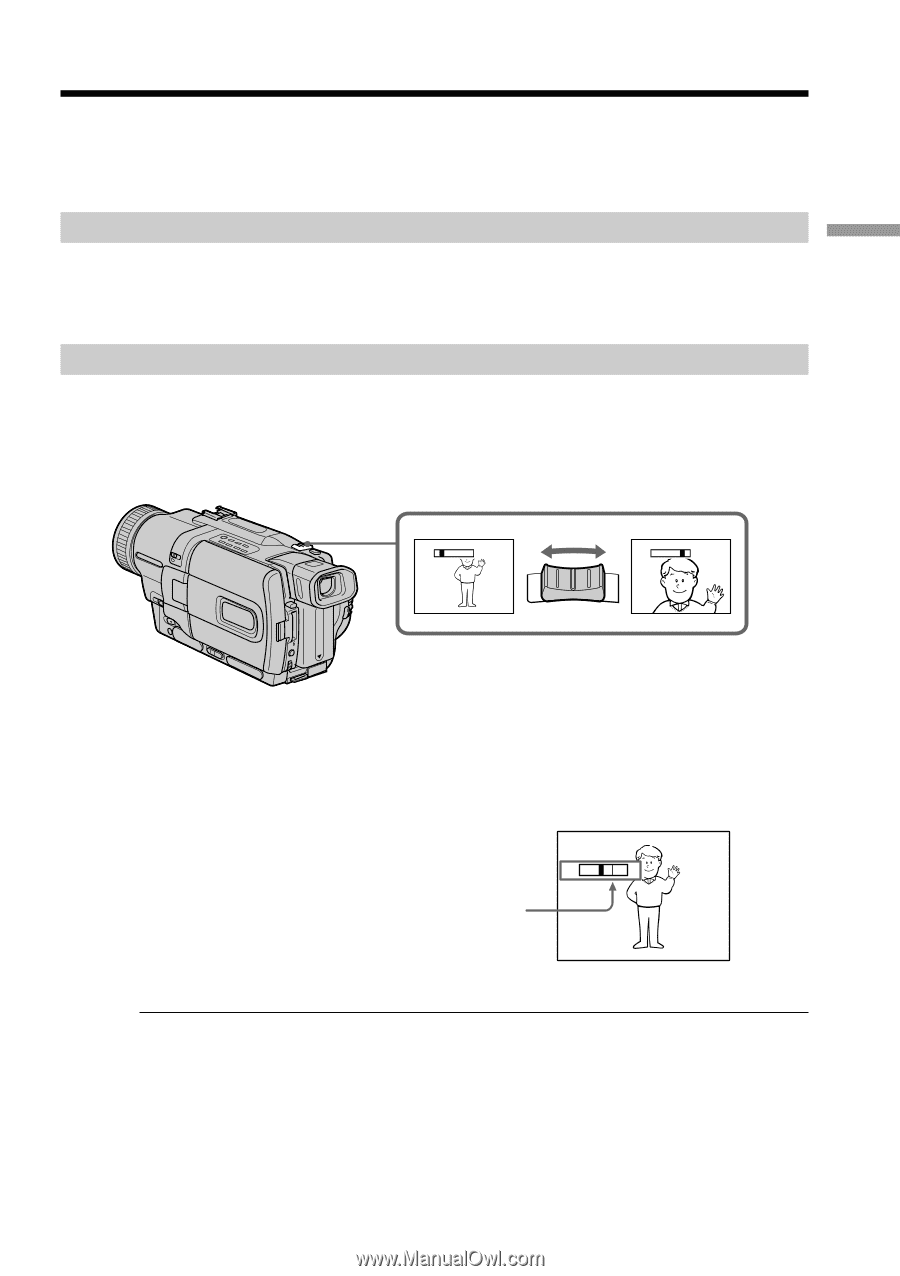
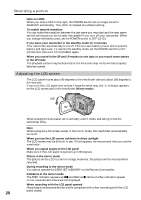
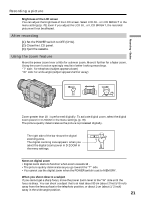
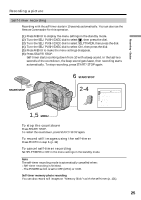
Recording - Basics Recording a picture Brightness of the LCD screen You can adjust the brightness of the LCD screen. Select LCD B.L. or LCD BRIGHT in the menu settings (p. 78). Even if you adjust the LCD B.L. or LCD BRIGHT, the recorded picture will not be affected. After recording (1) Set the POWER switch to OFF (CHG). (2) Close the LCD panel. (3) Eject the cassette. Using the zoom feature Move the power zoom lever a little for a slower zoom. Move it further for a faster zoom. Using the zoom function sparingly results in better-looking recordings. "T" side: for telephoto (subject appears closer) "W" side: for wide-angle (subject appears farther away) W T WT W T Zoom greater than 18× is performed digitally. To activate digital zoom, select the digital zoom power in D ZOOM in the menu settings. (p. 78) The picture quality deteriorates as the picture is processed digitally. The right side of the bar shows the digital zooming zone. W T The digital zooming zone appears when you select the digital zoom power in D ZOOM in the menu settings. Notes on digital zoom •Digital zoom starts to function when zoom exceeds 18×. •The picture quality deteriorates as you go toward the "T" side. •You cannot use the digital zoom when the POWER switch is set to MEMORY. When you shoot close to a subject If you cannot get a sharp focus, move the power zoom lever to the "W" side until the focus is sharp. You can shoot a subject that is at least about 80 cm (about 2 feet 5/8 inch) away from the lens surface in the telephoto position, or about 1 cm (about 1/2 inch) away in the wide-angle position. 21
-
 1
1 -
2
-
3
-
4
-
5
-
6
-
7
-
8
-
9
-
10
-
11
-
12
-
13
-
14
-
15
-
 16
16 -
 17
17 -
 18
18 -
 19
19 -
 20
20 -
 21
21 -
 22
22 -
 23
23 -
 24
24 -
 25
25 -
 26
26 -
27
-
28
-
29
-
30
-
31
-
32
-
33
-
34
-
35
-
36
-
37
-
38
-
39
-
40
-
41
-
42
-
43
-
44
-
45
-
46
-
47
-
48
-
49
-
50
-
51
-
52
-
53
-
54
-
55
-
56
-
57
-
58
-
59
-
60
-
61
-
62
-
63
-
64
-
65
-
66
-
67
-
68
-
69
-
70
-
71
-
72
-
73
-
74
-
75
-
76
-
77
-
78
-
79
-
80
-
81
-
82
-
83
-
84
-
85
-
86
-
87
-
88
-
89
-
90
-
91
-
92
-
93
-
94
-
95
-
96
-
97
-
98
-
99
-
100
-
101
-
102
-
103
-
104
-
105
-
106
-
107
-
108
-
109
-
110
-
111
-
112
-
113
-
114
-
115
-
116
-
117
-
118
-
119
-
120
-
121
-
122
-
123
-
124
-
125
-
126
-
127
-
128
-
129
-
130
-
131
-
132
-
133
-
134
-
135
-
136
-
137
-
138
-
139
-
140
-
141
-
142
-
143
-
144
-
145
-
146
-
147
-
148
-
149
-
150
-
151
-
152
-
153
-
154
-
155
-
156
-
157
-
158
-
159
-
160
-
161
-
162
-
163
-
164
-
165
-
166
-
167
-
168
 |
 |