Sony XDSPD1000 User Manual (PDBK-202 MPEG Transport Stream Option Board for th - Page 16
Notes about i.LINK Connections (PDW-HR1 Only
 |
View all Sony XDSPD1000 manuals
Add to My Manuals
Save this manual to your list of manuals |
Page 16 highlights
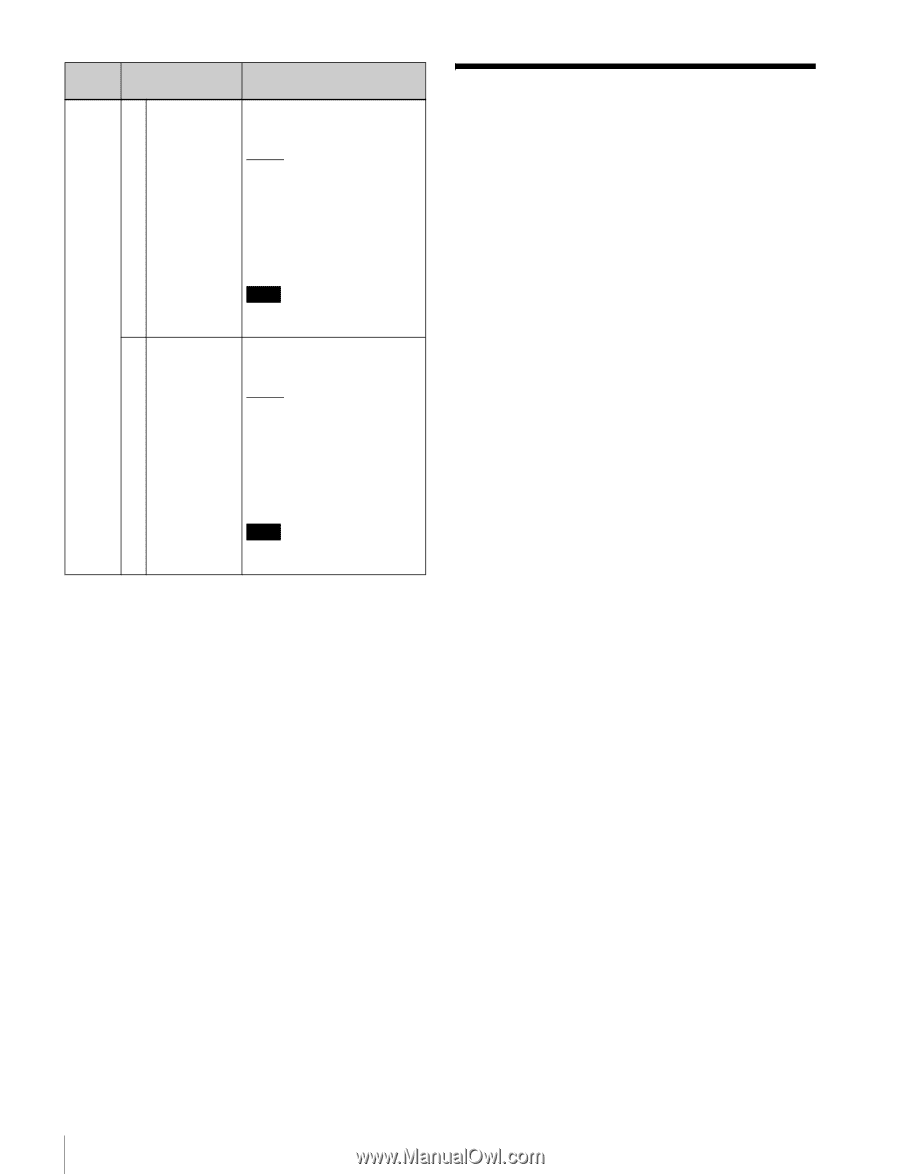
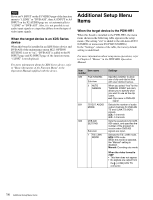
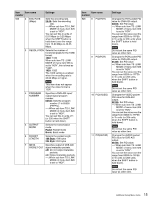
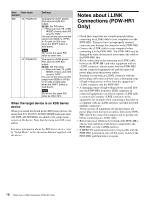
Item Item name number 926 12 PID(AUX1) 13 PID(AUX2) Settings Changes the AUX1 packet PID value for DVB-ASI output. 0815h: Set PID value. ---: When sub item TS i.LINK MODE of menu item 926 is set to "HDV". You can set the value over the range from 0030h to 1FFEh in 1h units (or 20h units, when the SHIFT button is held down). Note Do not set the same PID value as other item. Changes the AUX2 packet PID value for DVB-ASI output. 0811h: Set PID value. ---: When sub item TS i.LINK MODE of menu item 926 is set to "HDV". You can set the value over the range from 0030h to 1FFEh in 1h units (or 20h units, when the SHIFT button is held down). Note Do not set the same PID value as other item. When the target device is an XDS Series device When you install this board in the XDS Series device, the menu item 831 TS OUT AUDIO MODE and menu item 926 DVB-ASI SETTING are added to the setup menu system of the device. Note that the menu item 036 is not added. For more information about the XDS Series device, refer to "Setup Menu" in the Operation Manual supplied with the device. Notes about i.LINK Connections (PDW-HR1 Only) • Check that connectors are oriented properly before connecting an i.LINK cable to your computer or to the PDW-HR1. Trying to force an improperly oriented connector may damage the connector or the PDW-HR1. • Connect the i.LINK cable to your computer before connecting it to the PDW-HR1. The PDW-HR1 may be damaged by static electricity if you connect the cable to the PDW-HR1 first. • Before connecting or disconnecting an i.LINK cable between the PDW-HR1 and other equipment with an i.LINK connector, always power both the PDW-HR1 and the connected equipment off and disconnect all power plugs from their power outlets. Inserting or removing an i.LINK connector with the power plugs still connected may cause a damaging surge of high-voltage power to flow from the equipment's i.LINK connector into the PDW-HR1. • A damaging surge of high-voltage power can still flow into the PDW-HR1 from the i.LINK connector of connected equipment even when a separate i.LINK cable is connected to another i.LINK connector on the equipment, for example when connecting a hard disk to a computer with an i.LINK interface card that provided multiple connectors. Always power all equipment off and disconnect all power plugs from their power outlets, both on the PDWHR1 and on the connected computer and its peripherals, before connecting an i.LINK cable. • Before turn on or off the power switch of the PDW-HR1, always stop operation of all devices connected to the PDW-HR1 over the i.LINK interface. • If MPEG TS signal transmission is not possible with the PDW-HR1 powered on, turn off the power switch of the PDW-HR1 and then turn it on again. 16 Notes about i.LINK Connections (PDW-HR1 Only)
-
 1
1 -
2
-
3
-
4
-
5
-
6
-
7
-
8
-
9
-
10
-
 11
11 -
 12
12 -
 13
13 -
 14
14 -
 15
15 -
 16
16 -
 17
17 -
 18
18 -
 19
19 -
 20
20 -
 21
21 -
22
-
23
-
24
-
25
-
26
-
27
-
28
-
29
-
30
-
31
-
32
-
33
-
34
-
35
-
36
-
37
-
38
-
39
-
40
-
41
-
42
-
43
-
44
-
45
-
46
-
47
-
48
-
49
-
50
-
51
-
52
-
53
-
54
-
55
-
56
-
57
-
58
-
59
-
60
 |
 |