TP-Link Archer A10 Archer A10US V1 Quick Installation Guide - Page 1
TP-Link Archer A10 Manual
 |
View all TP-Link Archer A10 manuals
Add to My Manuals
Save this manual to your list of manuals |
Page 1 highlights
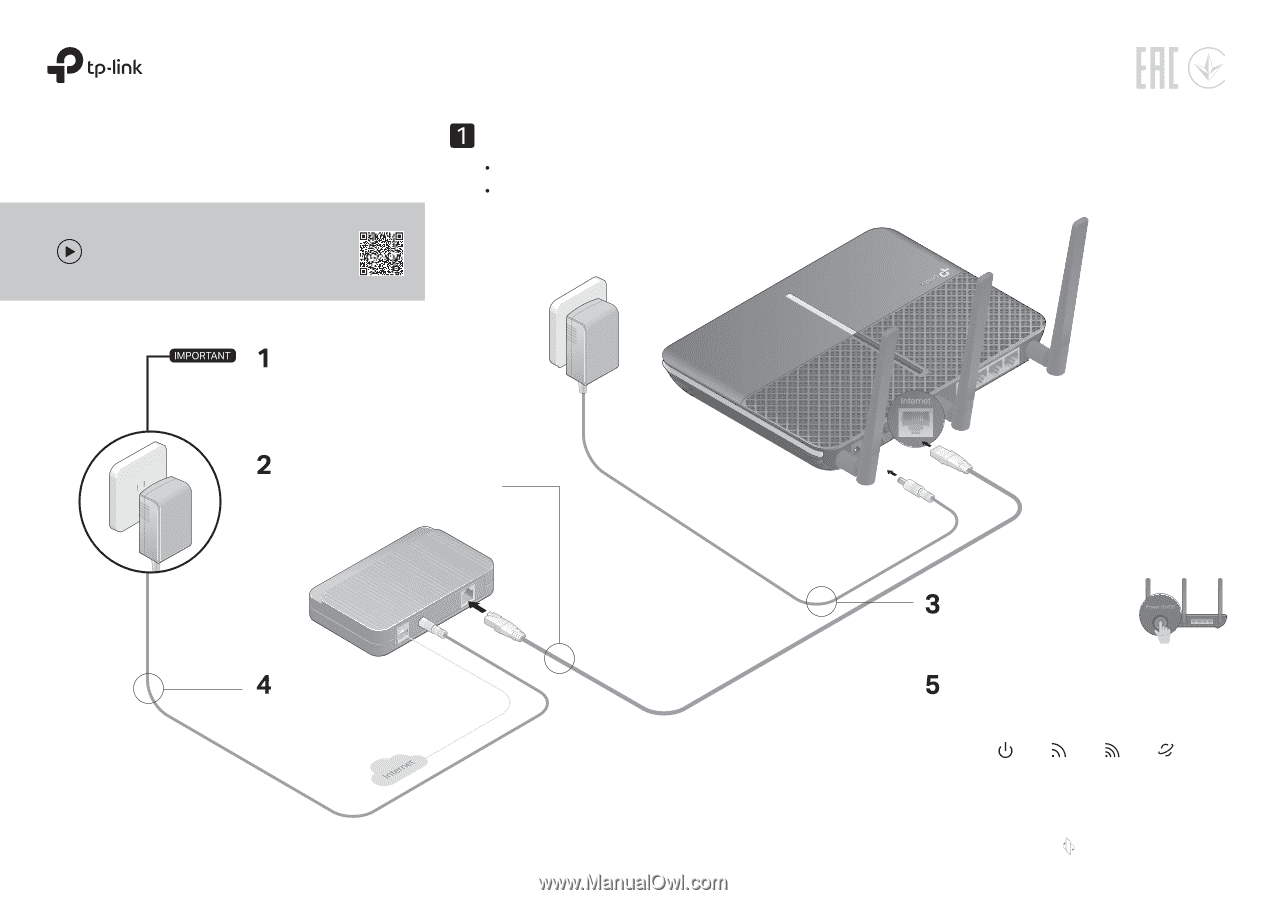
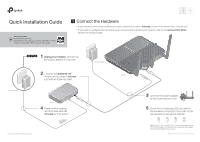
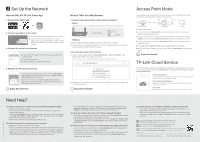
Quick Installation Guide Set up with videos: Scan the QR code or visit https://www.tp-link.com/support/setup-video/#wi-fi-routers to search for the setup video of your product model. Connect the Hardware If your internet comes from an Ethernet outlet, connect the router's Internet port to it, then follow Step 3 and Step 5. If you want to configure this new router as an access point to extend your network, refer to the Access Point Mode section on the back page. Power adapter Unplug your modem, and remove the backup battery if it has one. Connect the powered-off modem to the router's Internet port with an Ethernet cable. Power adapter Router Modem Power on the modem, and then wait about 2 minutes for it to restart. * Images may differ from actual products. Connect the power adapter to the router and turn it on. Check for the following LEDs to confirm the hardware connection, then refer to the next section to set up the internet. Power On 2.4GHz On 5GHz On Internet On Note: If the 2.4 GHz LED and 5 GHz LED are off, press and hold the Wi-Fi On/Off button on the side panel for 2 seconds, then release the button. Both LEDs will turn solid on. Flip the page over to complete network setup.
-
 1
1 -
 2
2
 |
 |