TP-Link TL-WN851N User Guide - Page 37
For Windows 7, TL-WN851N, close, Connect - driver windows 7
 |
UPC - 845973050337
View all TP-Link TL-WN851N manuals
Add to My Manuals
Save this manual to your list of manuals |
Page 37 highlights
TL-WN851N 300Mbps Wireless N PCI Adapter 4. If the connection is successful established, the following screen will appear, click close to finish the connection. Figure 3-18 3.3 For Windows 7 TP-LINK Wireless Client Utility (TWCU) is not available for Windows 7. So after the Adapter's driver has been installed, we have to use Windows WLAN Autoconfig to establish a connection. Please follow the steps below. 1. Click the icon at the bottom of your screen in your system tray and then you will see the available wireless network list. Select the SSID of your Access Point and click Connect. 31
-
 1
1 -
2
-
3
-
4
-
5
-
6
-
7
-
8
-
9
-
10
-
11
-
12
-
13
-
14
-
15
-
16
-
17
-
18
-
19
-
20
-
21
-
22
-
23
-
24
-
25
-
26
-
27
-
28
-
29
-
30
-
31
-
 32
32 -
 33
33 -
 34
34 -
 35
35 -
 36
36 -
 37
37 -
 38
38 -
 39
39 -
 40
40 -
 41
41 -
 42
42 -
43
-
44
-
45
-
46
-
47
-
48
 |
 |
TL-WN851N
300Mbps Wireless N PCI Adapter
31
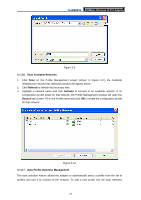
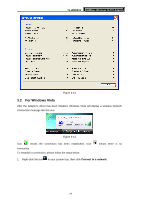
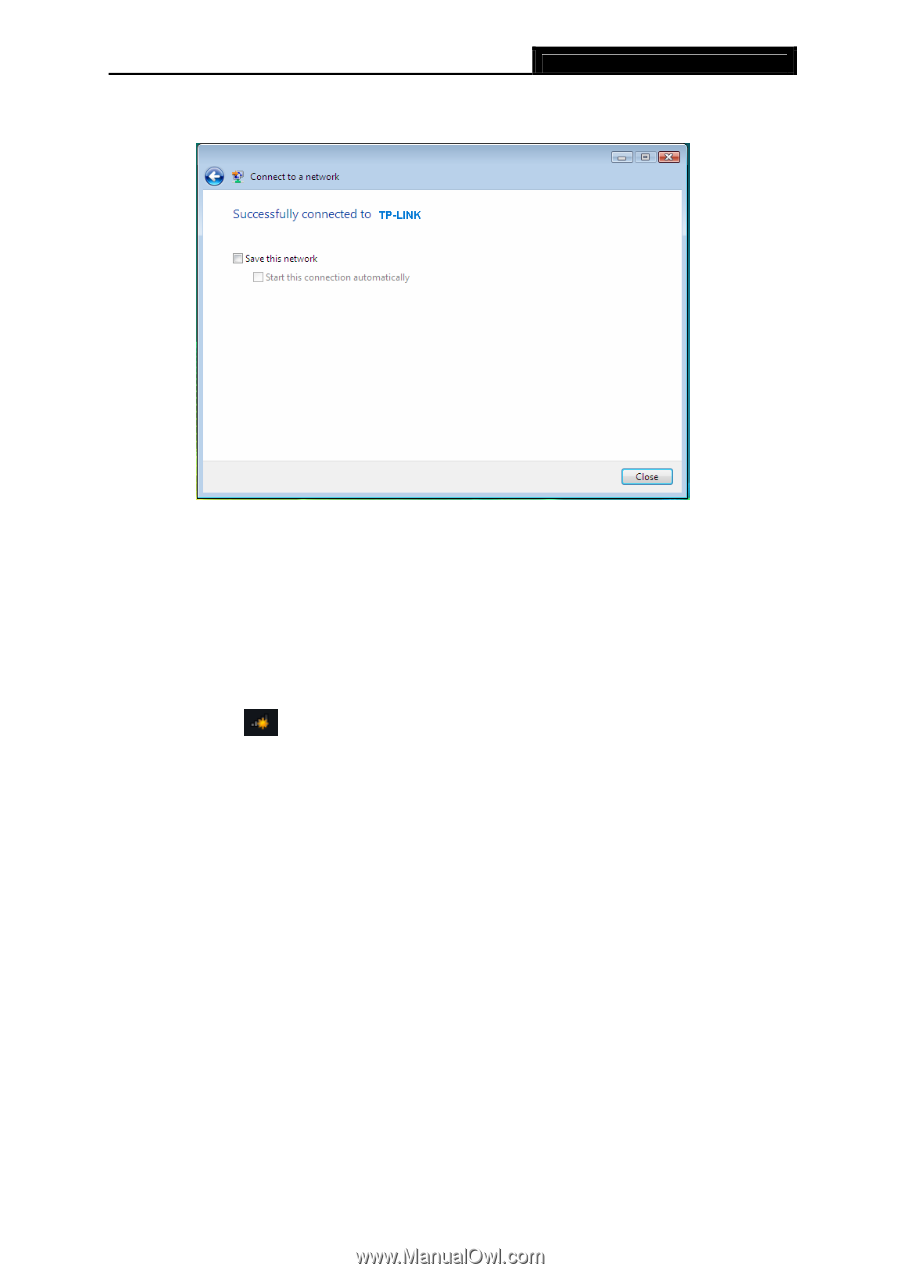
4.
If the connection is successful established, the following screen will appear, click
close
to
finish the connection.
Figure 3-18
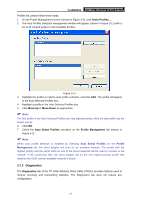
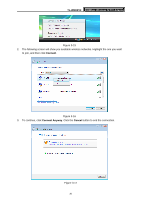
3.3
For Windows 7
TP-LINK Wireless Client Utility (TWCU) is not available for Windows 7. So after the Adapter's
driver has been installed, we have to use Windows WLAN Autoconfig to establish a connection.
Please follow the steps below.
1.
Click the icon
at the bottom of your screen in your system tray and then you will see
the available wireless network list. Select the SSID of your Access Point and click
Connect
.