Thermador PCG486GD Design Guide - Professional Rangetops - Page 12
Above A Warming Drawer, Backguard, Natural Gas Or Lp, Important, Natural Gas Requirements, Propane - 48 rangetop
 |
View all Thermador PCG486GD manuals
Add to My Manuals
Save this manual to your list of manuals |
Page 12 highlights
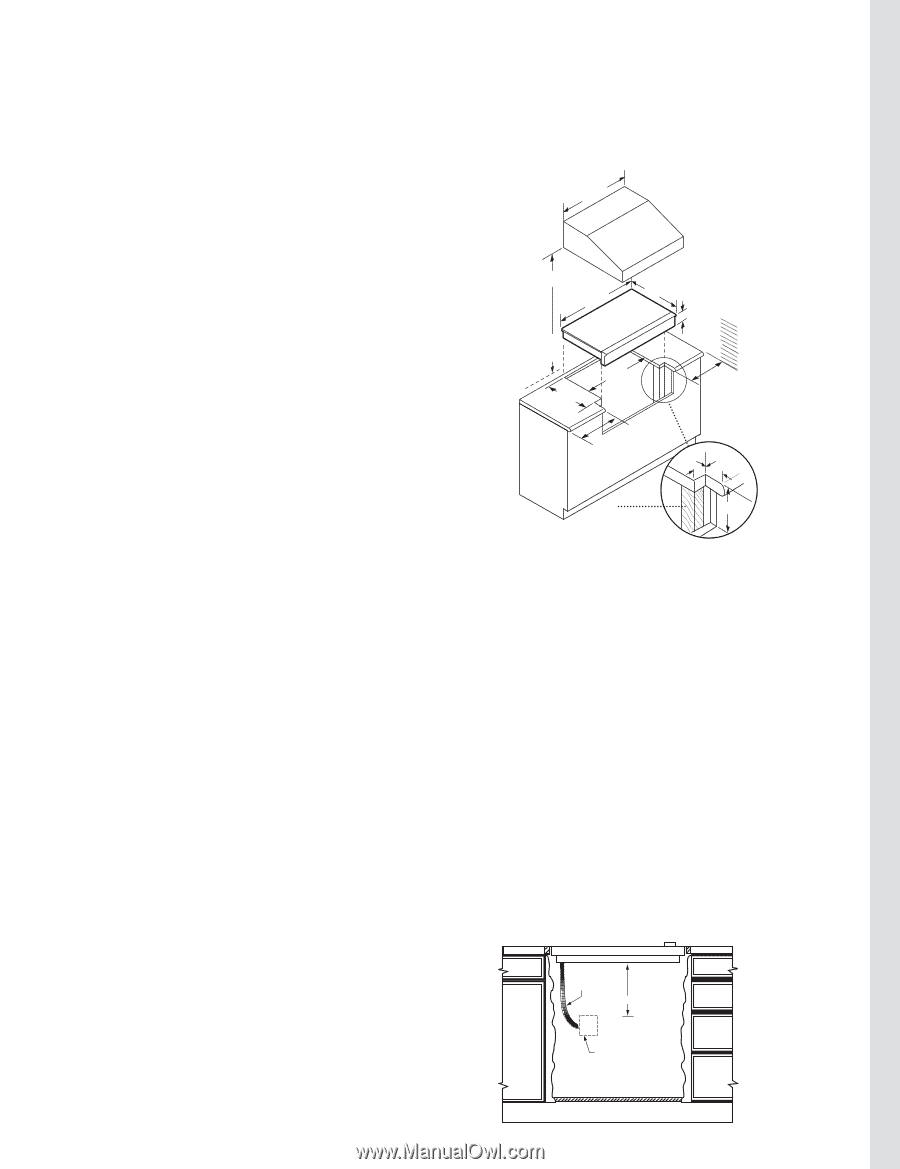
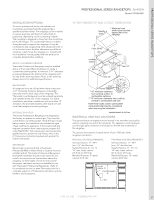
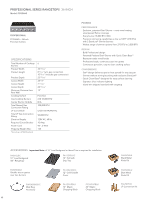
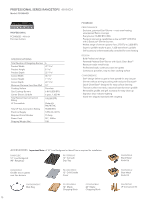
PROFESSIONAL SERIES RANGETOPS INSTALLATION OPTIONS To ensure professional results, the cabinet and countertop openings should be prepared by a qualified cabinet worker. The rangetop can be installed in various positions with the front either flush or projecting, depending on the countertop's depth. The rangetop is designed to hang from the countertop by its side flanges. The countertop however, must be strong enough to support the rangetop. it may be necessary to add a supporting cleat along each side or a 2 x 4 corner brace. Another alternative would be to construct a deck to set the rangetop on. Consult with the installation manual packed with the product for complete details before installing. AbOvE A WARMING DRAWER Thermador Professional Rangetops may be installed above a Thermador Warming Drawer to create a convenient cooking center. A minimum 2 3/4" clearance is required between the bottom of the rangetop and the top of the warming drawer. Refer to the warming drawer section for additional specifications. bAckGuARD A backguard must be utilized when there is less than a 12" horizontal clearance between combustible materials and the back edge of the rangetop. The Thermador Low Backguard must be ordered separately and installed at the rear of the rangetop. For island installations and other installations with more than 12" clearance, the provided stainless steel island trim will cover the backguard mounting flanges. NATuRAL GAS OR LP Thermador Professional Rangetops are shipped by the factory to operate on natural gas. They must be converted for use with propane. Verify the type of gas being used at the installation site matches the type of gas used by the appliance. if the location/job site requires conversion from natural gas to propane (LP), order PALPKiTHC. Field conversion must be done by qualified service personnel only. Please refer to the LP Conversion instructions packed with product for further information. IMPORTANT We strongly recommend that a Thermador Professional Wall or island Hood or Custom insert be installed with all Thermador Professional Rangetops. Downdraft ventilation should not be used. Do not install a microwave-hood combination above the rangetop, as these types of units do not provide the proper ventilation and are not suitable for use with Thermador Professional Rangetops. Refer to the ventilation section or www.Thermador.com for a complete selection of Professional ventilation options, blowers, and accessories. PROFESSIONAL SERIES RANGETOPS 48-INch Model: PcG486GD 48-inCH RAnGETOP AnD CUTOUT DiMEnSiOnS *specify width * Minimum hood width recommended equals that of the rangetop. **min.30-40" 4715/16" 2513/16" 81/16" cooking surface 2213/16" 461/4" ***min.10" ***min.10" 13/16" 11/4" 2"x4" corner support 711/16" ** 40" minimum clearance from cooking surface to combustible surfaces. ***10" minimum clearance from cooking surface to combustible side wall. Note: Most hoods contain combustible components that must be considered when planning the installation. measurement in inches ELEcTRIcAL AND GAS LOcATIONS The gas and electrical supply must be located in an area that is accessible without requiring removal of the rangetop. The appliance electrical power cord and gas pipe connection are located on the left rear underside of the rangetop. The junction box must be located within 3 feet (~900 mm) of the rangetop connection. NATuRAL GAS REQuIREMENTS: inlet Connection: 1/2" nPT (min. 3/4" dia. flex line) Supply Pressure: 6" min. to 14" max. water column (14.9 mb to 34.9 mb) Manifold Pressure: 5" water column (12.5 mb) PROPANE GAS REQuIREMENTS: inlet Connection: 1/2" nPT (min. 3/4" dia. flex line) Supply Pressure: 11" min. to 14" max. water column (27.4 mb to 34.9 mb) Manifold Pressure: 10" water column (24.9 mb) Conduit (Approx. 3") 12" APPROXIMATE "J" Box 1.800.735.4328 | THERMADOR.COM 71
-
 1
1 -
2
-
3
-
4
-
5
-
6
-
 7
7 -
 8
8 -
 9
9 -
 10
10 -
 11
11 -
 12
12
 |
 |