Toshiba A135-SP4796 Satellite A130/A135 User Guide (GMAD00094011_07Mar2) (PDF) - Page 69
Directing the display output when you turn on the computer, Adjusting the quality of the external
 |
UPC - 032017912816
View all Toshiba A135-SP4796 manuals
Add to My Manuals
Save this manual to your list of manuals |
Page 69 highlights
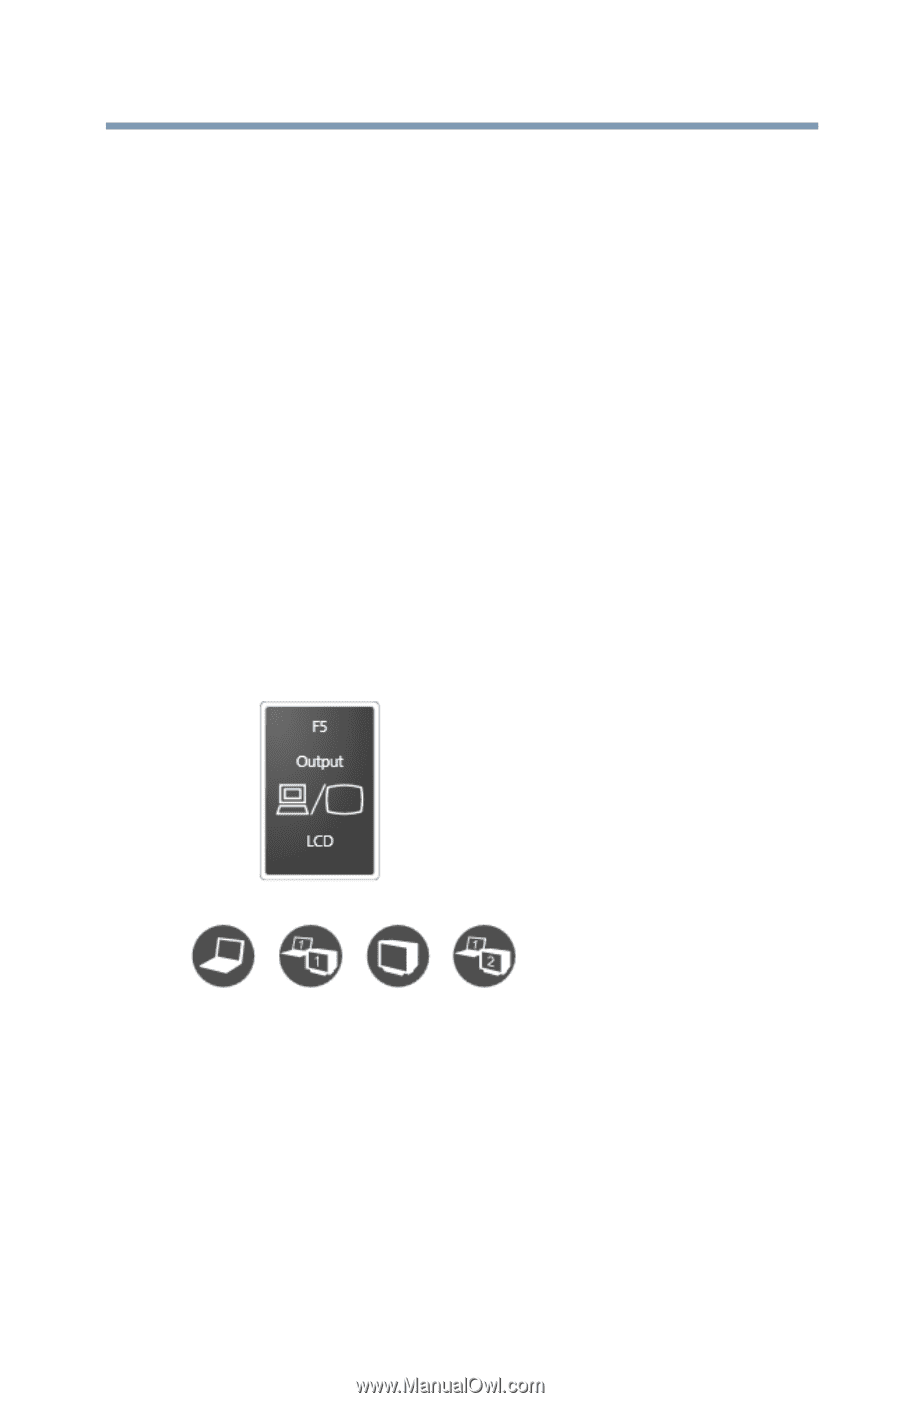
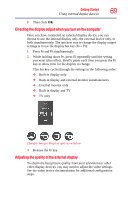
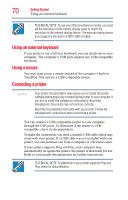
Getting Started 69 Using external display devices 5 Then click OK. Directing the display output when you turn on the computer Once you have connected an external display device, you can choose to use the internal display only, the external device only, or both simultaneously. The quickest way to change the display output settings is to use the display hot key (Fn + F5): 1 Press Fn and F5 simultaneously. 2 While holding down Fn, press F5 repeatedly until the setting you want takes effect. Briefly pause each time you press the F5 key to allow time for the display to change. This hot key cycles through the settings in the following order: ❖ Built-in display only ❖ Built-in display and external monitor simultaneously ❖ External monitor only ❖ Built-in display and TV ❖ TV only (Sample Image) Display options window 3 Release the Fn key. Adjusting the quality of the external display To obtain the best picture quality from your television (or other video display device), you may need to adjust the video settings. See the video device documentation for additional configuration steps.
-
 1
1 -
2
-
3
-
4
-
5
-
6
-
7
-
8
-
9
-
10
-
11
-
12
-
13
-
14
-
15
-
16
-
17
-
18
-
19
-
20
-
21
-
22
-
23
-
24
-
25
-
26
-
27
-
28
-
29
-
30
-
31
-
32
-
33
-
34
-
35
-
36
-
37
-
38
-
39
-
40
-
41
-
42
-
43
-
44
-
45
-
46
-
47
-
48
-
49
-
50
-
51
-
52
-
53
-
54
-
55
-
56
-
57
-
58
-
59
-
60
-
61
-
62
-
63
-
 64
64 -
 65
65 -
 66
66 -
 67
67 -
 68
68 -
 69
69 -
 70
70 -
 71
71 -
 72
72 -
 73
73 -
 74
74 -
75
-
76
-
77
-
78
-
79
-
80
-
81
-
82
-
83
-
84
-
85
-
86
-
87
-
88
-
89
-
90
-
91
-
92
-
93
-
94
-
95
-
96
-
97
-
98
-
99
-
100
-
101
-
102
-
103
-
104
-
105
-
106
-
107
-
108
-
109
-
110
-
111
-
112
-
113
-
114
-
115
-
116
-
117
-
118
-
119
-
120
-
121
-
122
-
123
-
124
-
125
-
126
-
127
-
128
-
129
-
130
-
131
-
132
-
133
-
134
-
135
-
136
-
137
-
138
-
139
-
140
-
141
-
142
-
143
-
144
-
145
-
146
-
147
-
148
-
149
-
150
-
151
-
152
-
153
-
154
-
155
-
156
-
157
-
158
-
159
-
160
-
161
-
162
-
163
-
164
-
165
-
166
-
167
-
168
-
169
-
170
-
171
-
172
-
173
-
174
-
175
-
176
-
177
-
178
-
179
-
180
-
181
-
182
-
183
-
184
-
185
-
186
-
187
-
188
-
189
-
190
-
191
-
192
-
193
-
194
-
195
-
196
-
197
-
198
-
199
-
200
-
201
-
202
-
203
-
204
-
205
-
206
-
207
-
208
-
209
-
210
-
211
-
212
-
213
-
214
-
215
-
216
-
217
-
218
-
219
-
220
-
221
-
222
-
223
-
224
-
225
-
226
-
227
-
228
-
229
-
230
-
231
-
232
-
233
-
234
-
235
 |
 |