Toshiba DKR40KU Owners Manual - Page 41
Satellite Link
 |
View all Toshiba DKR40KU manuals
Add to My Manuals
Save this manual to your list of manuals |
Page 41 highlights
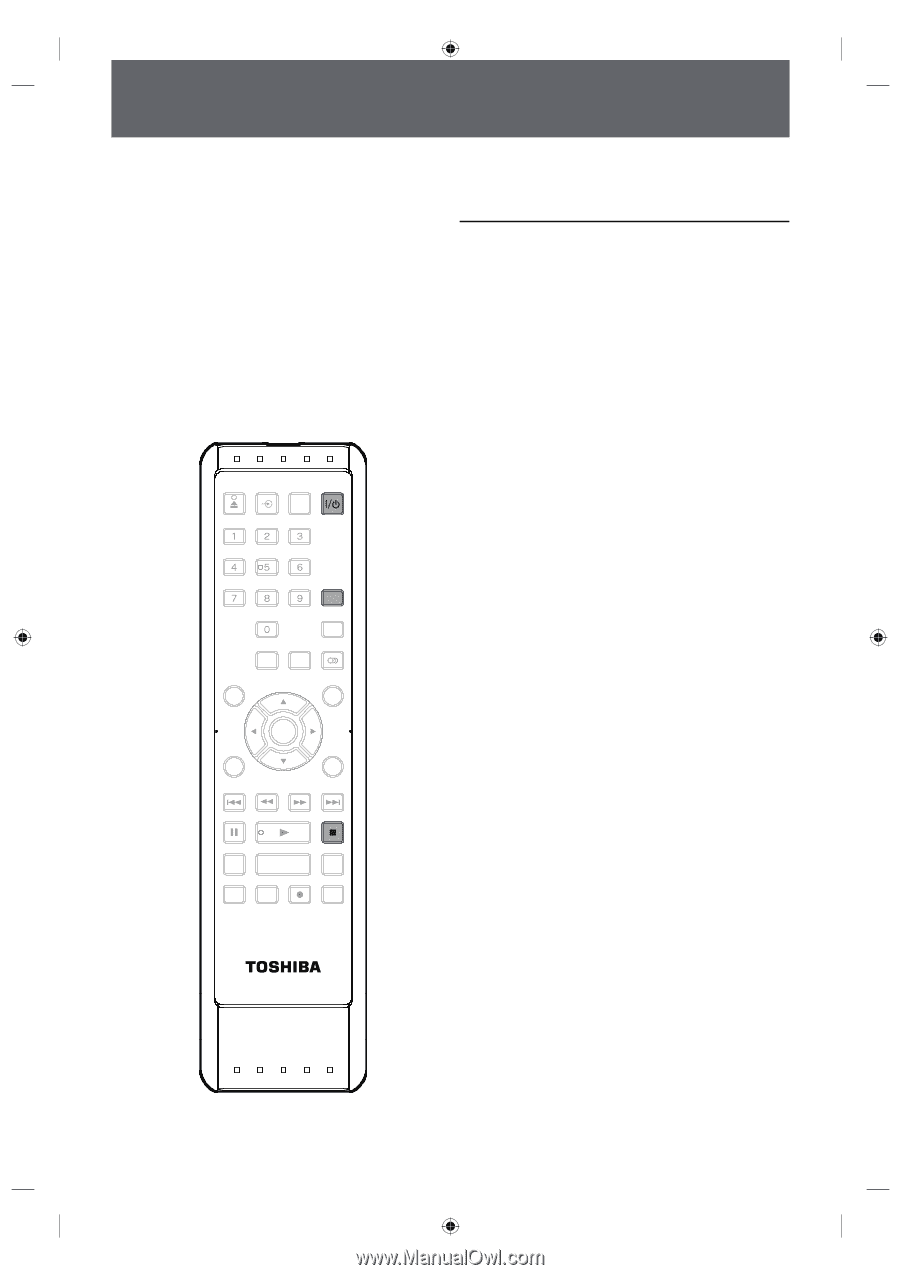
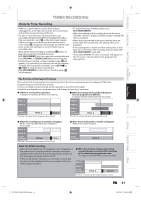
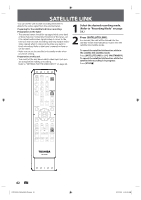
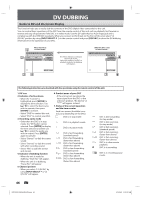
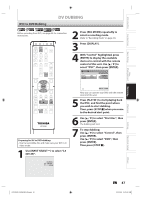
SATELLITE LINK You can set the unit to start recording whenever it detects the video signal from the external tuner. Preparing for the satellite link timer recording: Preparation on the tuner • The external tuner should be equipped with some kind of timer function. Using timer function of the tuner, set it to output audio/video signals when it comes to the time you want to start recording, and stop output audio/ video signals when it comes to the time you want to finish recording. Refer to the tuner's manual on how to set the timer. • Make sure to set the satellite link standby mode when you finish setting. Preparation on this unit • You must let the unit know which video input jack you are using before making a recording. Refer to "SETTINGS FOR THE VIDEO INPUT" on page 26. 1 Select the desired recording mode. (Refer to "Recording Mode" on page 33.) 2 Press [SATELLITE LINK]. In a second, the unit will be turned into the standby mode automatically as it goes into the satellite link standby mode. To cancel the satellite link function while in the satellite link standby mode: Press [SATELLITE LINK] or [I/y ON/STANDBY]. To cancel the satellite link function while the satellite link recording is in progress: Press [STOP C]. OPEN/ INPUT CLOSE SELECT HDMI .@/: ABC DEF GHI JKL MNO PQRS TUV SATELLITE WXYZ LINK SPACE TIMER PROG. SETUP DISPLAY AUDIO TOP MENU MENU/LIST CLEAR ENTER RETURN SKIP REV FWD SKIP PAUSE PLAY STOP TIME SLIP 1.3x / 0.8x PLAY INSTANT SKIP REPEAT REC MODE REC ZOOM SE-R0265 42 EN E7PCBUD_DKR40KU_EN.indd 42 2/5/2009 10:32:54 AM
-
 1
1 -
2
-
3
-
4
-
5
-
6
-
7
-
8
-
9
-
10
-
11
-
12
-
13
-
14
-
15
-
16
-
17
-
18
-
19
-
20
-
21
-
22
-
23
-
24
-
25
-
26
-
27
-
28
-
29
-
30
-
31
-
32
-
33
-
34
-
35
-
 36
36 -
 37
37 -
 38
38 -
 39
39 -
 40
40 -
 41
41 -
 42
42 -
 43
43 -
 44
44 -
 45
45 -
 46
46 -
47
-
48
-
49
-
50
-
51
-
52
-
53
-
54
-
55
-
56
-
57
-
58
-
59
-
60
-
61
-
62
-
63
-
64
-
65
-
66
-
67
-
68
-
69
-
70
-
71
-
72
-
73
-
74
-
75
-
76
-
77
-
78
-
79
-
80
-
81
-
82
-
83
-
84
-
85
-
86
-
87
-
88
-
89
-
90
-
91
-
92
-
93
-
94
-
95
-
96
-
97
-
98
-
99
-
100
-
101
-
102
 |
 |