Uniden WNP1000 English Owners Manual - Page 4
Setting up the Wireless AP
 |
View all Uniden WNP1000 manuals
Add to My Manuals
Save this manual to your list of manuals |
Page 4 highlights
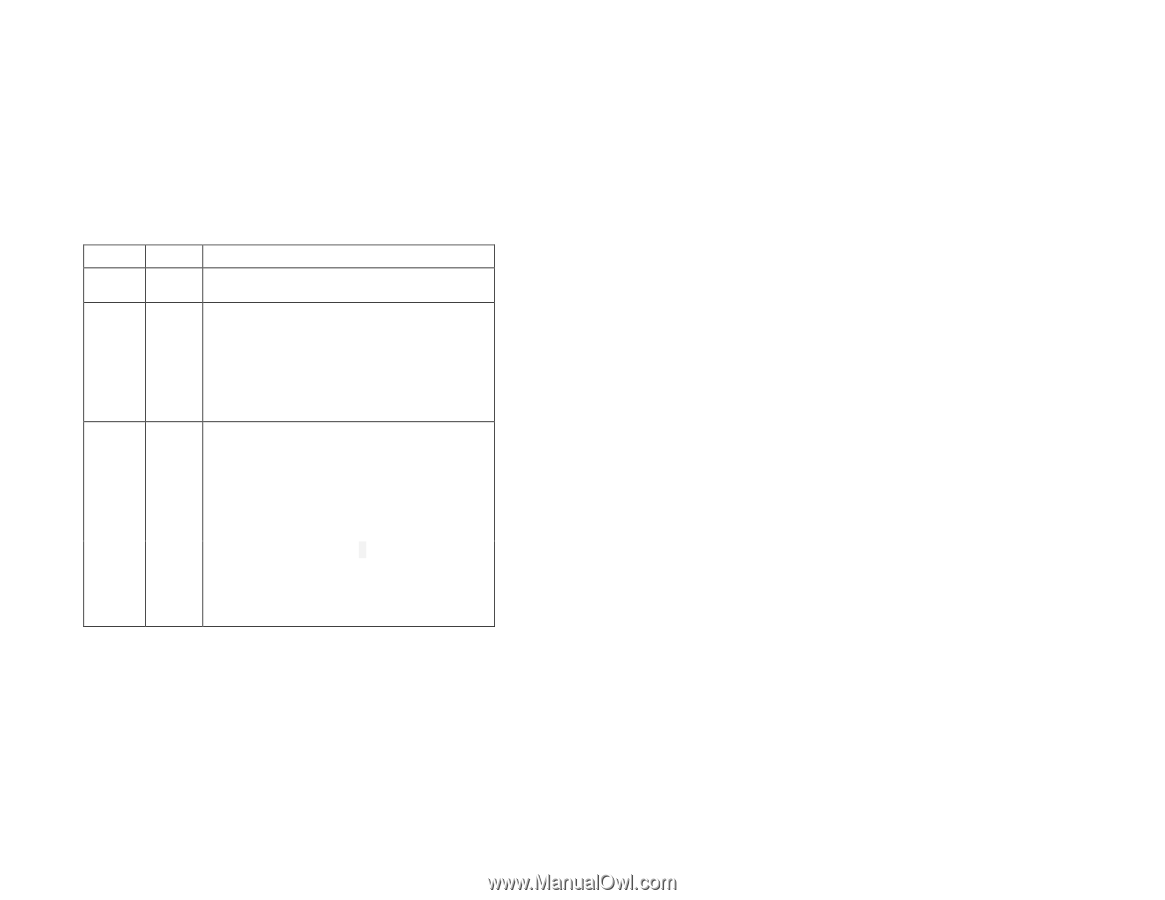
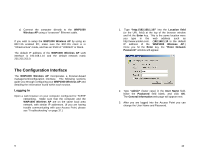
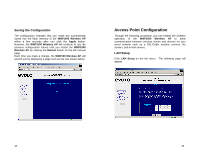
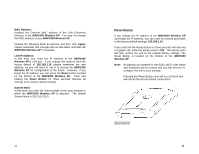
LED Display The following table summarizes the operation of the LEDs on the WNP1000 Wireless AP. LED State Description Power On Wireless On When the device is powered, this LED is on. Indicates one or more wireless clients are connected Blink Indicates that wireless data is being transmitted and/or received OFF Ethernet On No wireless transmission occurring. The LED will light up if the WNP1000 Wireless AP is connected to a hub or computer (speed indicated by color). Blink Indicates that data is being transmitted/received Green Indicates the LAN port is operating at 100Mbps Amber Indicates the LAN port is operating at 10Mbps 7 Setting up the Wireless AP The WNP1000 802.11b Access Point is configured to work with your cable/dsl router, switch or hub and other 802.11b wireless products directly out of the box. There is no need for you to configure your Access Point, unless you want to enable increased security (WEP), change the IP Address, or other configuration options. If you want to change the default configurations, you will need to access the browser-based utility of the WNP1000 Wireless AP, you need a computer with the TCP/IP protocol enabled and web browser software (Microsoft's Internet Explorer, Netscape, etc.). In order for your computer to communicate with the WNP1000, both (your computer and the AP) will need to be on the same Local Area Network, i.e. they must have similar IP Addresses. The default IP address of the WNP1000 Wireless AP is http://192.168.1.10. As a result, your PC's IP Address should be on the same network (i.e., at a LAN IP Address such as 192.168.1.2, 192.168.1.3, etc.) Note: If you are having trouble communicating with your Access Point, please see "Troubleshooting" on page 37. You can connect to the browser based configuration screens from any of the following three options: a) Wirelessly connect through a wireless 802.11b client in your PC or Laptop. (Uniden's PCW300, PCW200 or PCW100 802.11b clients.) b) Connect both the WNP1000 Wireless AP and the computer to a hub using "straight-through" Ethernet cables. 8
-
 1
1 -
 2
2 -
 3
3 -
 4
4 -
 5
5 -
 6
6 -
 7
7 -
 8
8 -
 9
9 -
 10
10 -
11
-
12
-
13
-
14
-
15
-
16
-
17
-
18
-
19
-
20
-
21
-
22
-
23
-
24
-
25
-
26
-
27
-
28
-
29
 |
 |