Viking VCCM12MS Use and Care Manual - Page 12
Brewing Instructions
 |
View all Viking VCCM12MS manuals
Add to My Manuals
Save this manual to your list of manuals |
Page 12 highlights
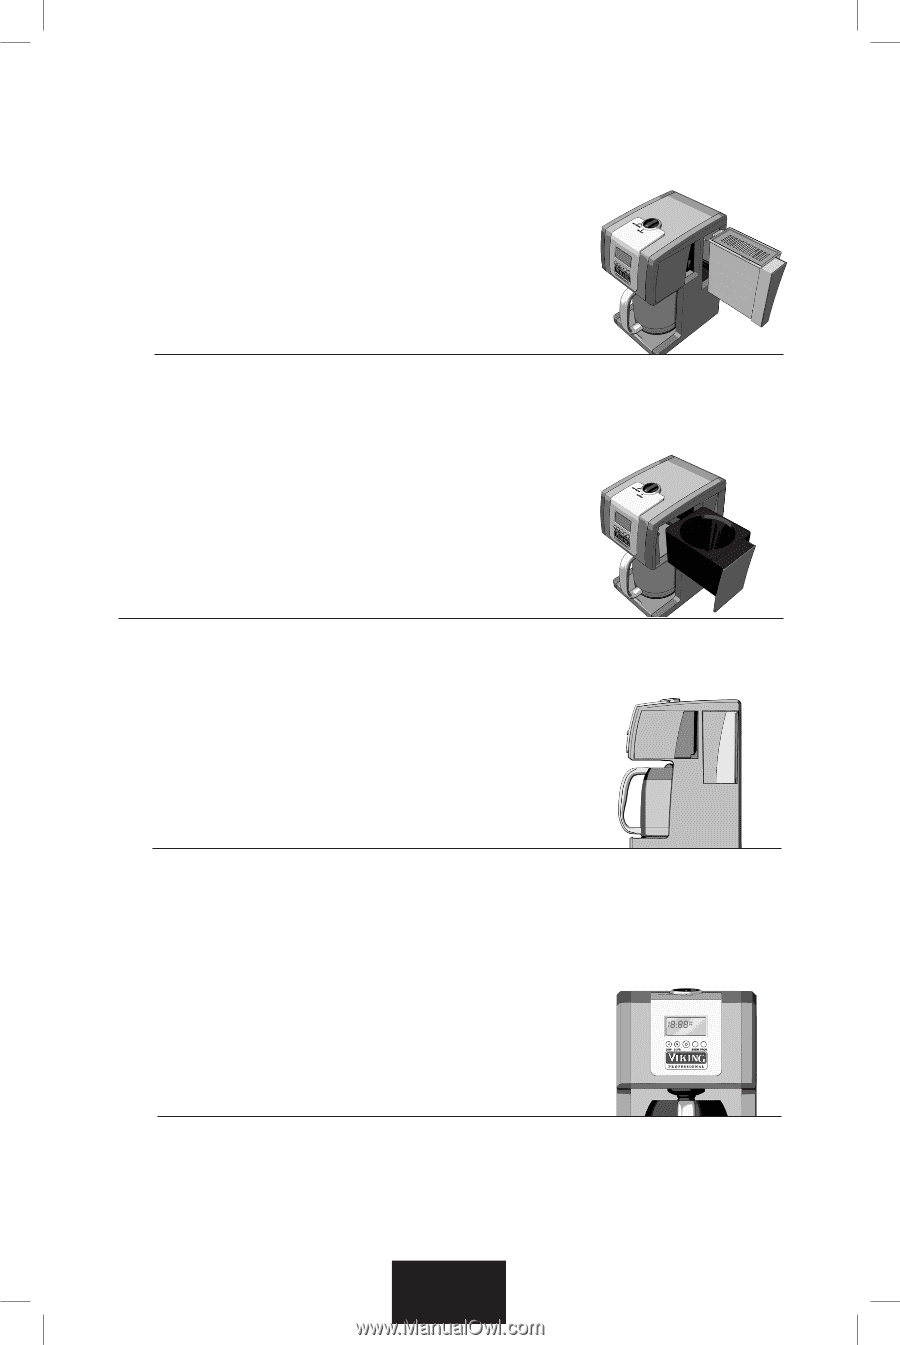
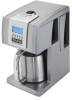
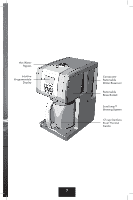
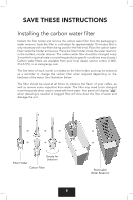
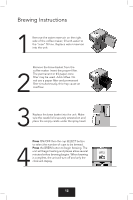
Brewing Instructions 1 Remove the water reservoir on the right side of the coffee maker; fill with water to the "max" fill line. Replace water reservoir into the unit. Remove the brew basket from the coffee maker. Insert the proper filter. 2 The permanent or #4 paper cone filter may be used. Add coffee. Do not use a paper filter and permanent filter simultaneously, this may cause an overflow. 3 Replace the brew basket into the unit. Make sure the carafe lid is securely screwed on and place the empty carafe under the spray head. Press ON/OFF then the cup SELECT button to select the number of cups to be brewed. 4 Press the BREW button to begin brewing. The unit will begin heating and please allow several minutes before brewing begins. When brewing is complete, the unit will turn off and only the clock will display. 12
-
 1
1 -
2
-
3
-
4
-
5
-
6
-
 7
7 -
 8
8 -
 9
9 -
 10
10 -
 11
11 -
 12
12 -
 13
13 -
 14
14 -
 15
15 -
 16
16
 |
 |