Vivitar DVR 480 Camera Manual - Page 6
Powering the Digital Camcorder ON, Installing the Batteries
 |
View all Vivitar DVR 480 manuals
Add to My Manuals
Save this manual to your list of manuals |
Page 6 highlights
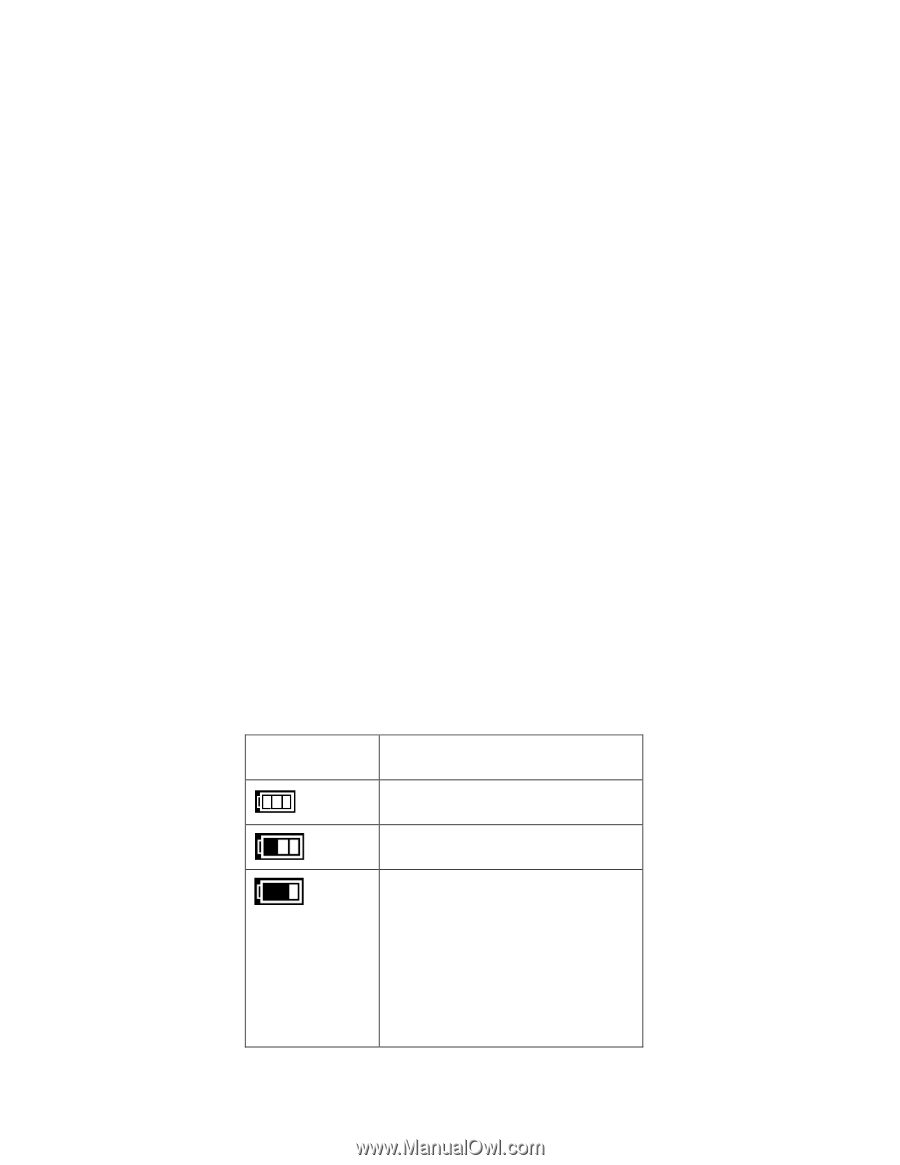
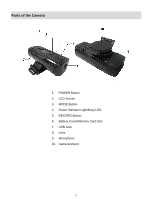
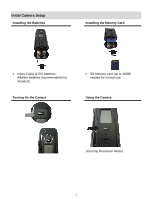
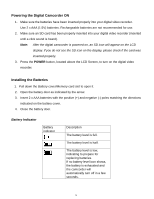
Powering the Digital Camcorder ON 1. Make sure the batteries have been inserted properly into your digital video recorder. Use 2 x AAA (1.5V) batteries. Rechargeable batteries are not recommended for use. 2. Make sure an SD card has been properly inserted into your digital video recorder (inserted until a click sound is heard). Note: After the digital camcorder is powered on, an SD icon will appear on the LCD display. If you do not see the SD icon on the display, please check if the card was inserted properly. 3. Press the POWER button, located above the LCD Screen, to turn on the digital video recorder. Installing the Batteries 1. Pull down the Battery cover/Memory card slot to open it. 2. Open the battery door as indicated by the arrow. 3. Insert 2 x AAA batteries with the positive (+) and negative (-) poles matching the directions indicated on the battery cover. 4. Close the battery door. Battery Indicator Battery indicator Description The battery level is full. The battery level is half. The battery level is low, indicating to prepare for replacing batteries. If no battery level icon shows, the battery is exhausted and the camcorder will automatically turn off in a few seconds. 5
-
 1
1 -
 2
2 -
 3
3 -
 4
4 -
 5
5 -
 6
6 -
 7
7 -
 8
8 -
 9
9 -
 10
10 -
 11
11 -
 12
12 -
13
-
14
-
15
-
16
-
17
-
18
-
19
-
20
-
21
-
22
 |
 |