Vizio E551i-A2 Download - Page 31
Adjusting the Color Temperature, Adjusting the Picture Size and Position
 |
View all Vizio E551i-A2 manuals
Add to My Manuals
Save this manual to your list of manuals |
Page 31 highlights
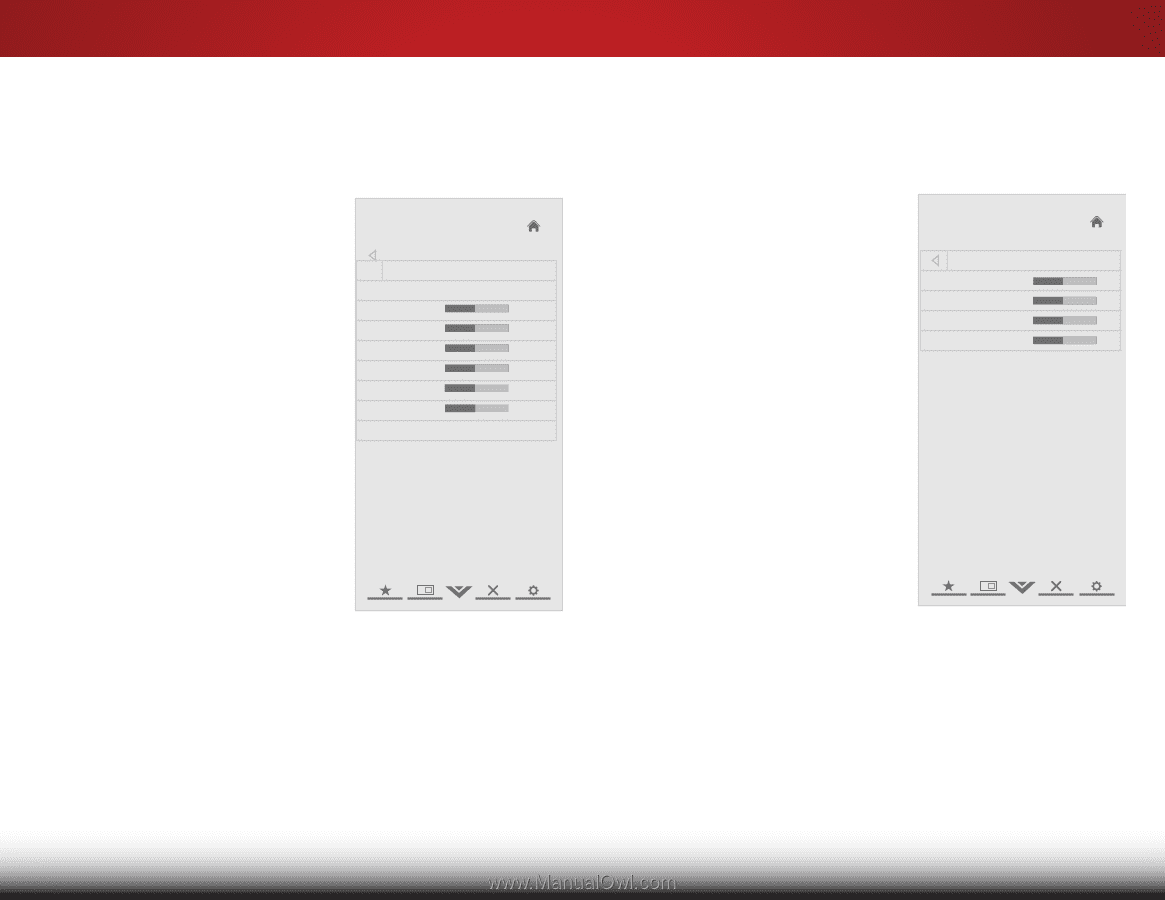
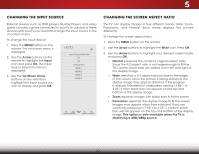
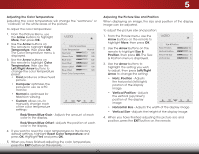
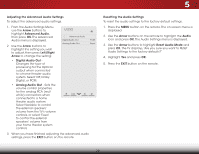
5 Adjusting the Color Temperature Adjusting the color temperature will change the "warmness" or "coolness" of the white areas of the picture. To adjust the color temperature: 1. From the Picture Menu, use the Arrow buttons to highlight More, then press OK. 2. Use the Arrow buttons on the remote to highlight Color Temperature, then press OK. The Color Temperature menu is displayed. 3. Use the Arrow buttons on the remote to highlight Color Temperature, then use the Left/Right Arrow buttons to change the color temperature preset: • Cool produces a blue-hued picture. • Computer optimizes the picture for use as a PC monitor. • Normal is optimized for television viewing. • Custom allows you to manually change each of the color temperature settings: VIZIO Color Temperature Color Temperature Red Gain - - Green Gain Blue Gain - Red Offset - - Green Offset Blue Offset - Normal + 128 + 128 + 128 + 128 + 128 + 128 Reset Color Temperature Red/Green/Blue Gain - Adjusts the amount of each color in the display. Red/Green/Blue Offset - Adjusts the position of each color in the display. 4. If you want to reset the color temperatures to the factory default settings, highlight Reset Color Temperature and press OK. Highlight Yes and press OK. 5. When you have finished adjusting the color temperature, press the EXIT button on the remote. 25 Adjusting the Picture Size and Position When displaying an image, the size and position of the display image can be adjusted. To adjust the picture size and position: 1. From the Picture menu, use the VIZIO Arrow buttons on the remote to WihdeighlZigoohmt MoNorerm,atlhePnanoprarm eiscs OK. Size & Position 2. Use the Arrow buttons on the Horiz. Position - + 32 remote to highlight Size & - Vertical Position + 16 Position, then press OK. The Size Horizontal Size - +0 & Exit Posit2iDon me3nDu is displayed. Vertical Size - +0 3. Use the ArrowABbCuttons to highlight the setting you wish to adjust, then press Left/Right Input Wide CC Arrow to change the setting: • Horiz. Position - Adjusts the horizontal (left/right) Sleep Timer poPsicittiuoren image. oAf utdhioe display • Vertical Position - Adjusts the vertical (up/down) NetworkpoSestittiinogns ofHethlpe display image. • Horizontal Size - Adjusts the width of the display image. • Vertical Size - Adjusts the height of the display image. 4. When you have finished adjusting the picture size and position, press the EXIT button on the remote.
-
 1
1 -
2
-
3
-
4
-
5
-
6
-
7
-
8
-
9
-
10
-
11
-
12
-
13
-
14
-
15
-
16
-
17
-
18
-
19
-
20
-
21
-
22
-
23
-
24
-
25
-
 26
26 -
 27
27 -
 28
28 -
 29
29 -
 30
30 -
 31
31 -
 32
32 -
 33
33 -
 34
34 -
 35
35 -
 36
36 -
37
-
38
-
39
-
40
-
41
-
42
-
43
-
44
-
45
-
46
-
47
-
48
-
49
-
50
-
51
-
52
-
53
-
54
-
55
-
56
-
57
-
58
-
59
-
60
-
61
-
62
-
63
-
64
-
65
-
66
-
67
 |
 |