Vizio P602ui-B3 User Manual (English) - Page 26
Adjusting the Picture Mode Management Settings, The Color Tuner, 11 Point White Balance, and test - input lag
 |
View all Vizio P602ui-B3 manuals
Add to My Manuals
Save this manual to your list of manuals |
Page 26 highlights
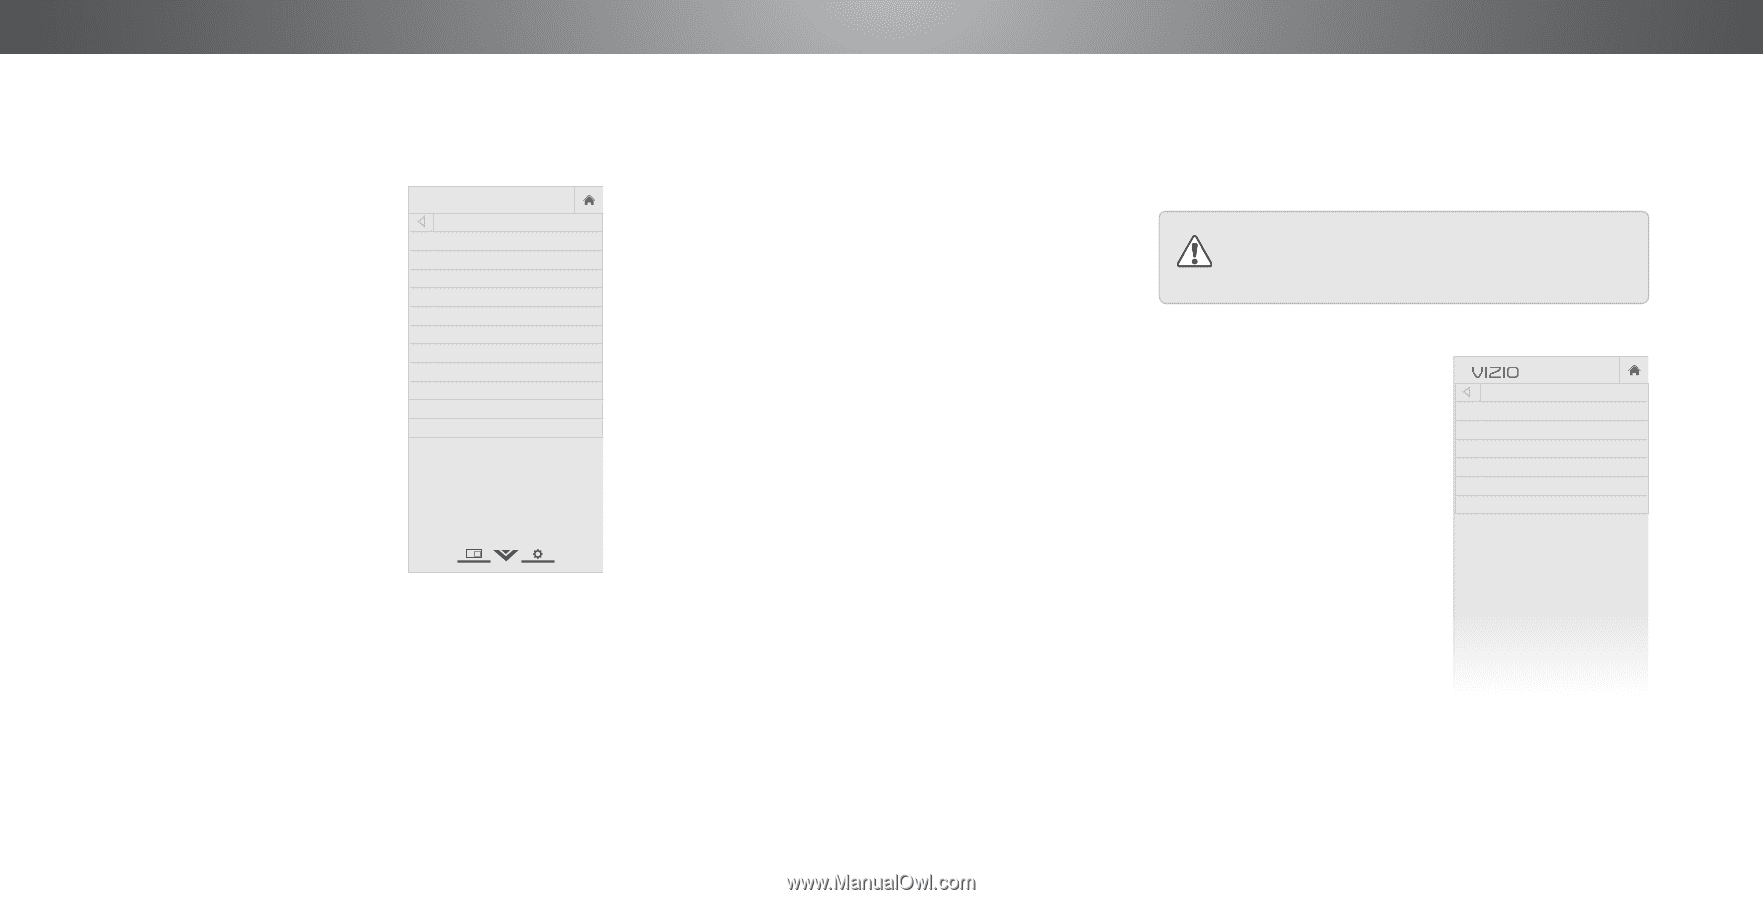
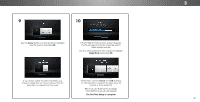
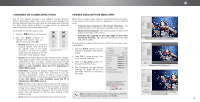
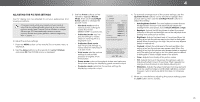
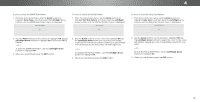
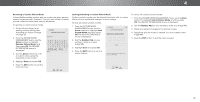
4 Adjusting the Advanced Picture Settings* To adjust the advanced picture settings: 1. From the PICTURE menu, use the Arrow buttons to highlight More, and then press OK. VIZIO ADVANCED PICTURE 2. Use the Arrow buttons to highlight Advanced Picture, and then press OK. The ADVANCED PICTURE menu is displayed. 3. Use the Arrow buttons to highlight the setting you wish to adjust, then press the Left/ Right Arrow buttons to change the setting: Color Temperature Black Detail Active LED Zones Smooth Motion Effect Clear Action Reduce Signal Noise Reduce Block Noise Game Low Latency Picture Size & Position Film Mode Gamma Cool Medium On Medium Off Low Low Off Auto 2.1 • Color Temperature Adjusts the 'warmness' and 'coolness' of the white areas of the picture. Select Cool, Normal, or Computer. • Cool produces a blue-hued picture. • Computer optimizes the picture for use as a PC monitor. • Normal is optimized for television viewing. • Black Detail - Adjusts the average brightness of the picture to compensate for large areas of brightness. Select Off, Low, Medium, or High. • Active LED Zones - Dynamically improves the contrast ratio of the picture by adjusting the backlight. The adjustment is controlled by the content on the screen. Select On or Off. * Not available on HDMI input 5 • Smooth Motion Effect - Activates Smooth Motion motion estimation/motion compensation, which suppresses motion judder, or "stuttering" of the image when the camera moves across a scene horizontally. Select Off, Low, Medium, or High. • Clear Action - Reduces blur in scenes with fast action. Wide SoZmooem senNsoirtmivael vPiaenworaemrsic may notice flicker. Select On or Off. • Reduce Signal Noise - Diminishes artifacts in the image caused by the digitizing of image motion content. Select Off, Low, Medium, or High. Exit 2D 3D • Reduce Block Noise - Reduces pixelation and distortion for mpeg files. Select Off, Low, Medium, or High. ABC • Game Low Latency - Select On to reduce video delay Input (lagW)idwe henCgC aming. • Picture Size - Increase or decrease the vertical and horizontal size of the displayed picture. Use the Left/ Right Arrow buttons to adjust the horizontal size of the STlim eeepr disPpiclatuyreed Apuidcioture. Use the Up/Down Arrow buttons to adjust the vertical size of the displayed picture. Press the OK button when you are finished. • Picture Position - Adjust the vertical and horizontal Networpk oSseitttiiongnss oHfetlphe picture to ensure the image is centered and completely fills the screen. Use the Left/Right Arrow buttons to adjust the horizontal position of the displayed picture. Use the Up/Down Arrow buttons to adjust the vertical position of the displayed picture. Press the OK button when you are finished. • Film Mode - Optimizes the picture for watching film. Select Auto or Off. • Gamma - Set the shape of the Gamma curve. Use lower Gamma values for bright room conditions, and higher values when it's dark. 4. When you have finished adjusting the Advanced Picture Settings, press the EXIT button on the remote. Adjusting the Picture Mode Management Settings* Picture Mode Management Settings allow you to make precise adjustments to the picture and to create picture modes to save groups of picture settings. The Color Tuner, 11 Point White Balance, and test patterns allow technicians to manually calibrate the TV. Calibration requires specialized training, an input with precisely set colors, and a specialized light meter. To adjust the Picture Mode Management settings: 1. From the PICTURE menu, use the Arrow buttons to highlight Picture Mode Management, and then press OK.The PICTURE MODE MANAGEMENT menu is displayed. 2. Use the Arrow buttons to highlight the setting you wish to adjust, then press OK to change the setting: VIZIO PICTURE MODE MANAGEMENT Color Tuner Save Picture Mode Rename Picture Mode Lock Picture Mode Delete Picture Mode Reset Picture Mode • Color Tuner - Adjust the HSB color and 11-point white balance, and display calibration test patterns. • Save Picture Mode - Save a custom picture mode. • Rename Picture Mode Rename a custom picture mode. • Lock Picture Mode - Prevent changes to custom picture modes. • Unlock Picture Mode - Allow changes to custom picture modes. • Delete Picture Mode - Delete a custom picture mode. Inputs assigned to that custom picture mode will be set to Calibrated picture mode. • Reset Picture Mode - Resets the picture mode settings to factory default values.This reset only affects the current input. Wide Zoo Exit 2D Input W Sleep Timer Pic Network Set 26
-
 1
1 -
2
-
3
-
4
-
5
-
6
-
7
-
8
-
9
-
10
-
11
-
12
-
13
-
14
-
15
-
16
-
17
-
18
-
19
-
20
-
 21
21 -
 22
22 -
 23
23 -
 24
24 -
 25
25 -
 26
26 -
 27
27 -
 28
28 -
 29
29 -
 30
30 -
 31
31 -
32
-
33
-
34
-
35
-
36
-
37
-
38
-
39
-
40
-
41
-
42
-
43
-
44
-
45
-
46
-
47
-
48
-
49
-
50
-
51
-
52
-
53
-
54
-
55
-
56
-
57
-
58
-
59
-
60
-
61
-
62
-
63
-
64
-
65
-
66
-
67
-
68
-
69
 |
 |