Whirlpool GGW9250PW Use and Care Guide - Page 15
Status Lights, Cycles - wet sensor
 |
View all Whirlpool GGW9250PW manuals
Add to My Manuals
Save this manual to your list of manuals |
Page 15 highlights
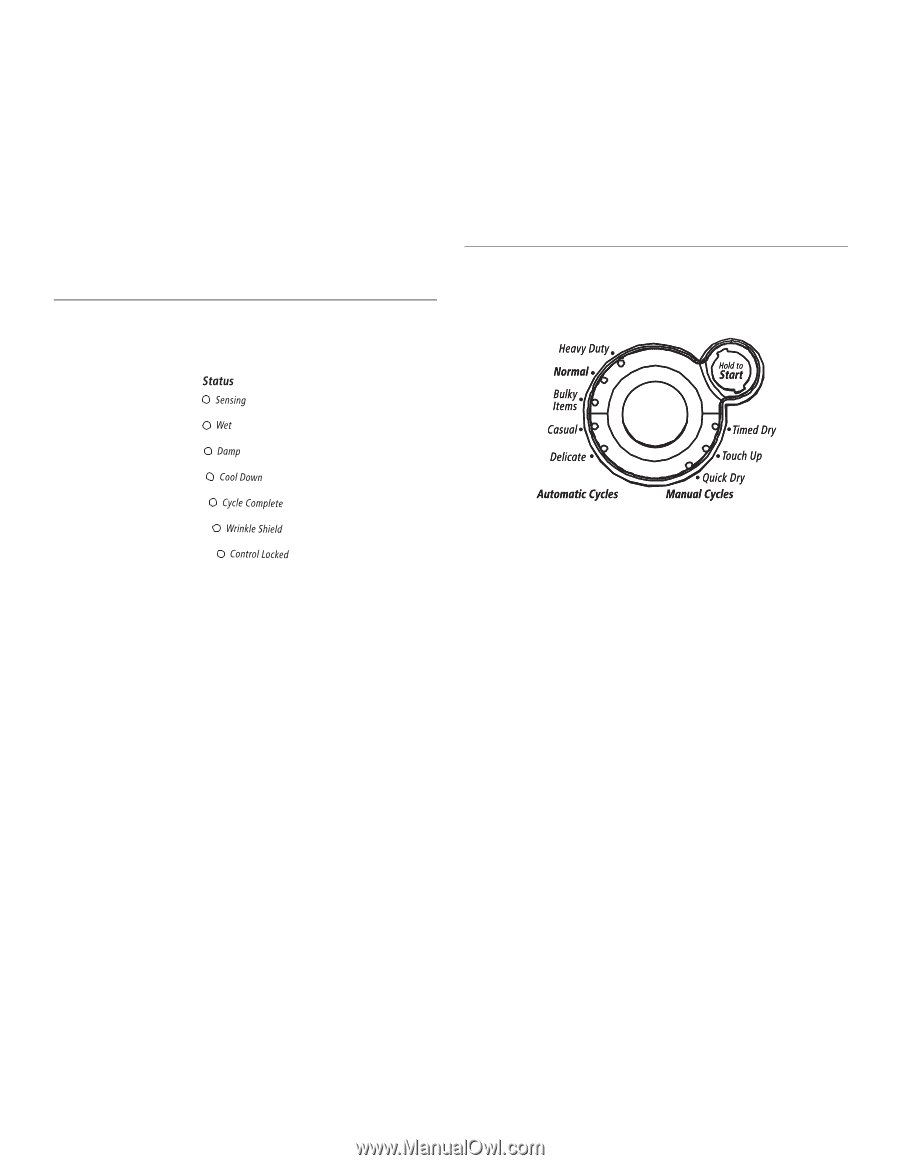
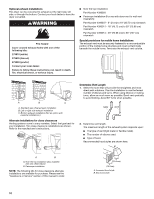
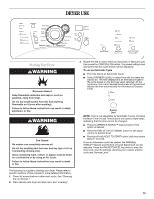
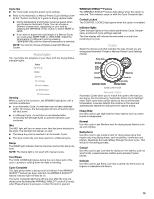
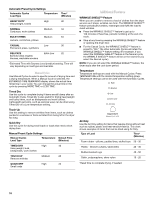
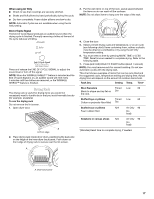
Cycle tips s Dry most loads using the preset cycle settings. s Refer to the Automatic or Manual Preset Cycle Settings chart (in the "Cycles" section) for a guide to drying various loads. s Drying temperature and Dryness Level are preset when you choose an Automatic Cycle. You can choose a different dryness level, depending on your load by pressing the DRYNESS LEVEL button to select MORE or LESS. s If you wish to adjust the cycle length of a Manual Cycle, you must press MORE TIME or LESS TIME. Adjust the temperature of a Manual Cycle by pressing TEMPERATURE until the desired temperature is selected. NOTE: You cannot choose a Dryness Level with Manual Cycles. Status Lights You may follow the progress of your dryer with the drying Status indicator lights. WRINKLE SHIELD™ Feature The WRINKLE SHIELD™ feature light glows when this option is selected. This indicator stays on with the Cycle Complete light. Control Locked The CONTROL LOCKED light glows when this option is enabled. Indicator lights Other indicator lights on the control panel show Cycle, Temperature, and End of Cycle settings selected. The time display will indicate the estimated or actual time remaining in a cycle. Cycles Select the drying cycle that matches the type of load you are drying (see Automatic Preset or Manual Preset Cycle Settings charts). Sensing When a cycle is first turned on, the SENSING light glows until a wet item is detected. s In an Automatic Cycle, if a wet item has not been detected within 10 minutes, the Sensing light will turn off and the dryer will shut down. s In a Manual Cycle, if a wet item is not detected after 10 minutes the Wet light turns on and the selected cycle continues. Wet The WET light will turn on when a wet item has been detected in the dryer. The Wet light will remain on until: s The damp dry point is reached in an Automatic Cycle. s The dryer enters the cool down period in a Manual Cycle. Damp The DAMP light indicates that the load has reached the damp dry level. NOTE: The Damp light is not used with manual cycles. Cool Down The COOL DOWN light glows during the cool down part of the cycle. Laundry is cooling down for ease in handling. Cycle Complete This light glows when a drying cycle is finished. If the WRINKLE SHIELD™ feature has been selected, the WRINKLE SHIELD™ feature indicator light will also be on. The Cycle Complete light turns off one hour after the end of a drying cycle (including the WRINKLE SHIELD™ cycle of 2 hours), when Pause/Cancel is pressed, or when the door is opened. Cycle control knob Automatic Cycles Automatic Cycles allow you to match the cycle to the load you are drying. See the following "Automatic Preset Cycle Settings" chart. Each cycle dries certain fabrics at the recommended temperature. A sensor detects the moisture in the load and automatically adjusts the drying time for optimal drying. Heavy Duty Use this cycle to get High heat for heavy fabrics such as cotton towels or bedspreads. Normal Use this cycle to get Medium heat for drying sturdy fabrics such as work clothes. Bulky Items Use this cycle to get medium heat for drying large items that require very long drying times, such as jackets, comforters and pillows. Rearrange the load halfway through the dryer cycle. This will aid in the drying process. Casual Use this cycle to get Low heat for drying no-iron fabrics, such as sport shirts, casual business clothes and permanent press blends. Delicate Use this cycle to get Extra Low heat to gently dry items such as lingerie or washable knit fabrics. 15
-
 1
1 -
2
-
3
-
4
-
5
-
6
-
7
-
8
-
9
-
 10
10 -
 11
11 -
 12
12 -
 13
13 -
 14
14 -
 15
15 -
 16
16 -
 17
17 -
 18
18 -
 19
19 -
 20
20 -
21
-
22
-
23
-
24
-
25
-
26
-
27
-
28
-
29
-
30
-
31
-
32
-
33
-
34
-
35
-
36
-
37
-
38
-
39
-
40
-
41
-
42
-
43
-
44
 |
 |