Whirlpool WDF518SAAW Installation Guide - Page 12
Connect to water supply, Connect to drain
 |
View all Whirlpool WDF518SAAW manuals
Add to My Manuals
Save this manual to your list of manuals |
Page 12 highlights
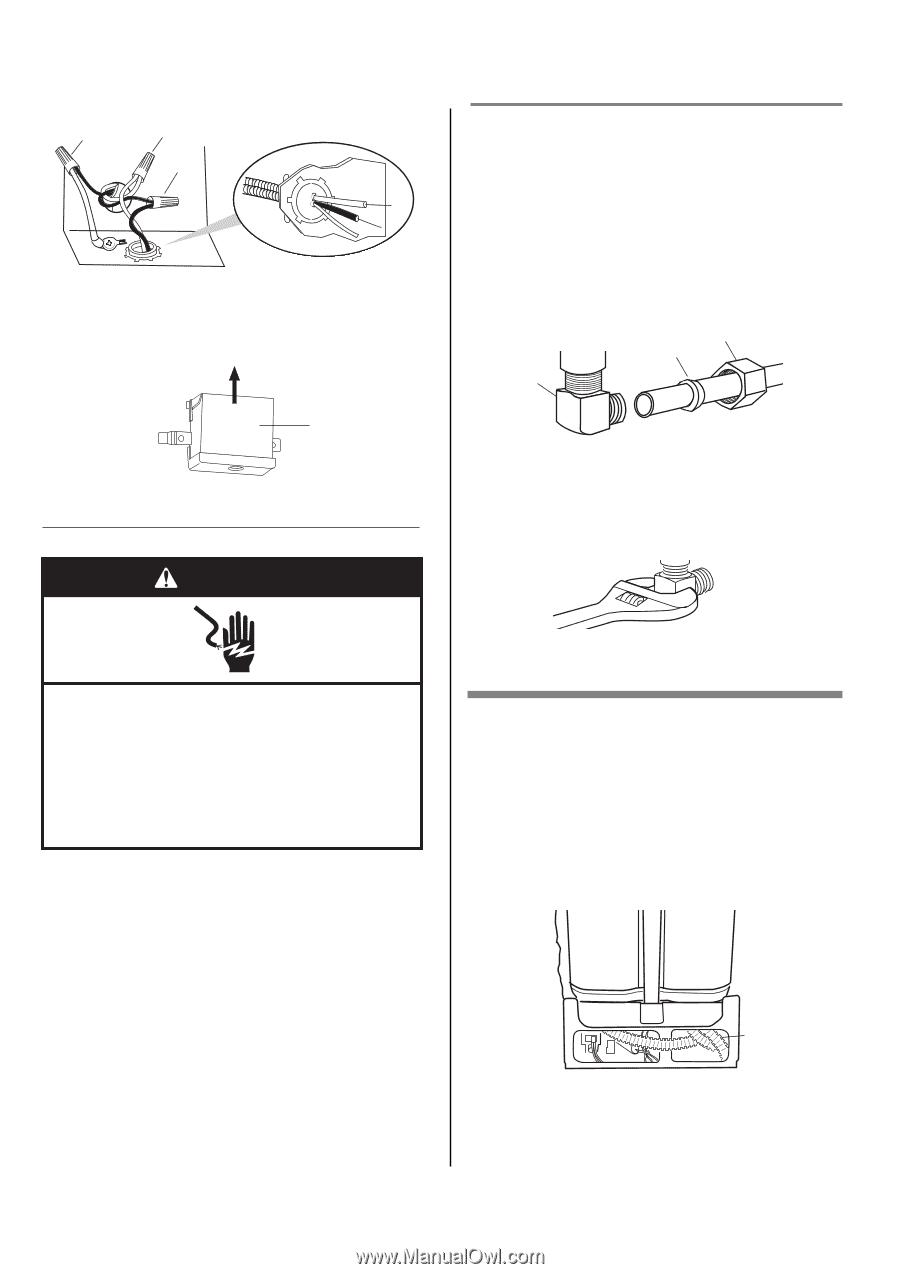
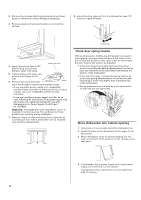
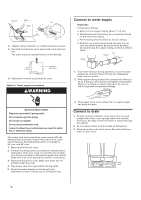
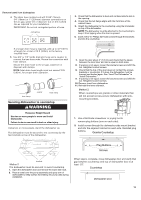
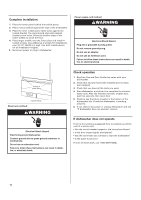
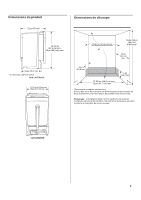
ground white black 4. Tighten clamp connector or conduit connector screws. 5. Reinstall terminal box cover with wires inside terminal box. The cover must be outside the box on the left side. terminal box cover 6. Make sure no wires are pinched by cover. Option 2, Power supply cord method WARNING Connect to water supply Helpful Tip: Compression fittings: a. Slide nut onto copper tubing about 1" (2.5 cm). b. Slide ferrule onto the tubing. Do not position ferrule on the end of the tubing. c. Put the tubing into the elbow as far as it will go. d. Slide the nut and ferrule forward and start the nut onto the elbow threads. Be gentle when handling and positioning the copper tubing, it bends and kinks easily. nut ferrule elbow 1. To prevent vibration during operation, route the water supply line so that it does not touch the dishwasher base, frame or motor. 2. With copper tubing pushed into compression fitting as far as it will go, use a wrench and tighten compression fitting nut to elbow on water inlet valve. Do not use Teflon® tape with compression fittings. Electrical Shock Hazard Plug into a grounded 3 prong outlet. Do not remove ground prong. Do not use an adapter. Do not use an extension cord. Failure to follow these instructions can result in death, fire, or electrical shock. The power cord and connections must comply with the National Electrical Code, Section 422 and/or local codes and ordinances. Recommended power cord length is 54" min. and 64" max. 1. Remove terminal box cover. 2. Connect incoming power cord white (or ribbed) wire to dishwasher white wire, black (or smooth) wire to black wire and ground wire to dishwasher green wire. Use UL listed wire nuts of the appropriate size for connections. 3. Replace terminal box cover. Make sure wires are not pinched under the cover. 4. Plug power cord into a grounded 3 prong outlet. 5. Check the power supply cord does not touch dishwasher motor or lower part of dishwasher tub. 3. Place paper towel under elbow. Turn on water supply and check for leaks. Connect to drain 1. To help minimize vibration, route drain hose to avoid contact with motor, door springs, water line, cabinet, flooring or the edge of the hole where it passes through the cabinet. 2. Do not remove drain loop from side of dishwasher. 3. Place pan under end of drain hose. Pan will collect any water in drain hose. drain hose 12
-
 1
1 -
2
-
3
-
4
-
5
-
6
-
 7
7 -
 8
8 -
 9
9 -
 10
10 -
 11
11 -
 12
12 -
 13
13 -
 14
14 -
 15
15 -
 16
16 -
 17
17 -
18
-
19
-
20
-
21
-
22
-
23
-
24
-
25
-
26
-
27
 |
 |