Whirlpool WED9400VE Use and Care Guide - Page 22
Dryer Care - dryer rack
 |
UPC - 883049141435
View all Whirlpool WED9400VE manuals
Add to My Manuals
Save this manual to your list of manuals |
Page 22 highlights
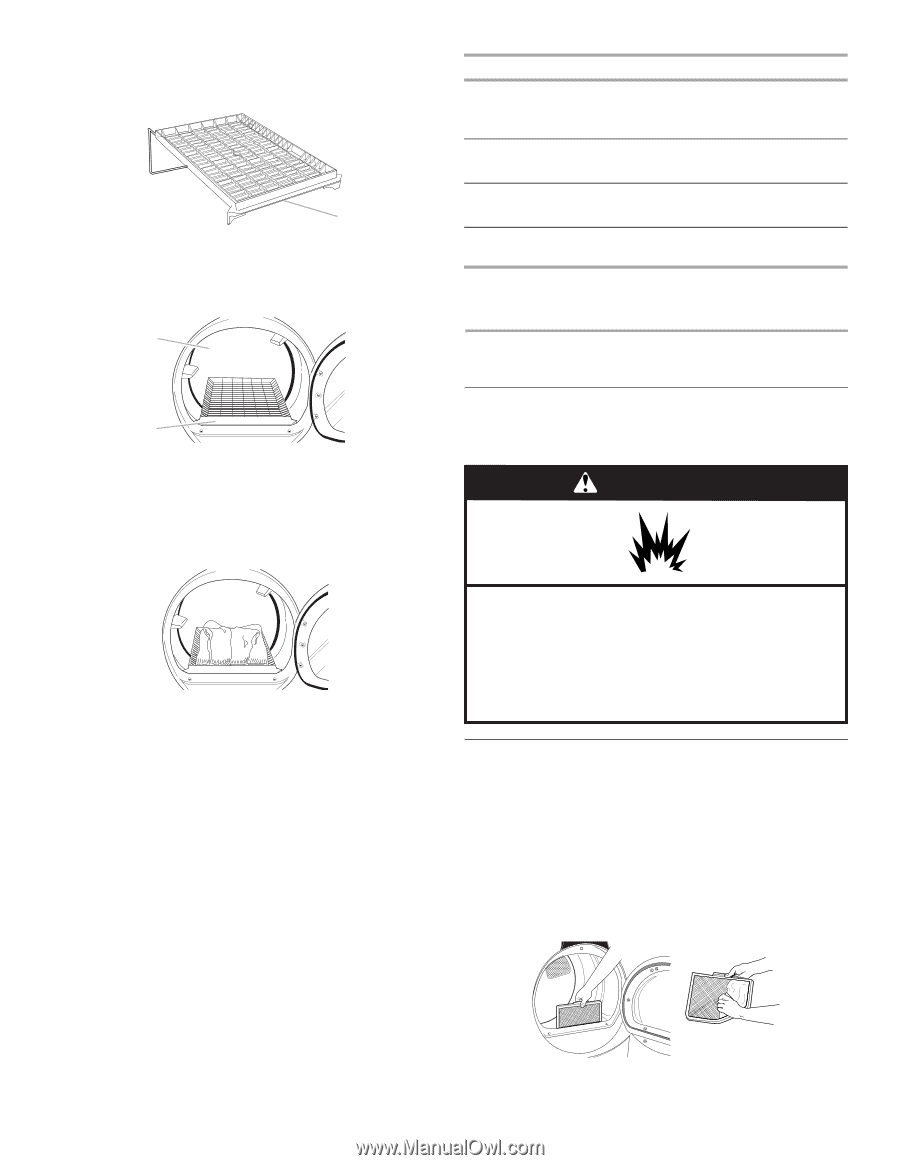
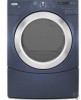
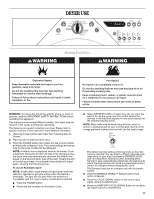
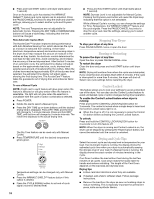
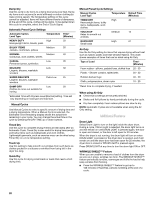
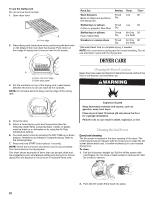
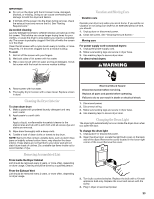
To use the drying rack Do not remove the lint screen. 1. Open dryer door. A A. Front edge 2. Place drying rack inside dryer drum, positioning the back wire on the ledge of the inner dryer back panel. Push down on front edge of drying rack to secure over the lint screen. B Rack Dry Setting Temp. Time* Wool Sweaters Timed Low 60 Block to shape and lay flat on Dry the drying rack. Stuffed toys or pillows Timed Low 60 Cotton or polyester fiber filled Dry Stuffed toys or pillows Foam rubber filled Timed Dry Air Only 90 (no heat) Sneakers or canvas shoes Timed Dry Air Only 90 (no heat) *(Minutes) Reset time to complete drying, if needed. NOTE: You must remove drying rack for normal tumbling. Do not use automatic cycles with the drying rack. DRYER CARE A A. Dryer rack front edge B. Dryer back panel 3. Put the wet items on top of the drying rack. Leave space between the items so air can reach all the surfaces. NOTE: Do not allow items to hang over the edge of the drying rack. Cleaning the Dryer Location Keep dryer area clear and free from items that would obstruct the flow of combustion and ventilation air. WARNING 4. Close the door. 5. Select a timed drying cycle and temperature (see the following chart). Items containing foam, rubber, or plastic must be dried on a clothesline or by using the Air Only temperature setting. 6. You must select a time by pressing the DRY TIME up or down buttons. Reset time as needed to complete drying. Refer to the following table. 7. Press and hold START button (about 1 second). NOTE: Check the lint screen and remove any lint accumulated from items dried on the drying rack. This chart shows examples of items that can be rack dried and the suggested cycle, temperature setting and drying time. Actual drying time will depend on the amount of moisture items hold. Explosion Hazard Keep flammable materials and vapors, such as gasoline, away from dryer. Place dryer at least 18 inches (46 cm) above the floor for a garage installation. Failure to do so can result in death, explosion, or fire. Cleaning the Lint Screen Every load cleaning The lint screen is located in the door opening of the dryer. The control panel has an indicator light to remind you to clean the lint screen before each load. A screen blocked by lint can increase drying time. To clean 1. Pull the lint screen straight up. Roll lint off the screen with your fingers. Do not rinse or wash screen to remove lint. Wet lint is hard to remove. 2. Push the lint screen firmly back into place. 22
-
 1
1 -
2
-
3
-
4
-
5
-
6
-
7
-
8
-
9
-
10
-
11
-
12
-
13
-
14
-
15
-
16
-
 17
17 -
 18
18 -
 19
19 -
 20
20 -
 21
21 -
 22
22 -
 23
23 -
 24
24 -
 25
25 -
 26
26 -
 27
27 -
28
 |
 |